


The BirdCatcher by Aristarco Cortes is licensed under a Creative Commons Attribution-ShareAlike 4.0 International License.
Definitions:
The problem:
a) Biologists have to spend a big amount of time visualizing birds on field
b) It is hard to have evidence of the different species found. A camera with big lenses and a lot of luck is required
c) It takes a lot of time to find if specific birds are feeding in the selected ecosystem
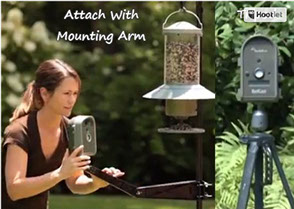
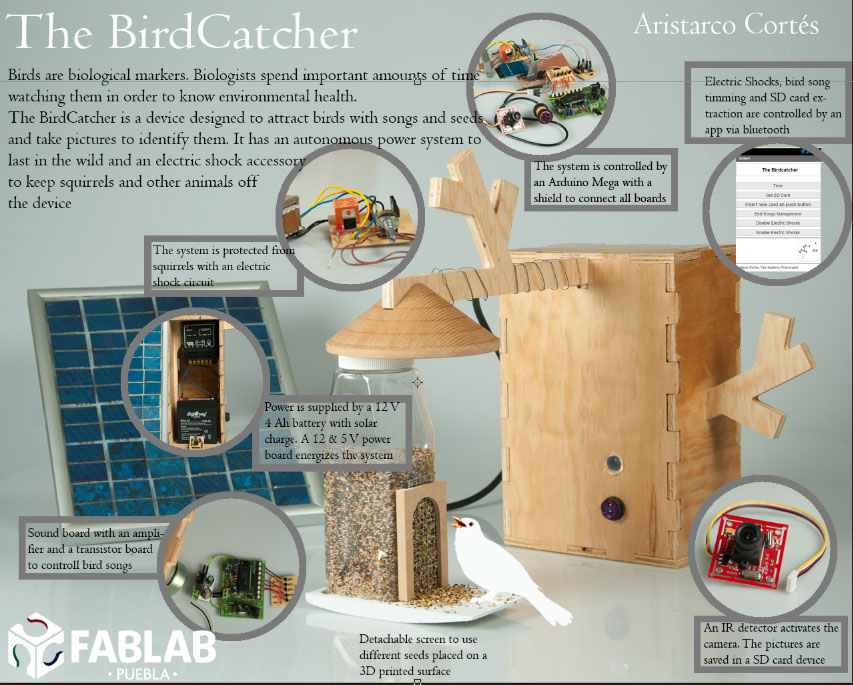
The project: to build a bird feeder with several extra features:
a) Movement detector
b) Camera to take photos of birds with time and date
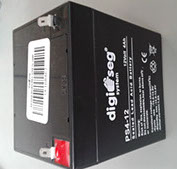
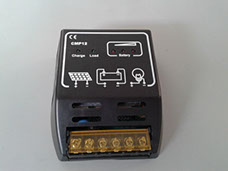
c) Solar power charging
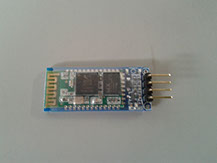
d) Bluethoot communication to download photos and check food levels
e) Bird singing records to attract specific species
Design Principles:
USEFUL: Meant for repeated use
FUN: It is a machine designed for people, to experiment and play with it
UNIVERSAL: The bird feeder can be built anywhere with off the shelve or 3D printed parts
AFFORDABLE: The goal is to achieve minimum cost
INTUITIVE: Easy to use
CLEAN: Design has to be appealing and VERY simple, very maker, very beautiful
CONSISTENT: The feeder must be a reliable equipment
TOUGH: Squirrel proof. Feeder must endure outdoor harsh operating conditions
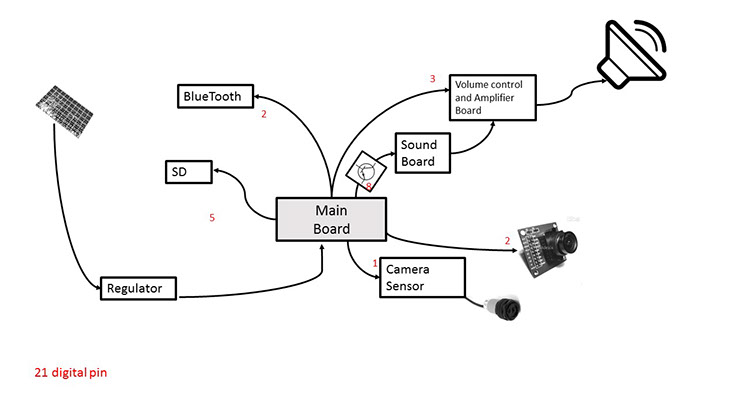
Main electronic functions

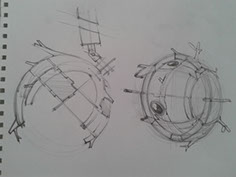
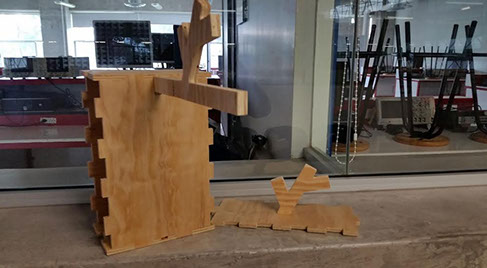
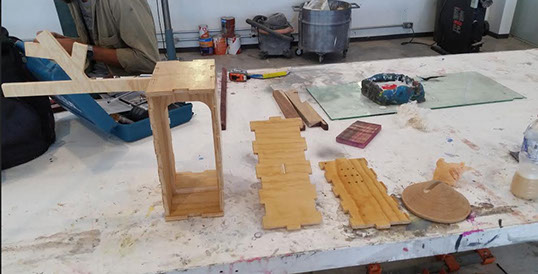
First drafts
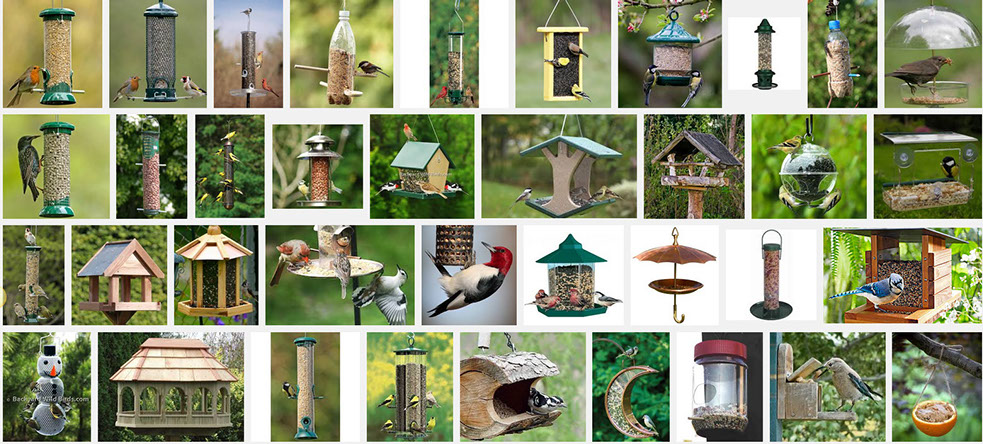
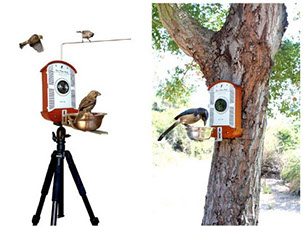
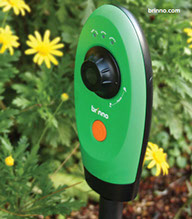
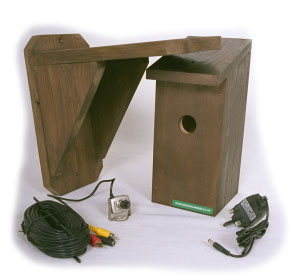
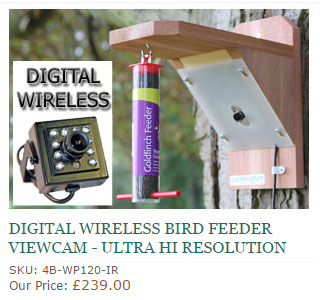
In the market:
Despite the simplicity of the concept there are no equipments designed for outdoors with long lasting batteries nor recharging systems. Most of them are for garden use or not specifically designed for birds and are very expensive.
There are no bird singing devices to attract species.
With go pro camera
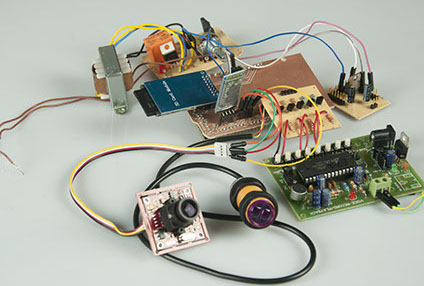
Hardware:
I already bought everything for my project in Mexico and abroad, and also have made some parts as the amplifier done in output devices assignment. There are still missing my satshakit board, volume control board, the transistor board to control the sound board and the power board.


Gant
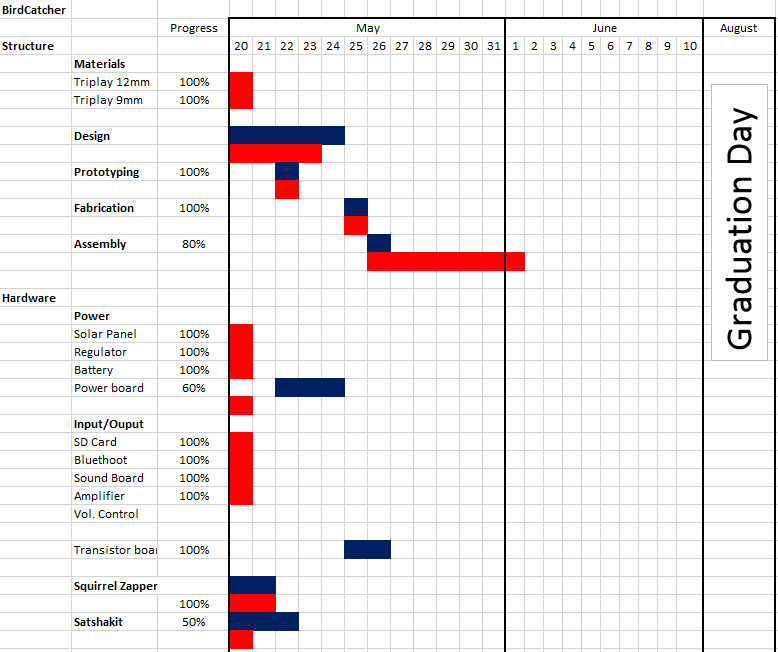
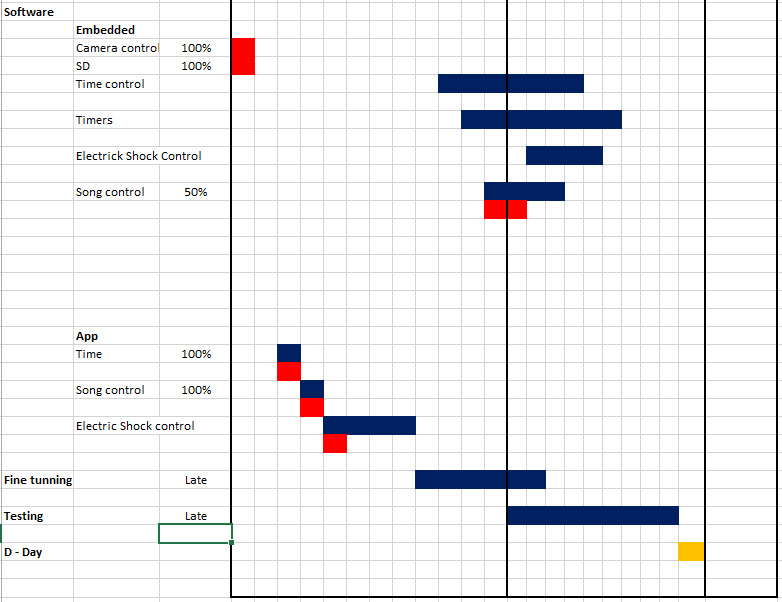
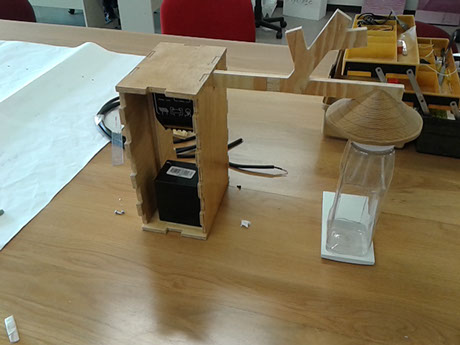
Progress
Electronics
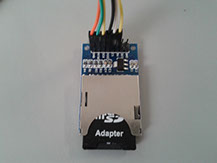
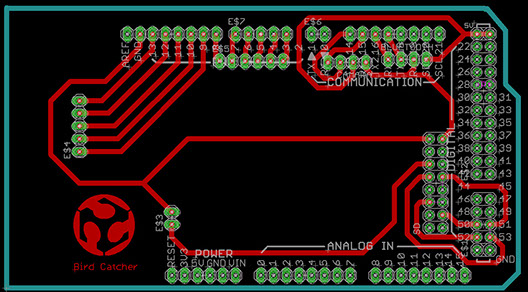
Main board (Arduino Mega with shield)
I am going to use an arduino Mega since there are needed many pins for my project: Camera module, SD card module, Bluetooth module, Voice reproduction board uses 5 pins, Sensor, Electric shocks. I used the shield to safely plug all components. You can download the Eagle board by clicking HERE
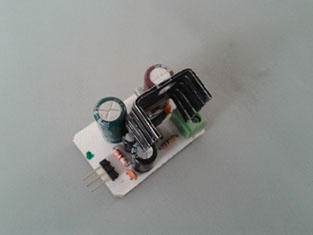
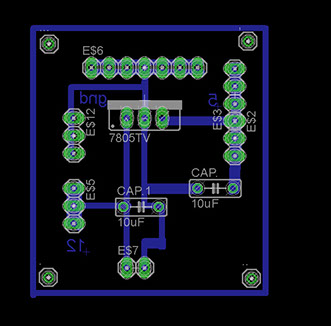
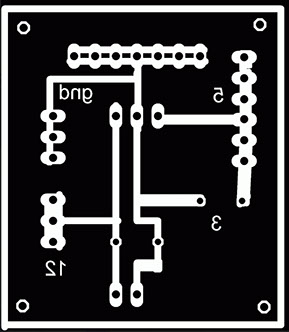
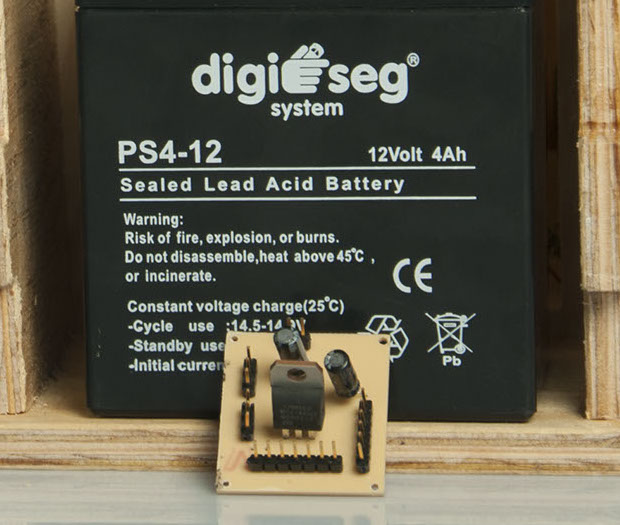
Power Board
The power board was designed to output two different voltages. The first, coming directly from the battery at 12V that is going to be used for the sound board and for the electric shock board. The other voltage at the powerboard is 5v used by the main board, the sensor, the bluetooth device and the SD card device. You can find the eagle archives by clicking here and the png file clicking here.
Actualization. My powerboard just burned to death. I think I put too many things connected to 5V. Now the regulator is providing 3.1 V so I will have to change the design of the power board to install two 5V regulators in parallel. Done in the same board.
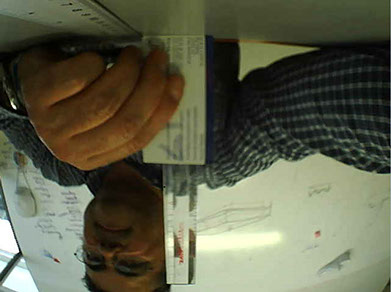
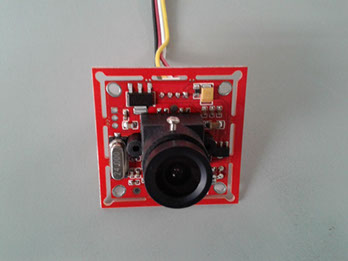
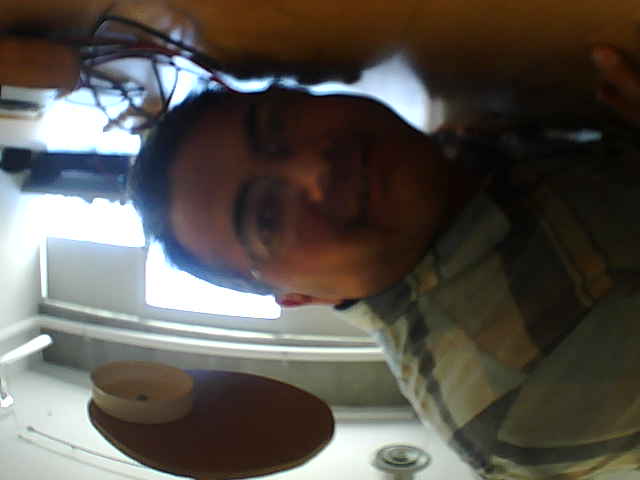
Camera Testing
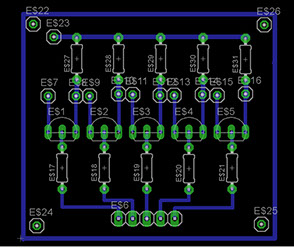
Electric Shock board
Squirrels are the most dangerous thing for a bird feeder. The birdcatcher is meant to be used in the wild so it has to defend itself against animals, specially squirrels. There are two systems to avoid squirrels passive and active. I decided to use an active electric shock system, not deadly, to keep them away.
The board is designed within a Relay so it can be shutted from the app. It works with 12V for electric shocks and 5V signal from the main board.
The Eagle archive can be downloaded by clicking HERE
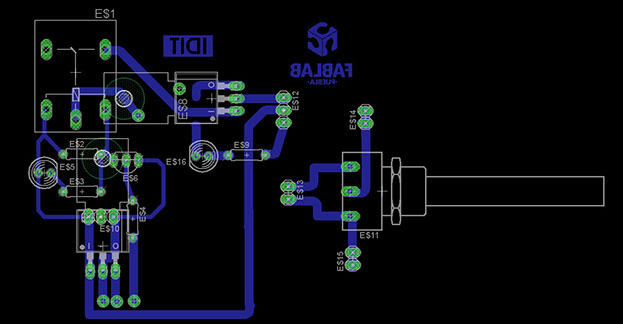
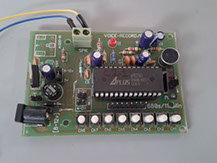
Sound board and sound Controlling Board
Due to Sound board architecture it is necessary to have a board that can control bird songs on and off . Since the sound board needs fiscally push a button, I decided to use transistors and bypass the buttons on the sound board in order to play different songs with an order from my main board previusly programmed by an app. You can find the eagle file of this board by clicking HERE and the png file clicking HERE.
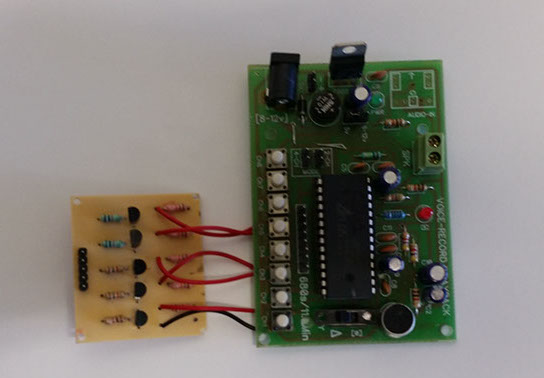
To reproduce bird songs I am using a off the shelve voice recording device that i got at Fab 10
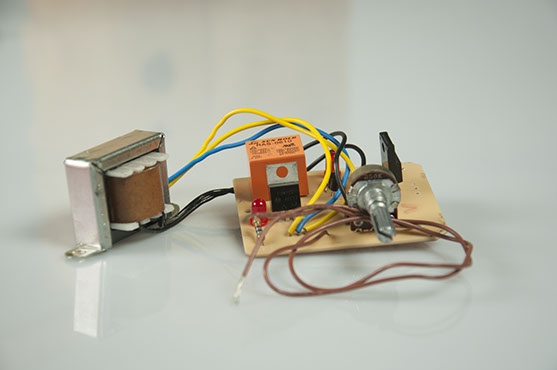
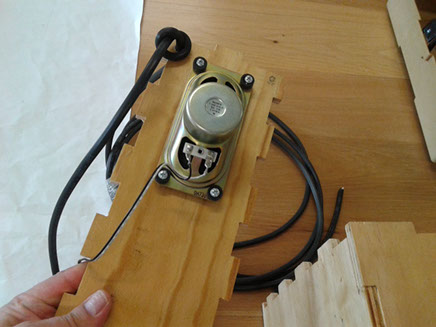
Sound amplifier Board
In order to avoid damage to my sound board I developed an Amplifier at the Output devices assignment. Later I had problems with the remote volume control and I decided to skip volume control and keep just the amplifier. To see the output device assignment just click HERE. To find the eagle files just click Here.
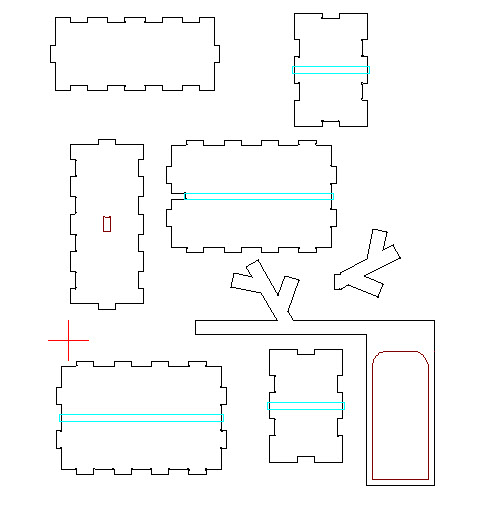
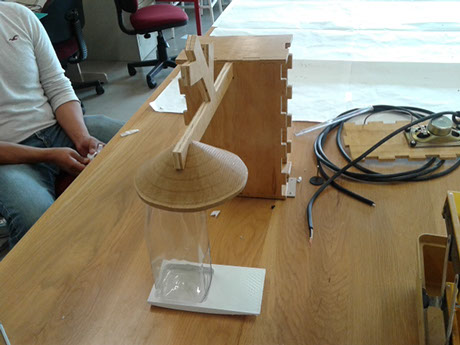
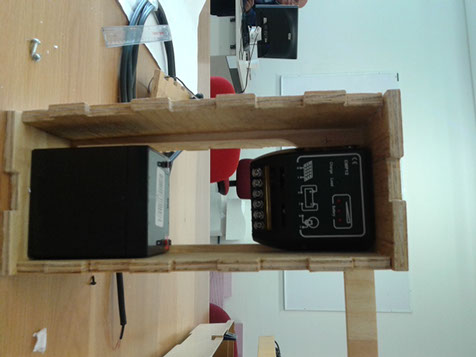
The box
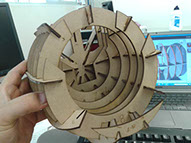
The box that contains all the system is made in 9 mm triplay the box and 12 mm triplay the arm. It was designed to be rugged and to avoid most moisture entrance to the inside components. You can download the DXF file by clicking HERE.
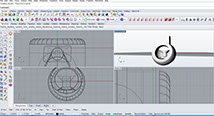
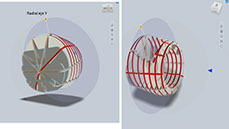
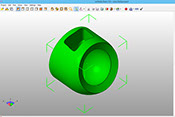
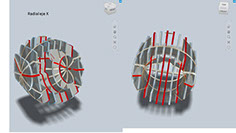
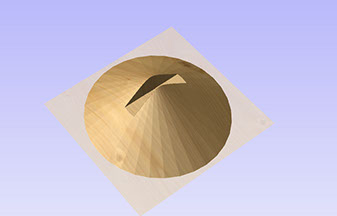
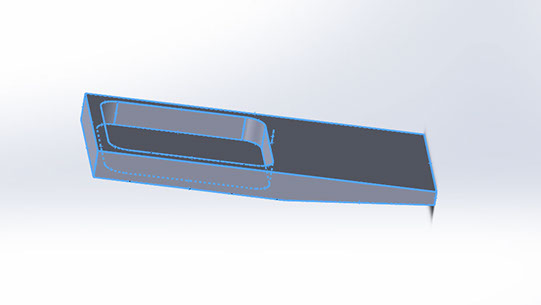
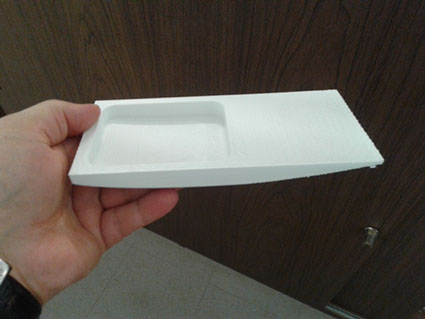
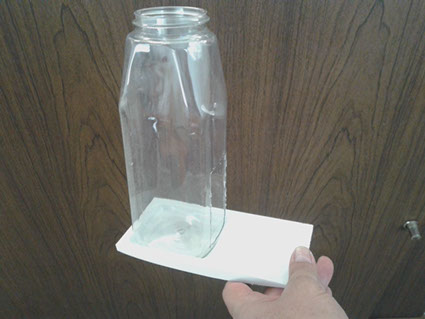
It is important to cover the seeds because if wet they is easily rotten and could hurt birds. To cover the seeds I 3D designed a cap and I took the decision to instead of 3D printing it I milled the piece in the router. You can download the 3D design by clicking Here and the g codes by clicking Here.
The .STL file for 3D printed base can be found by clicking HERE.
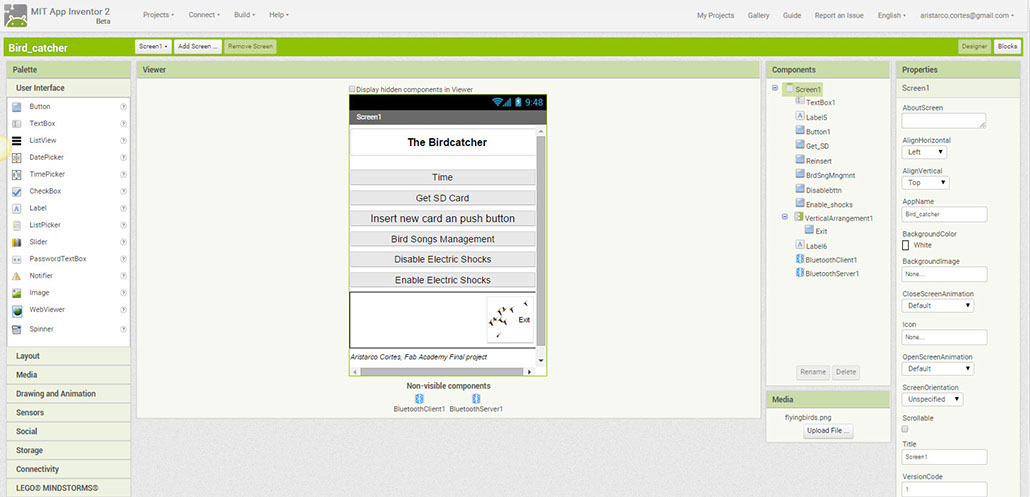
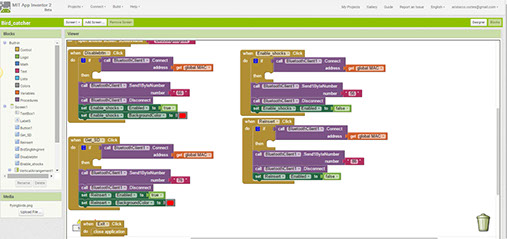
App programming
The App I made for this project connects with the Arduino board at the Birdcatcher via Bluetooth. I started the app at the Interface and app programming assignment, you can see the assignment by clicking HERE.
The app is programmed with app inventor for Android phones and it has this main functions:
1. Set time in the Arduino Mega board (To program bird songs)
2. Stop the arduino and restart it when SD card is removed
3. Manage time and channel to be played by the sound board
4. Disable and enable electric shock device
You can download the Android app by clicking HERE be aware that the app is programmed for my birdcatcher. If anyone wants to build their own it is necessary to pair the bluetooth module to the specific device. To do that you can download the .aia, app inventor file, by clicking HERE
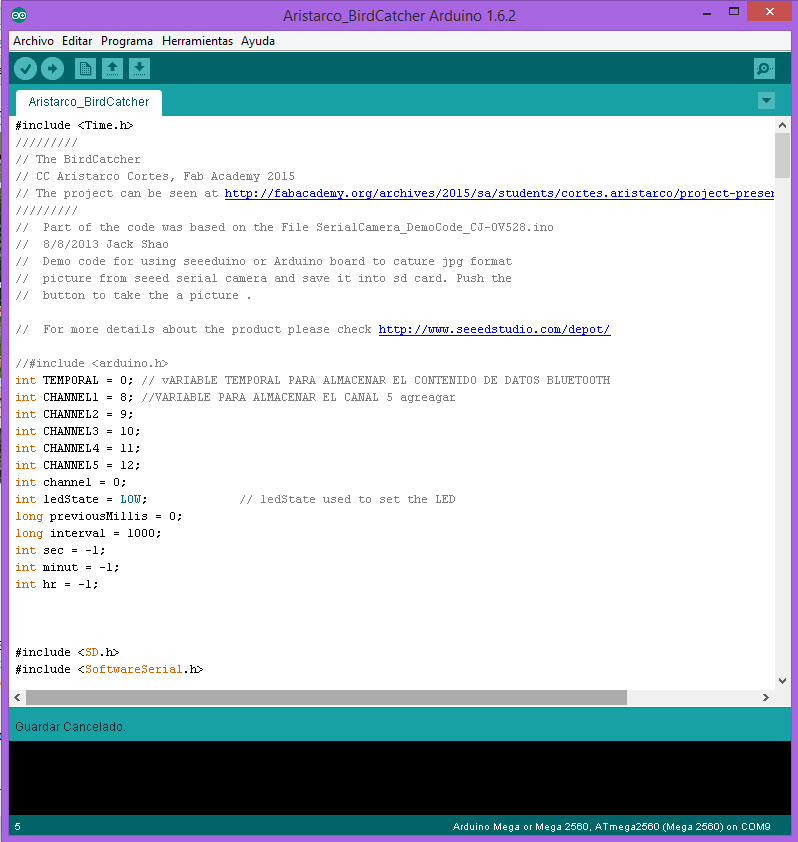
Code
The code is programmed in wiring. It has four main parts:
1. Camera control software. I used the Seeed Serial Camera demo code that can be found Here and modified it in order to work with the
arduino Mega and my IR sensor placed on pin 7
2. Stop the arduino and reset it when SD card is removed by receiving the command from the app.
3. Set Time to use it with timer function to program different channel (bird song) to re play in different intervals according to commands
received from the app and keeps running from 5 am to 7 pm.
4. Electric shock device on and off control with instructions received from the app.
You can find the code by clicking HERE
Bill of Materials
The BirdCatcher cost is $ 186 USD. The entire list of materials, costs and suppliers can be found HERE
All the systems are working fine but I need to debug part of the code regarding to timers and time management in order to program the sound board.
I also have to work with the isolation. There weather has been very rainy and the electronics are not isolated I am afraid to lose some components due to humidity, actually you can feel humidity on the wood. I stopped using it for the moment.