
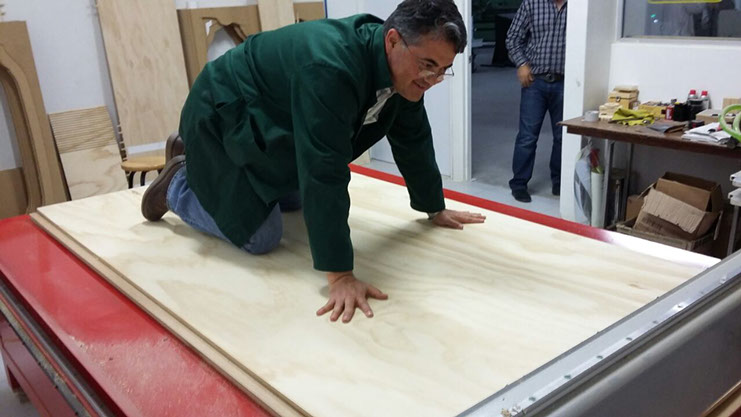


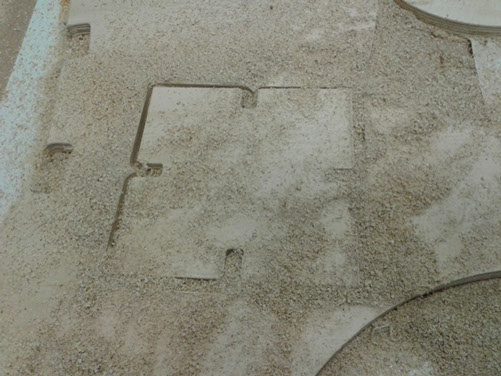
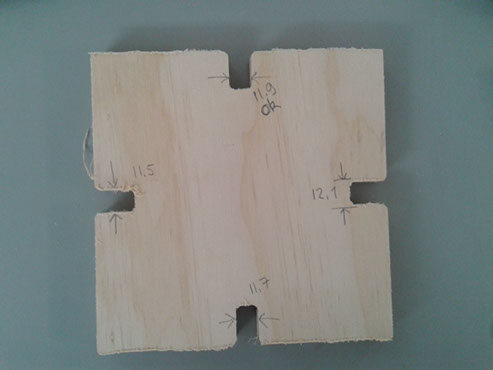
First Test. After having an idea on the shape of my project I made a first trial to define the size of the wood joints and found out that making them 12 mm, they ended up being 11.9 mm and they fitted firmly to each other.

Second, as I wanted to make a small bench with blended triplay I decided to test different options to blend the 12 mm triplay sheet.
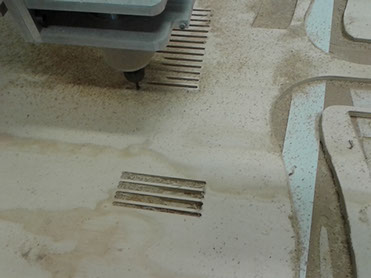
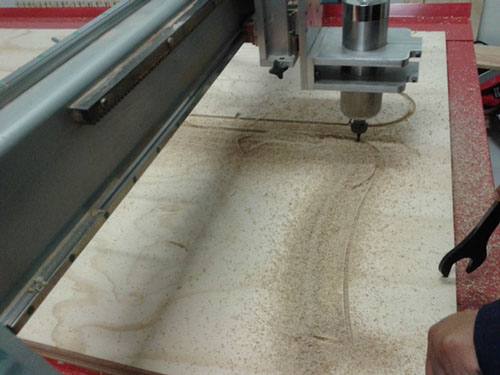
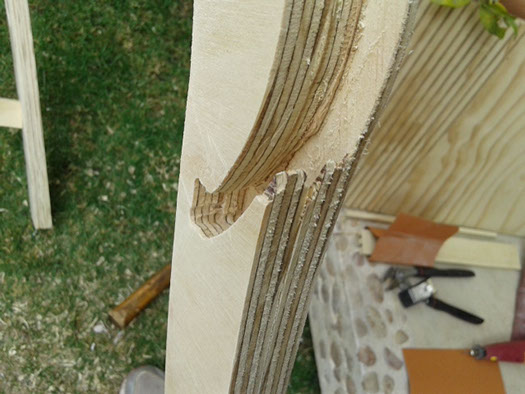
The first problem I had is that to cut the lines I made a rectangle hoping the bit to pass inside the rectangle. I made a mess. I found out that there were needed only open lines to make the design and not 6 mm wide rectangles.
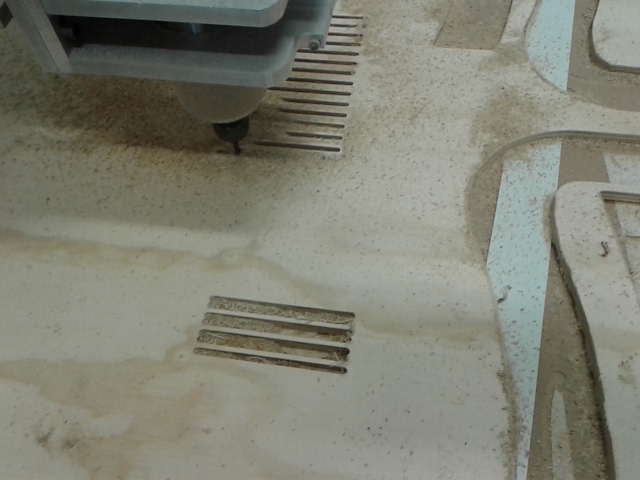
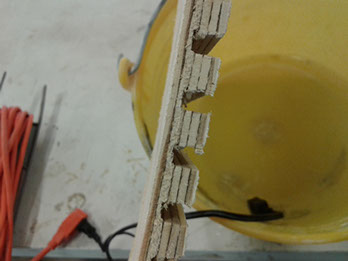
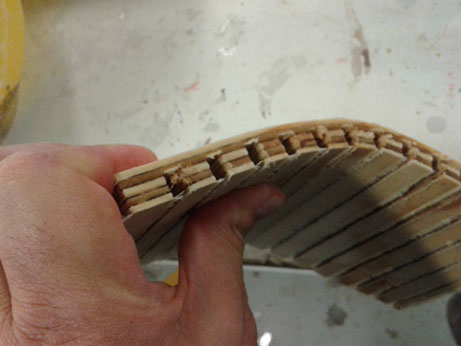
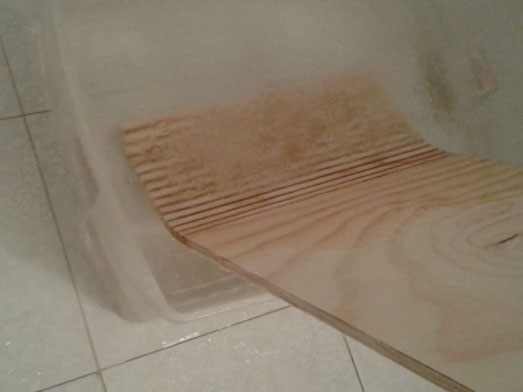
My first attempt was a total wreck. I left only one 2.4 mm sheet of triplay and engraved the rest of the material. The moment I wanted to bend the piece, it came apart, breaking in every section.
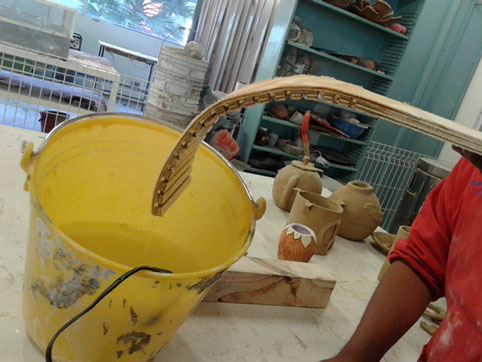
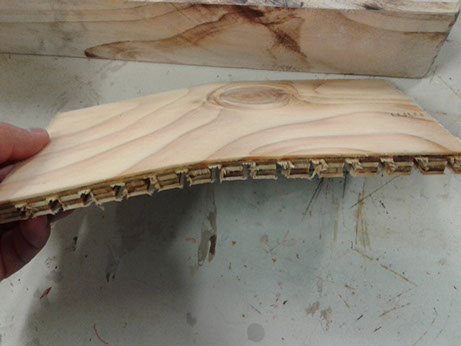
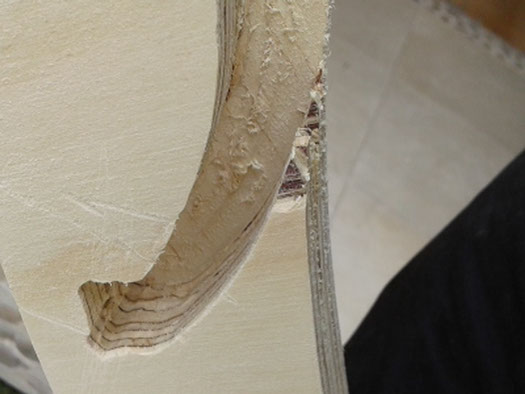
My second trial was a success. Product of luck not of knowledge.
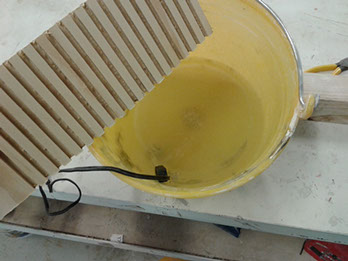
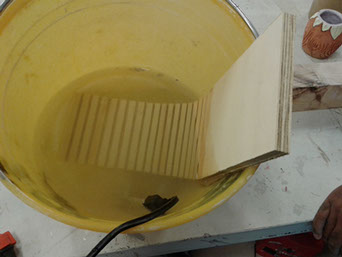
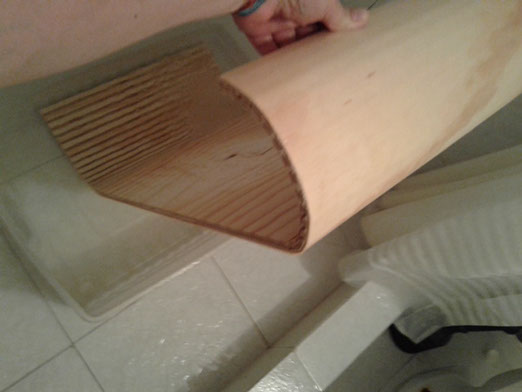
I left two 2.4 mm sheets of the triplay to make it stronger and to bend it I put the material in warm water for a few minutes.
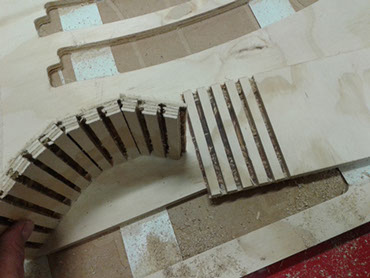
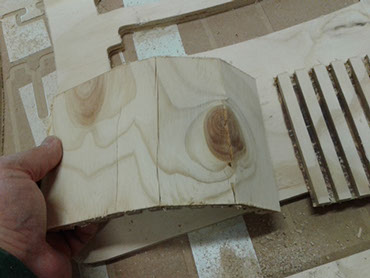
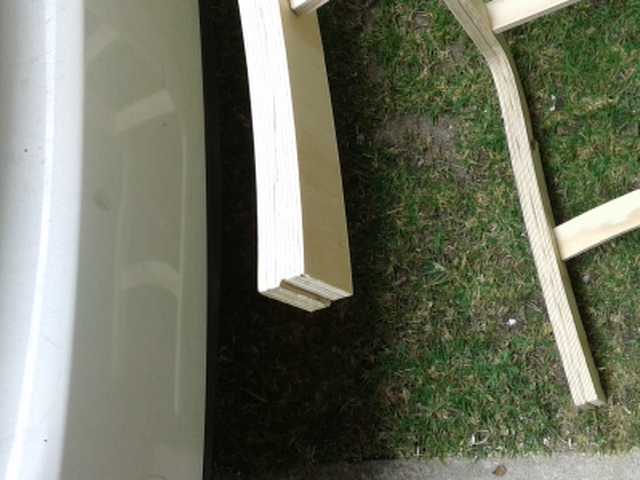
Next some one told my that it would be even better if I the cut stripes were perpendicular to the direction of woods fibers.
I did the test and tried to bend the wood with hot water. It was VERY difficult.

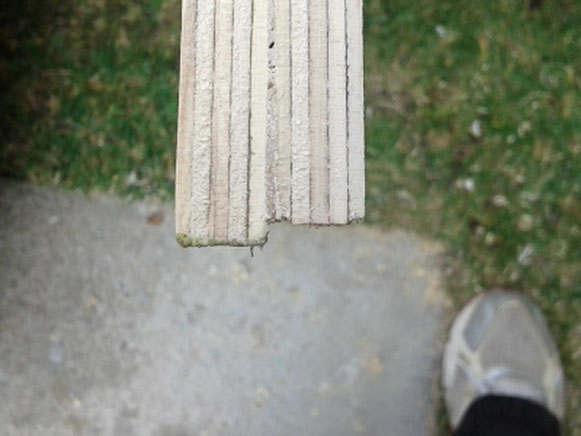
Cut perpendicular to wood fibers----->
<--- Cut in the same direction
of wood fibers
With these certainties in mind I designed a small bench for my bathroom with this considerations:
It had to have a bended section.
It had to be beautiful (My wife would never accept something ugly in her bathroom)
It must not have makers look. Showing joints was unacceptable.
It must not need any nails (but I accepted glue)
It had to be cheap
And I came up with this design:
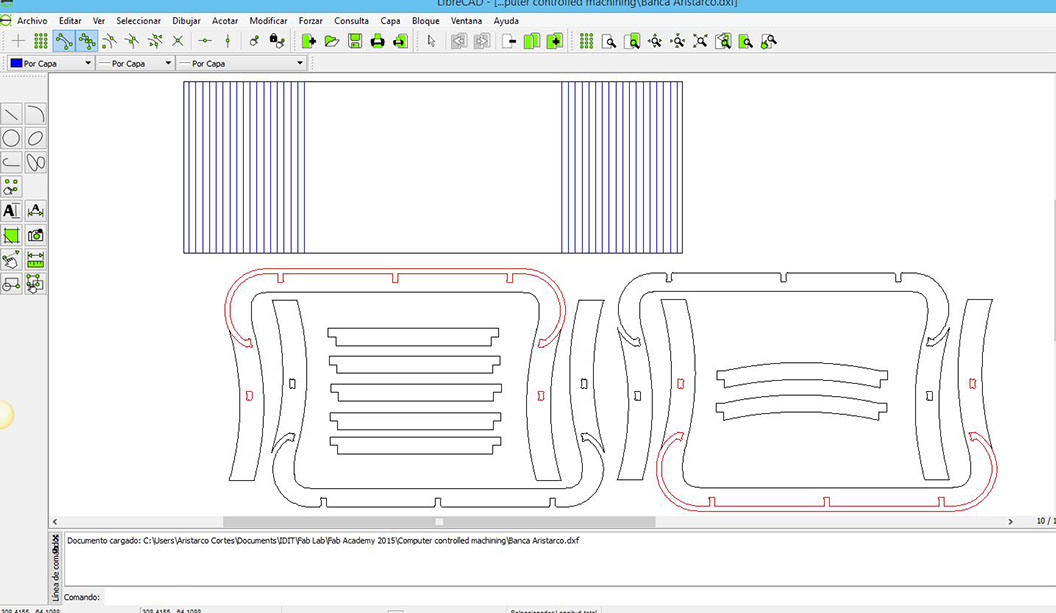
The blue lines are 7.2 mm dep cut. Red lines are 5 mm deep cut and black lines are 12 mm cut.
You can download it by clicking HERE
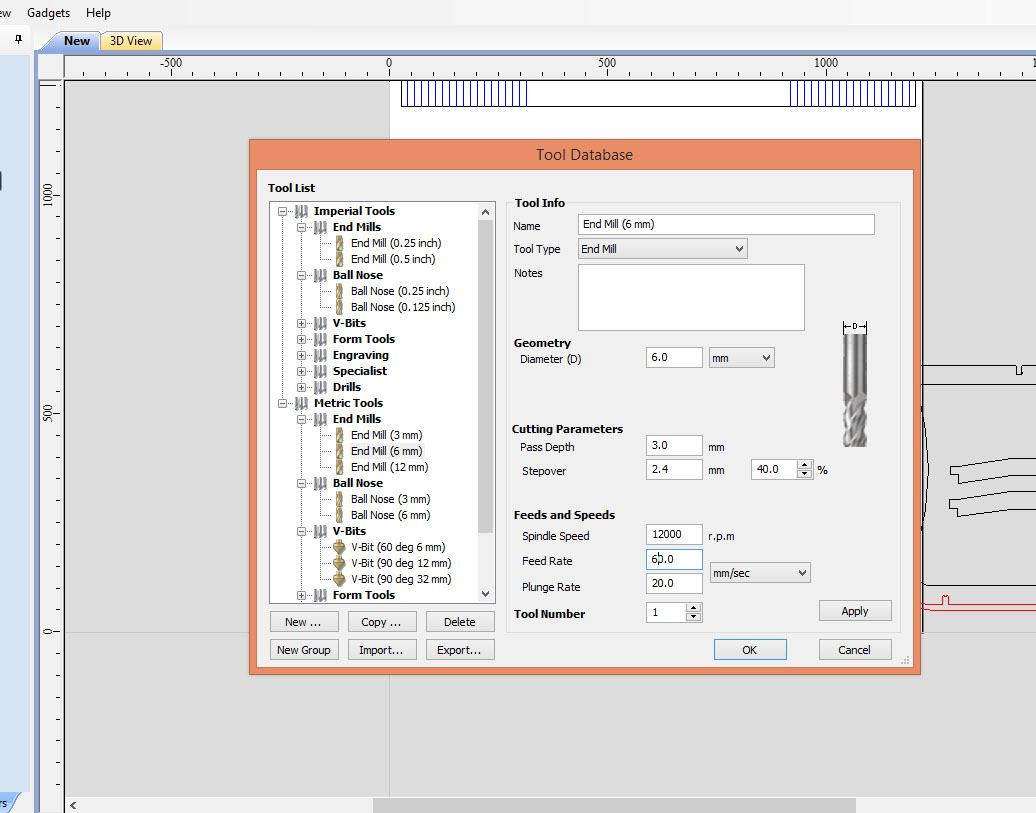
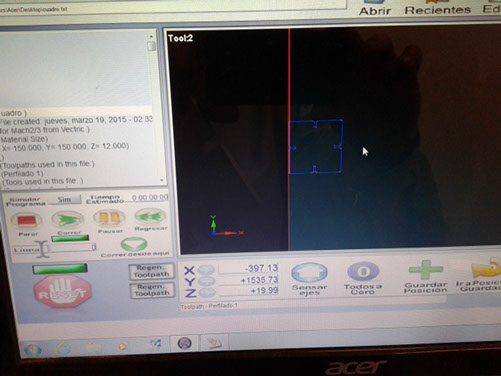
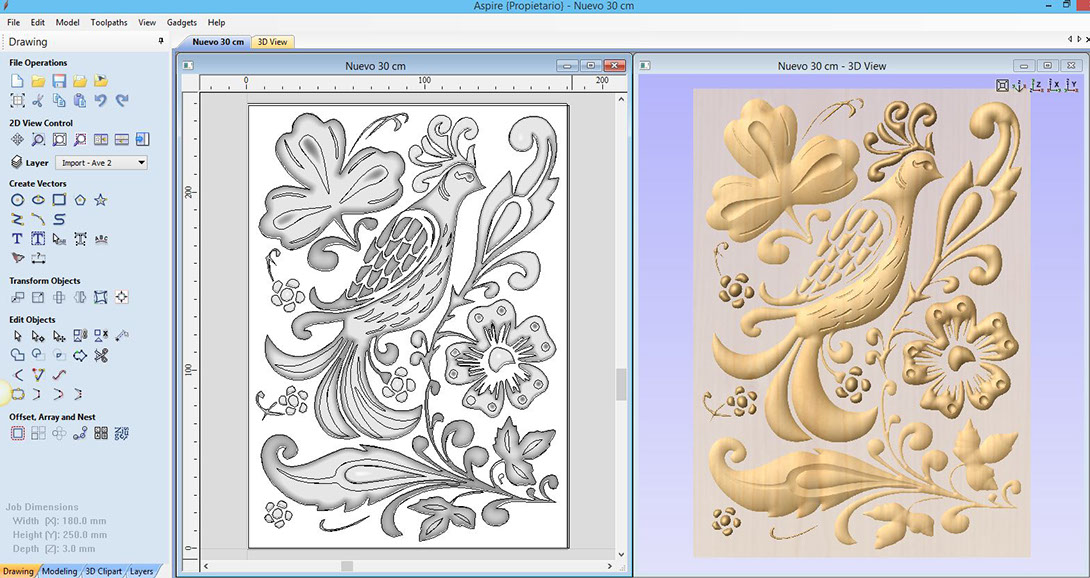
I Used Vectric Aspire to generate the cutting codes. As seen I used a 6mm tool traveling at 60 mm/sec at 12 000 rpm with a plunge rate of 20 mm/sec.
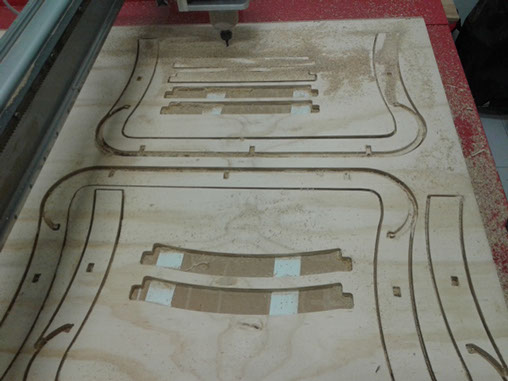
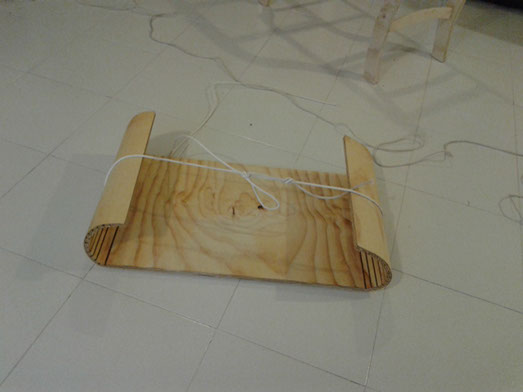
After cutting I assembled the bench. The fits fitted very well and I glue it.
It looked very nice but soon I discovered I made a mistake. In one piece the crossbar hole was 2 mm off side.
I did not care at the moment, but that cost me a LONG Sunday, Sanding Sunday.

I also discovered that the router does not handle well steep angles
After sanding all day, at night I put some hot water and bend bench's top. (First I had to cut some segments because it was too large).
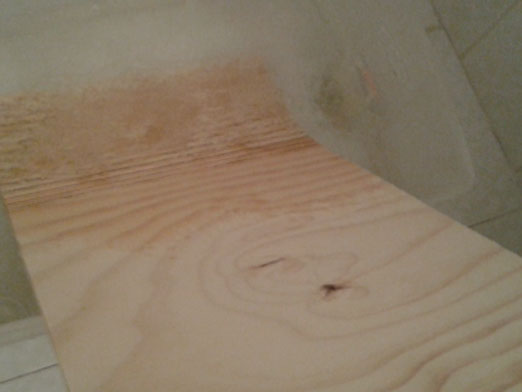
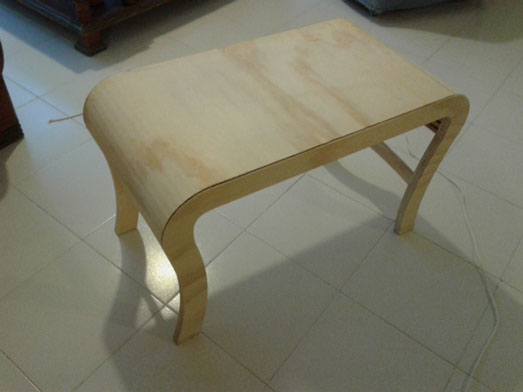
Taraaan!
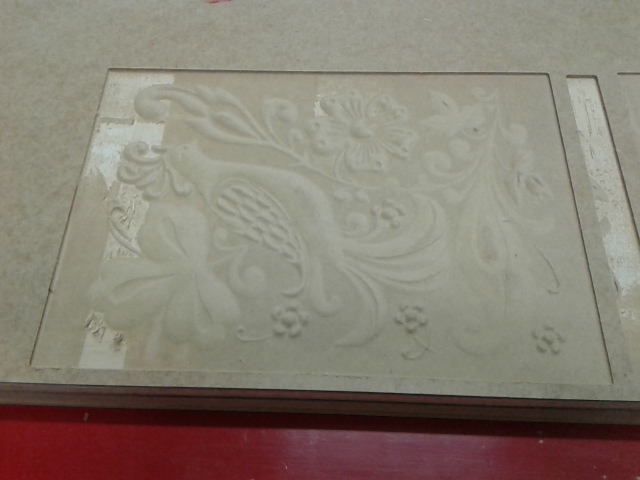
To finish the bench I wanted to carve something on it, so since we have the Vectric Aspire software I decided to engrave a bird figurine in MDF to glue it to my bench. First I decided the design I found in istock photo. and make it 2.5 D You can find the bird design by clicking HERE.
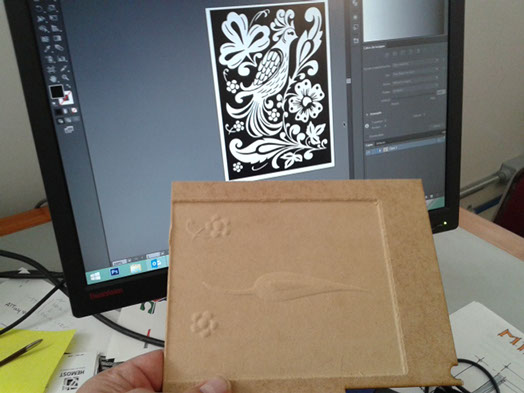
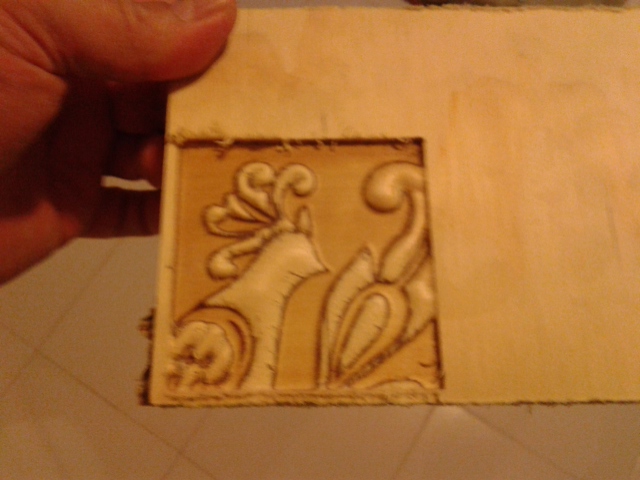
First I made a small test to see if my idea worked, and it did fine.
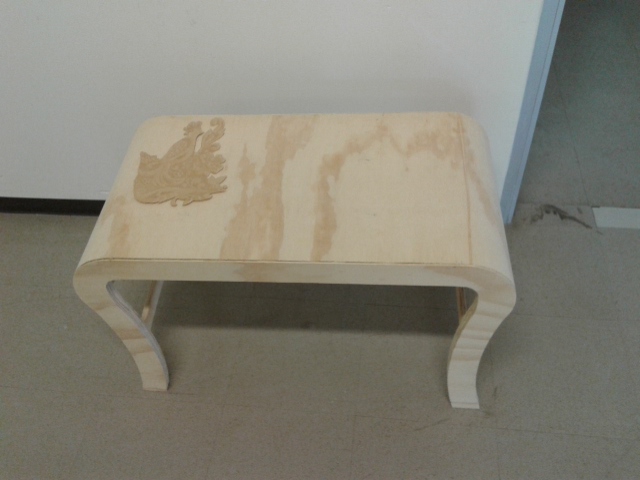
The final product! I will soon sand it and paint it.
Findings:
1. It is better to use different thickness materials for different parts and avoid machining
2. he total cost of my bench is around 12 USD including power, that brings the idea of how cheap and easy would be for people to make their own furnitures if we take the cost of the machine out of the equation
3. There are many geometries to consider when building a large piece.
4. It is the hell of a lot of FUN!