About Week 9
My Molding and Casting Exercise...
This week assignment is about molding and casting: design a 3D mold, machine it, and cast parts from it.
For my exercise I decided for a first experimentation to model a styled owl with Rhino.
First of all I decided the dimension, taking into account the available wax block: 168X79x36 mm.
After that I started to model the owl, starting from the profile

Created a surface from it, and extruded it. with _FilledEdges I smoothed the edges.

For the eyes I've applied solid difference and boolean operations. For the nose, applied a transformation of a circle with its control points, extruded it and filled the edges.

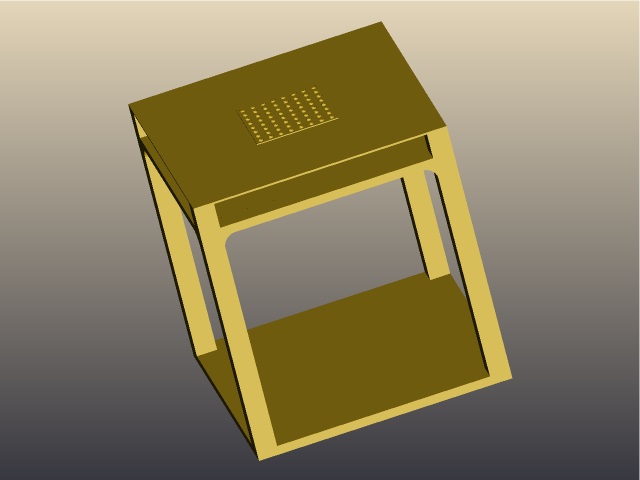
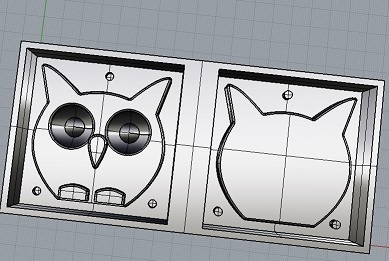
Once added the feets, I've prepared the box for silicon rubber
I've rotated+duplicated (in rhino by pressing alt during the operation) the model and positioned them on the extruded surfaces of the box.


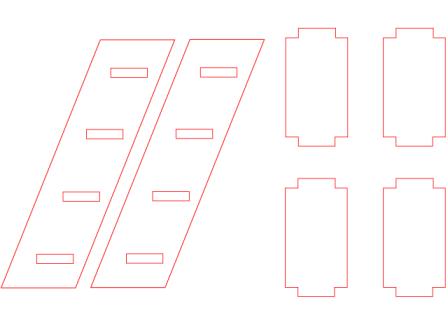
Added the pins for the junction of the two faces:

I tested that the two faces of model are in line.

Download the stl mold file
Download the Rhino file
For the molding I had to use the CNC shotbot but unfortunately the smaller bit was broken. The only available was the 6mm one. This bit is not suitable for my design and the selected wax box, so I decided to use another base, a 2.5 cm of MDF sheet, and to enlarge my stylized owl. I returned to my Rhino model and I used Scale 2D function to enlarge the model . Further operation was to reduce the height of mold (the original one was 3.6 cm) by mean of a boolean difference between the enlarged model and a 3d block.
As done in computer controlled machine assignment I've exported the .dxf file in order to use the ShopBot machine. In this case another ShopBot software has been used: ShopBot Part Works 3D.


The mold process was composed of two steps, with two different GCODE files: routhing toolpath and finishing toolpath. For the second one I choose a 45 degree engraving without a 90 degree double pass.


The next step was to prepare the surface for the casting by smoothing several times with a soft sandpaper.

Once removed all mdf dust I used a water based impregnant in order to avoid any detachment of pieces of MDF

Finally I used a mold release wax to facilitate the detaching of the silicone rubber

It was time for casting. I prepared the rubber where parts A & B were mixed for 3 minutes with a composition of 100A (silicone rubber):3B (hardness) by weight-scale.


From product instructions the pot life is 40 minutes and rubber cures in 24 hours, so after the casting during the first ten minutes I continued to vibrate the mold in order to remove residual bubbles.

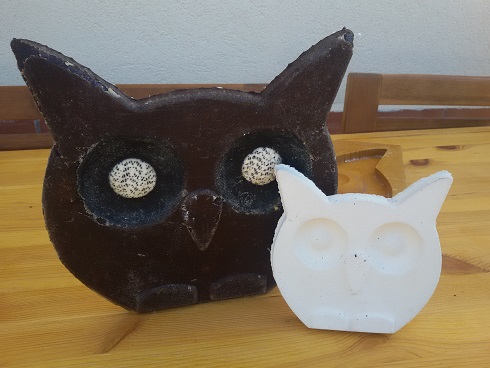
After 24 hours I try to remove the hard silicone with success. I realized some residuals of mold release and a not perfect mixture of rubber and hardness (blue streak), which however did not affect the texture of the silicone.


It was time to realize something with the silicone mold. I used a eco-friendly mineral powder, with hight thixotropy characteristics.
First of all I made two holes in order to realize the new casting by means of a pastry bag:

after a day I removed the mold to verify the work: well done!