Week9 - Molding & Casting
Design a 3D mold, machine it, and cast parts from it.
CLASS WEB PAGE:
http://academy.cba.mit.edu/classes/molding_casting/index.html
This week the exercise was to design a 3D model that we could replicate by making its mold. Taking ispiration from a wooden brain teaser, my idea was to realize a puzzle 3d consisting of three parts that fit together.
Idea Reference:
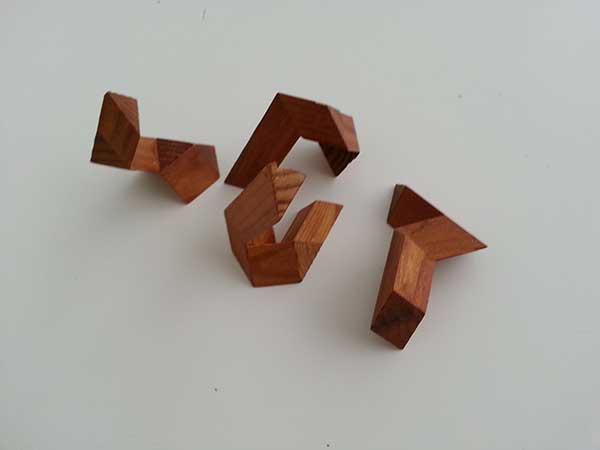
All separete components of my 3d wooden puzzle
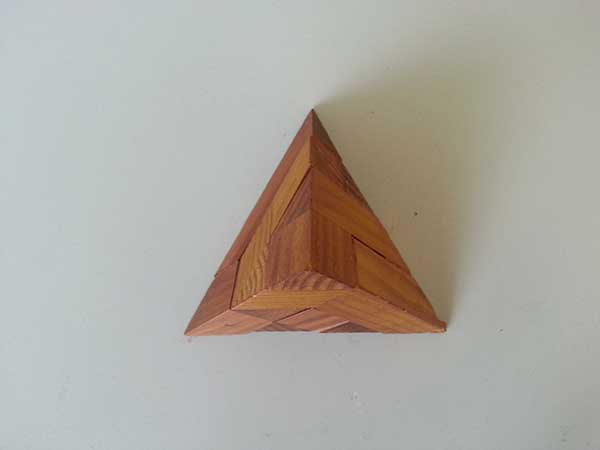
All joint components makes a pyramid
First Phase: Object Modeling.
I started working with the design of 3D Model in Rhino. I drew three pieces of a puzzle 3d which are based on a module of 15 mm. In the middle the connecting part is the same for all three. To join them is sufficient which are rotated between them.
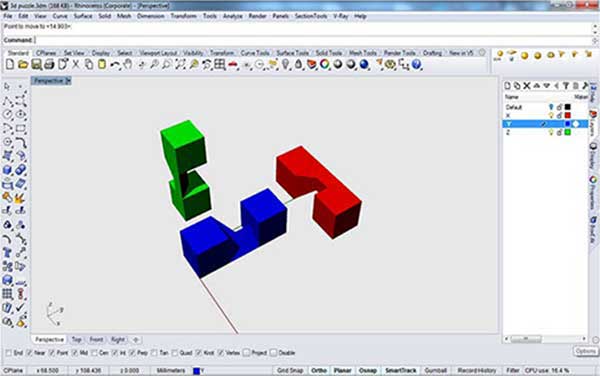
The three shifted pieces on the x,y,z direction
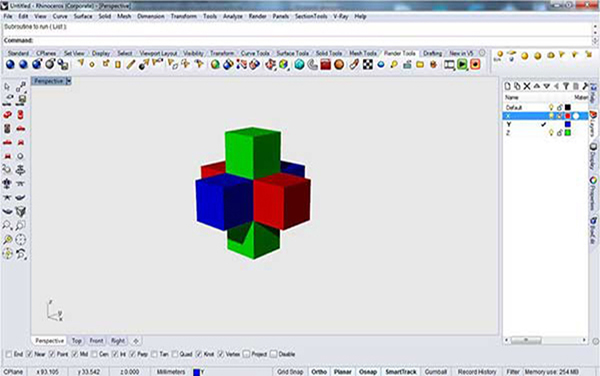
The three pieces joined together in the middle part of them.
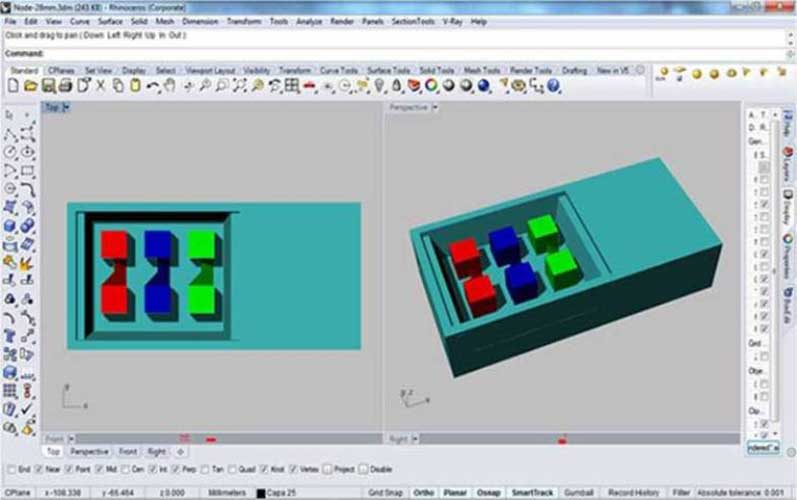
Second Phase: Object & Mold Modeling.
Once designed 3D object, we have to draw the hard mold. This operation requires some precautions which are really important to mill the wax block.
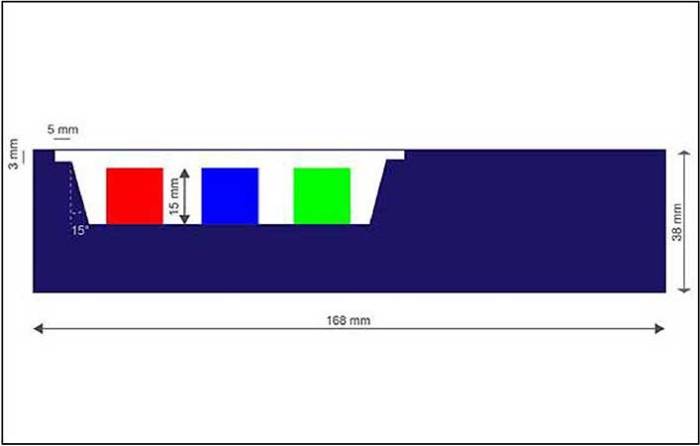
First thing to do: the “Hard Mold” For this process we need to use the roland modela machine and for that is import to consideres the types (dimensions) of mill we are going to use:
-1/8 end mill = 3.175 mm.
-1/16 end mill = 1.5875 mm.
-1/32 end mill = 0.79375 mm.
-1/64 end mill = 0.396875 mm.
The three pieces joined together in the middle part of them.
The three shifted pieces on the x,y,z direction.
Following those guides is time to make the 3D model for the Counter Mold, in my case I used Rhinoceros. When the 3d model was done I exported it as a STL (mesh) and then I opened the .stl file into Modela player 4.
Fab Modules:
-Open Fab Modules on Terminal
-Choose Modela .stl
-Select 3D stl file
-Select Molding step: Roughing
-Click Make Path
-Set 0,0 point at the top-bottom-left corner
-Click on make rml
-Send the job to Modela Machine
TOOLS:
-Roughing Tool Type: Square Tip 3 mm.
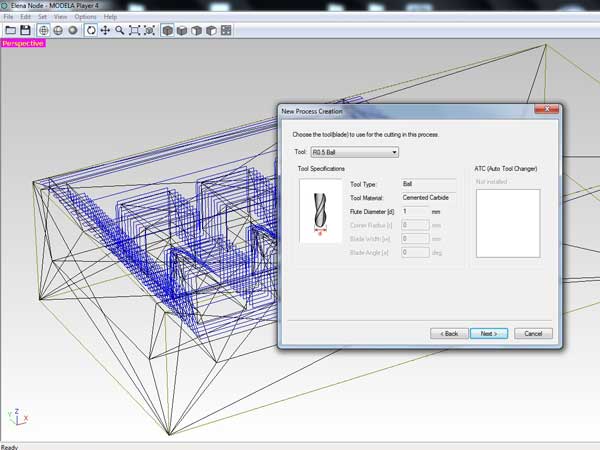
-Finishing Tool Type: Ball Tip 1mm.
SETTINGS:
-XY speed: 30 (mm/sec)
-Z speed: 30 (mm/sec)
-Speedle: 7000 (rpm)
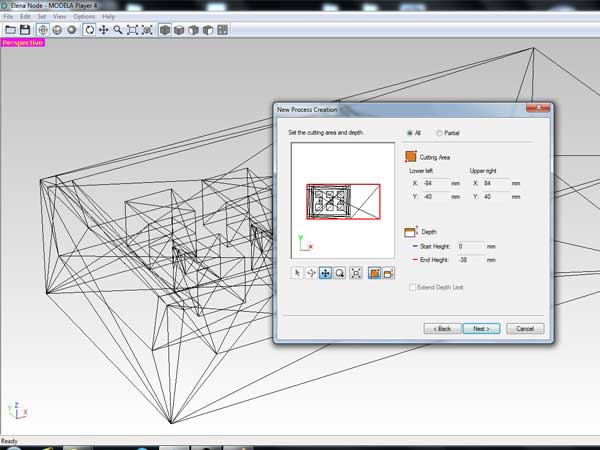
define the milling area.
tool 1 mm.
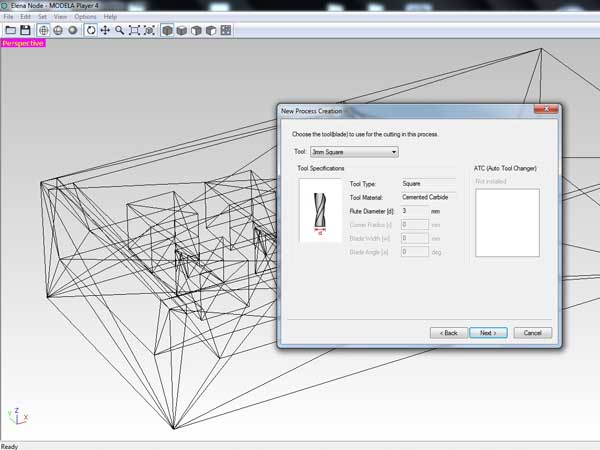
tool 3 mm.
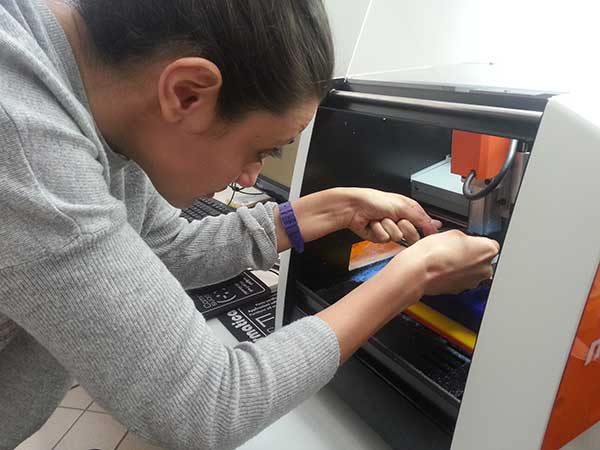
set up the milling process.

Starting with a ball tip.
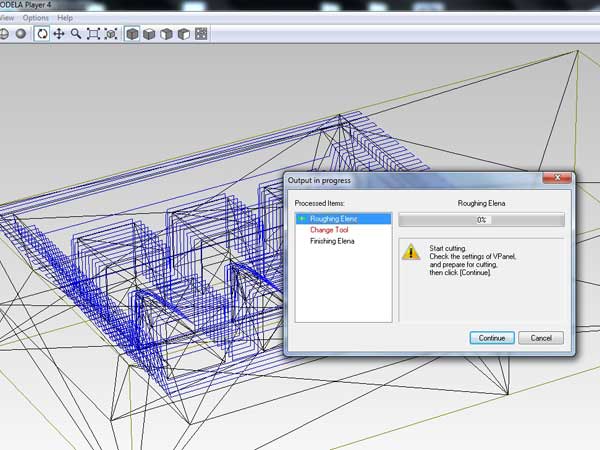
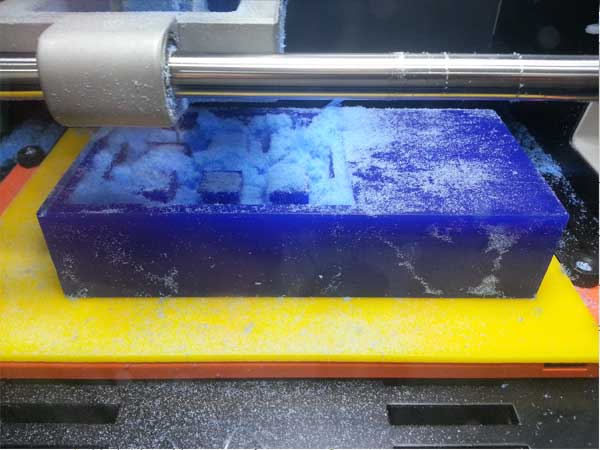
Roughing Process
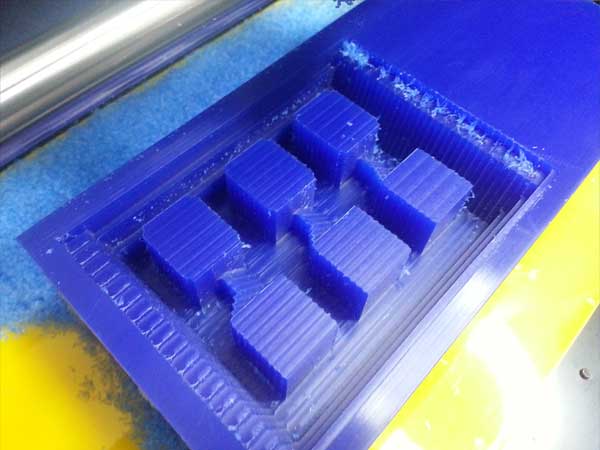
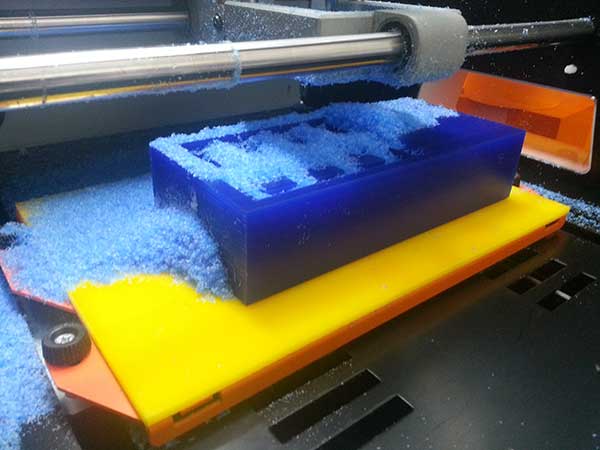
The mold after the Roughing.
Change tip with a flat one.
Finishing process.
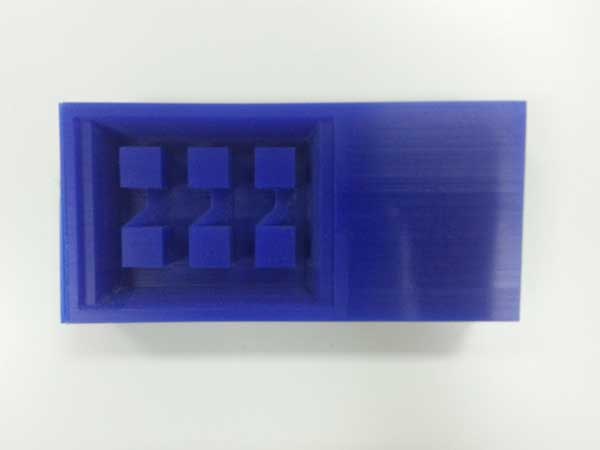
The milled mold
Third Phase: Soft Mold.
Once the counter mold is ready the next step is the preparation of the silicon mixture for the soft mold.
The procedure is quite long:
- Preparation of all material that I used to make the soft mold, also safety gloves and glasses;
- Applying a Release Agent and let it dry for 30 minutes;
- With a gram scale, dispense required amounts of parts A and B (ratio 10:1) and mix for 3 minutes.
- After mixing parts A and B, vacuum degassing is recommended to eliminate any entrapped air. I tried to degass the soft mold slamming it against the desk for 5/10 minutes;
- Allow rubber to cure as prescribed at room temperature (73°F/23°C) before demolding for 24 hours. Do not cure rubber where temperature is less than 65°F/18°C;
- Then expose the rubber to 176°F/80°C for 2 hours and 212°F/100°C for one hour. Allow mold to cool to room temperature before using;
- Wash it and it's ready to use.
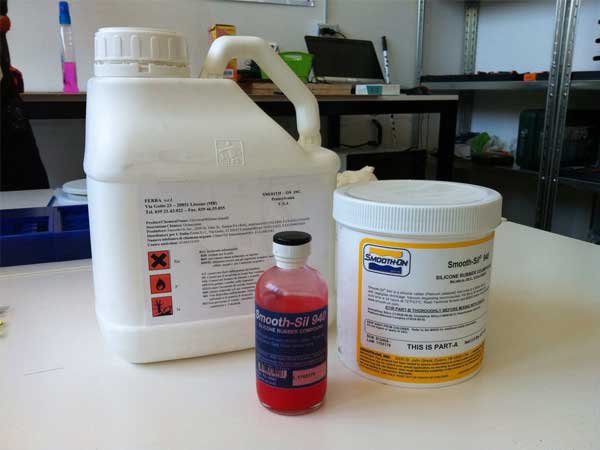
Agent Realese & Smooth Part A + B

Applying Agent Realese
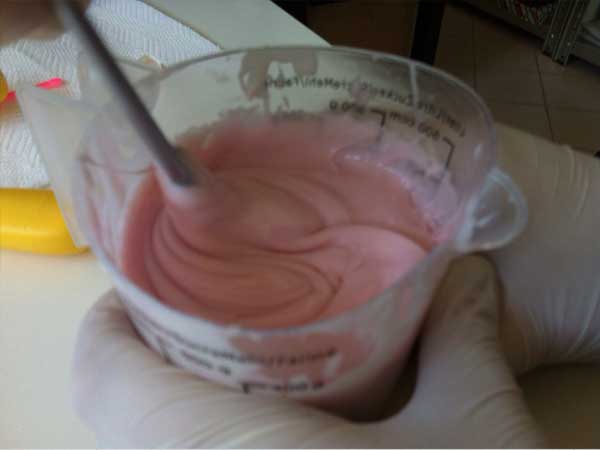
Mixturing A + B
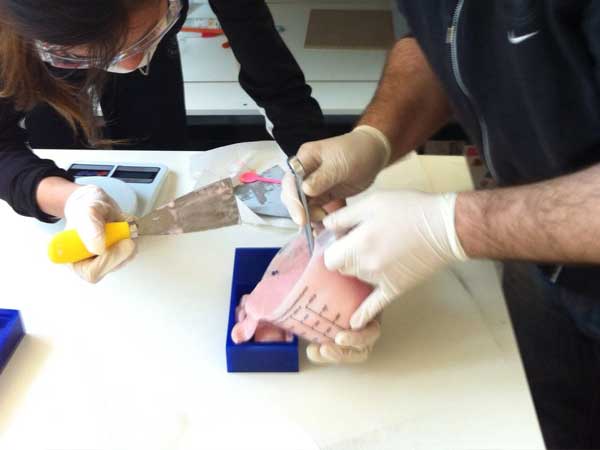
Mixture in the Hard Mold
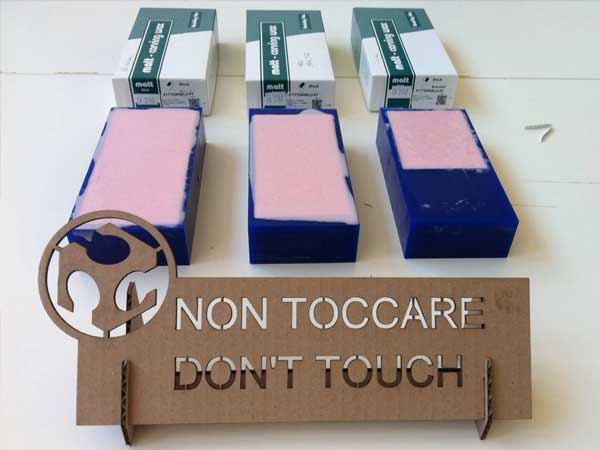
Waiting 24 H
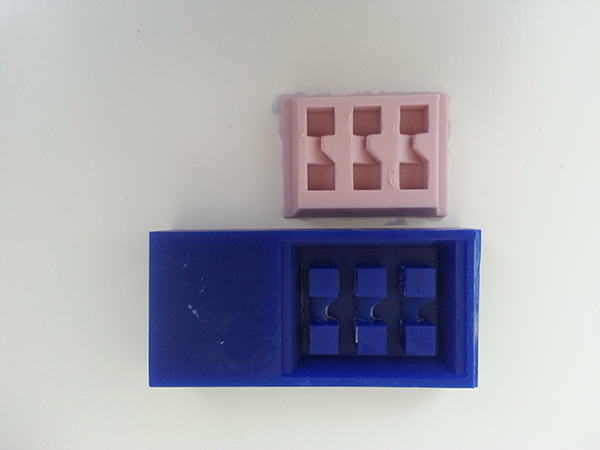
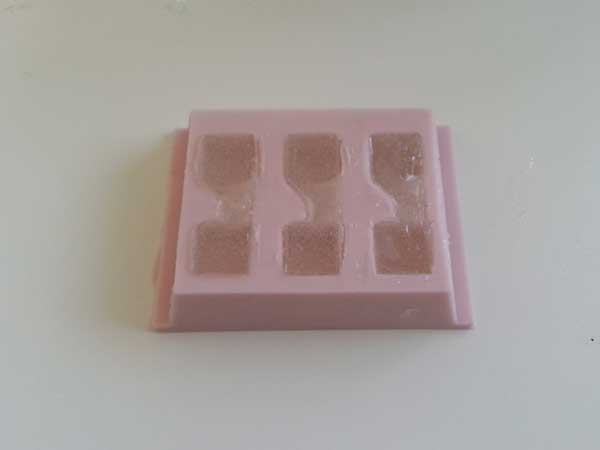
Soft Mold is ready
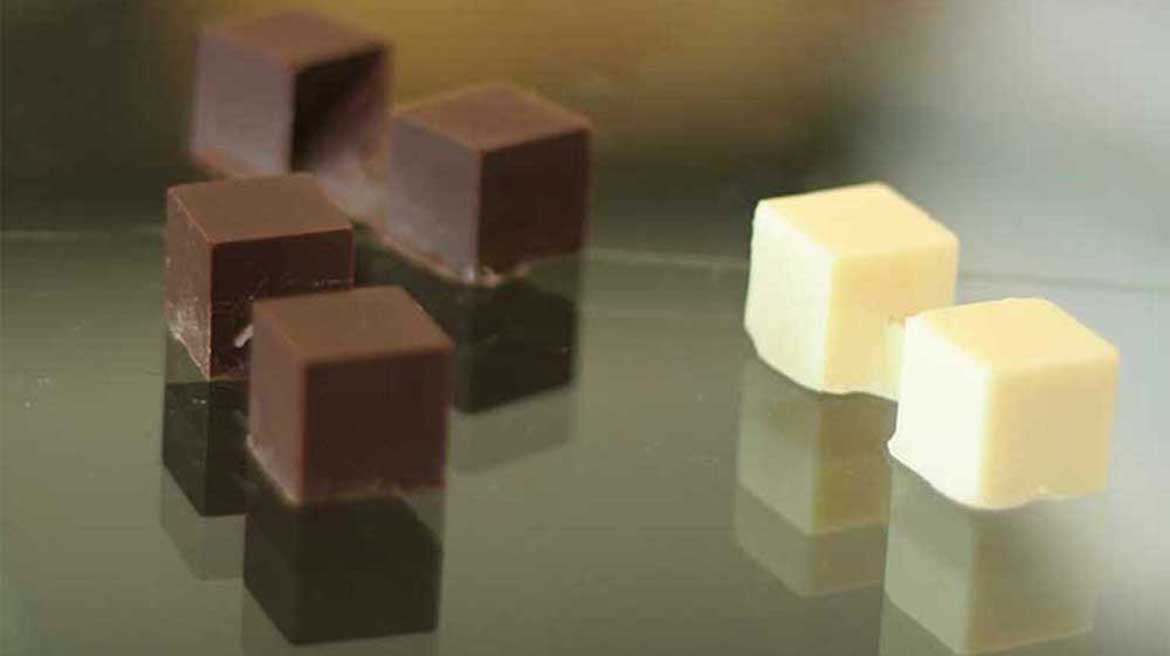
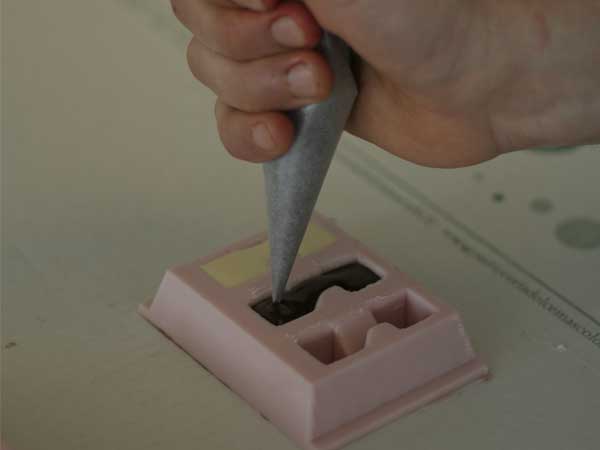
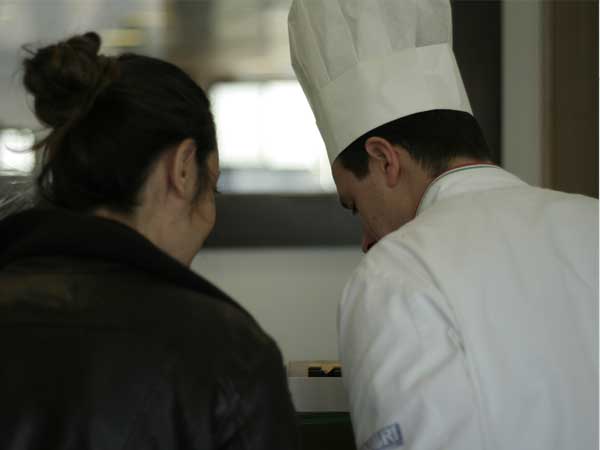
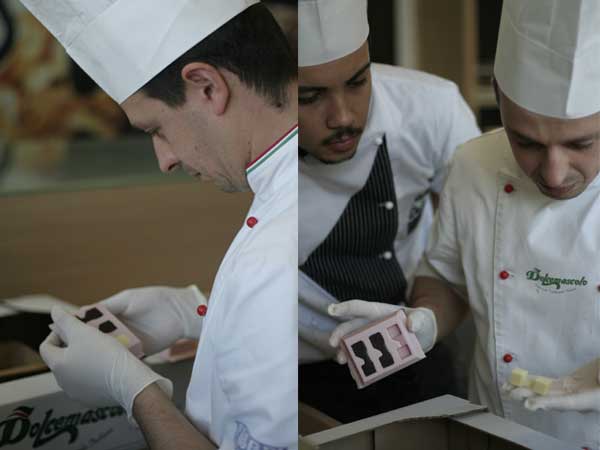
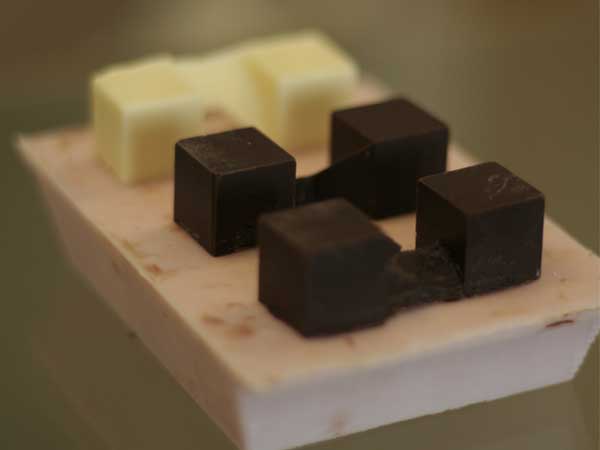
Fourth Phase: Making Chocolates.
Being the soft mold for food use some of us students of Frosinone Fab Lab decided to do the casting with chocolate. We ask to an important local pastry and chocolate factory “Dolcemascolo” to cooperate with us.So they invited us to their laboratories where an expert pastry making chocolate for us.
Fifth Phase: Making 3D Puzzle.
After the chocolate, I want to try my soft mold with a resin to obtain my pieces of a 3D Puzzle. To do it I used the resin available in the Fab Lab. For my mold it's sufficient a minimum quantity of product!
It must drain quickly the resin because it is fast settings. The waiting time is about 15/20 minutes.
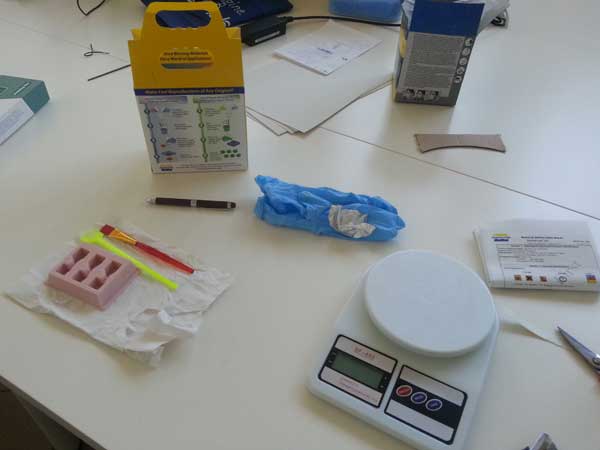
All the necessary
Waiting for 15 minutes
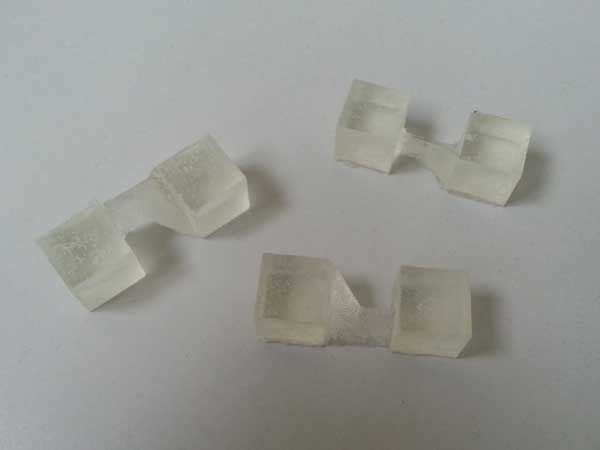
The 3 elements to join
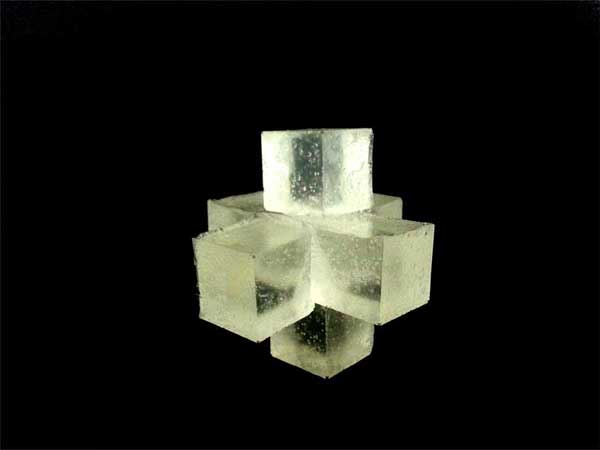
done!!
REFERENCES:
ROLAND MACHINE
SMOOTH-SIL 940