Week5 - 3D Scanning and Printing
mdesign and 3D print an object (small, few cm) that could not be made subtractively
CLASS WEB PAGE: http://academy.cba.mit.edu/classes/scanning_printing/index.html
DOWNLOAD FILES:
-3D PRINTER
|3D
| STL
-3D SCANNER
PLY
3D print is not a simple technology and the process to get good results needs much more experimentation and learning of techniques for making additive parts out of a file. In this fifth week I learn about 3d printing, scanning, the requirements to design a good objet to 3d print and some materials.
'Here' is the link of the webinar of Moritz Begle about 3D printing materials for us students of Fab Academy 2015.
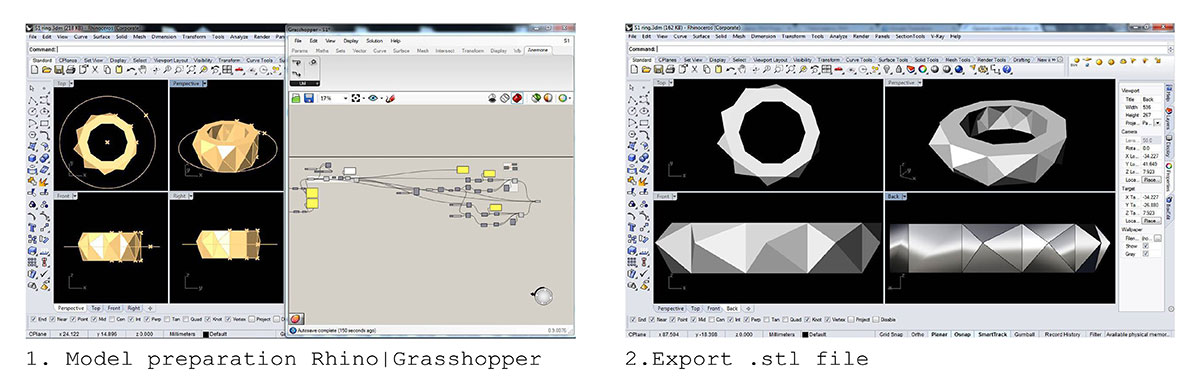
In these days I tried to learn Grasshopper following severals tutorials one of which is the 'RHINO/GRASSHOPPER' introduction organized by Fab Lab Frosinone.
I started from a circle defined by radius and center point;
- I created a series of the first circle along the z axis;
- Using an attraction point and Graph Mapper I scaled in xy the circles along a Parabola;
- I transformed the curves in loft and I rotated the structure around the z axis;
- Then I created other attraction point along a circle: it attracts the normal vector of each face created;
- I closed the mesh and I baked it.
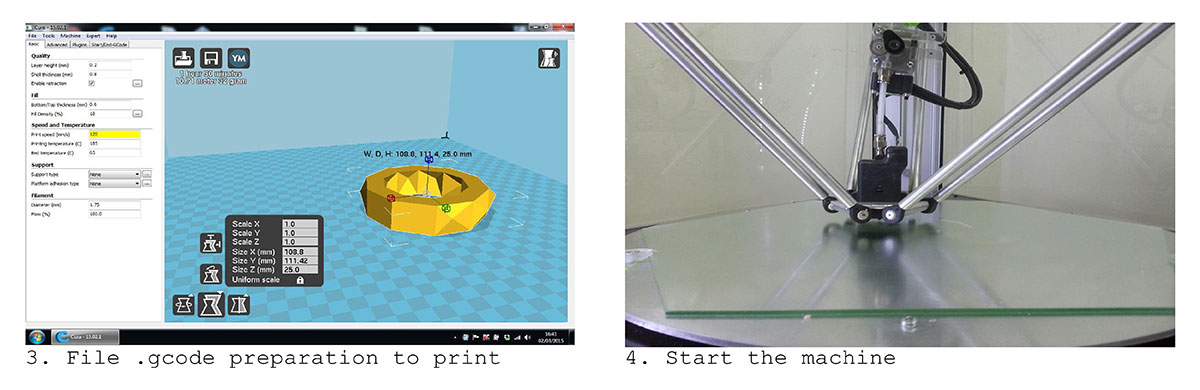
PRINT SETTINGS:
Cura Software
Print Speed: 120 (mm/s)
Printing Temperature: 185 (C)
Bed Temperature: 65 (C)
Fill Density: 20 (%)
Filament Diameter: 1.75 (mm)
Filament Material : PLA
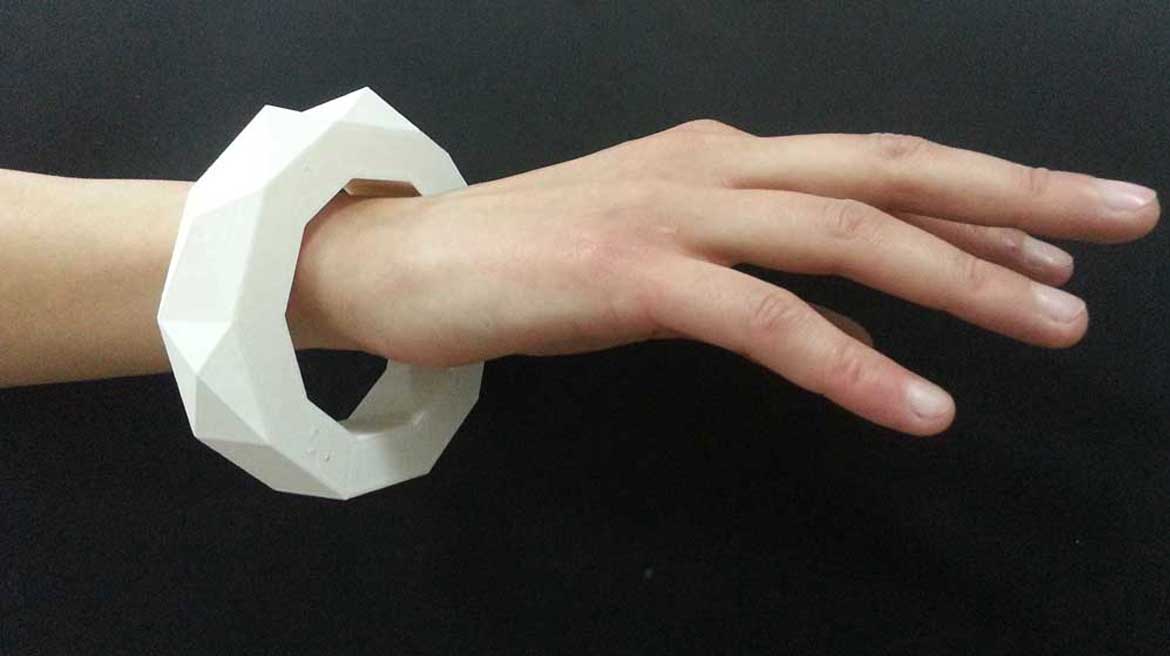
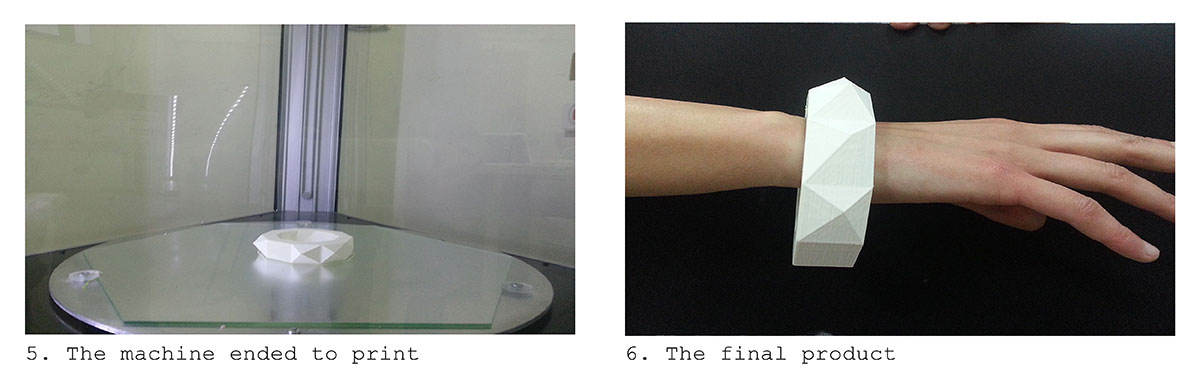
A SHORT VIDEO OF MINE 3D PRINT:
Bracelet Printing
MACHINE REFERENCES:
http://www.personalfab.it/shop/deltawasp-60-100/
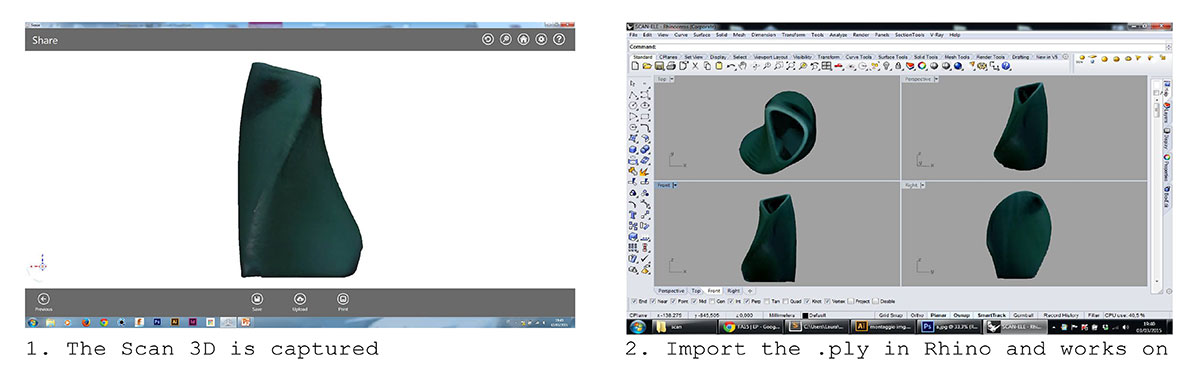
3D scan an object (and optionally print it)
To make the 3D scan I used the Sense 3D Scanner. I had very few time to do it, so I decided to scan an object in the fab lab. I choce a 3D printed pot and I scanned it. The software was quiete able to repair my scan but for a better result it should be worked with a software like Rhinoceros.