Week4 - Electronic Production
make the FabISP in-circuit programmer
CLASS WEB PAGE: http://academy.cba.mit.edu/classes/electronics_production/index.html
DOWNLOAD FILES:
FABIsp png
First phase: Making the FABIsp.
This week I start to play with electronics. The assignment was to make the FabISP, a PCB, that
I will use trough out the rest of the program and apply the components on it.
The FabISP is an in-system programmer for AVR microcontrollers, designed for production within a FabLab.
It allows you to program the microcontrollers on other boards you make.
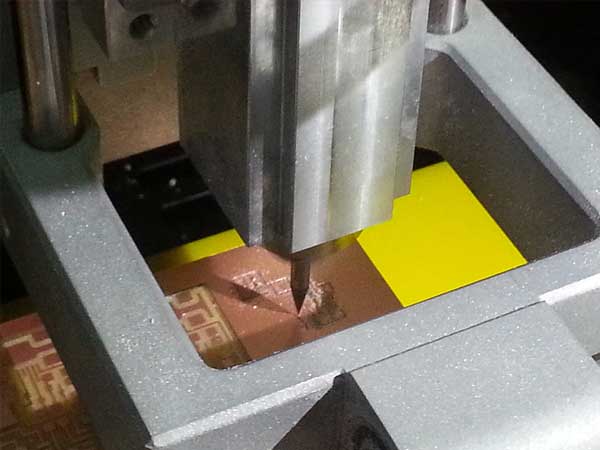
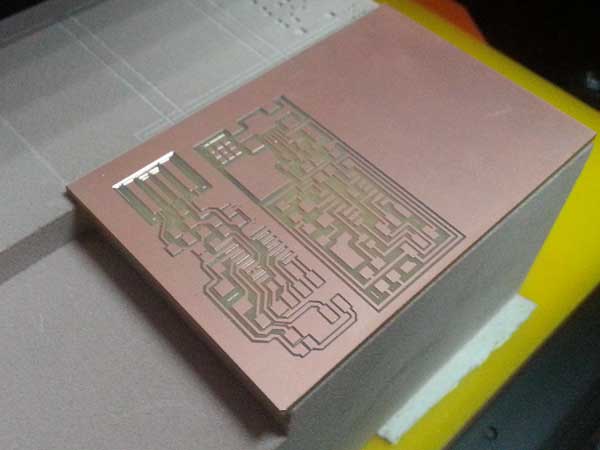
I made the ISP from a copper plate using the ROLAND SRM-20 milling machine.
After I opened the PNG files in the FAB MODULES making the settings to generate the RML files to send in the Roland Machine.
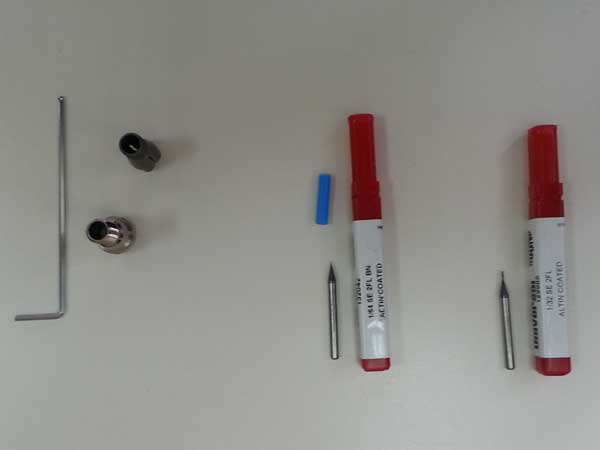
A very important thing to do is to set the milling coordinates in the Vpanel software on the terminal: first the XY axes then the Z one. The machine starts to mill from the traces file using a tip of 1/64 size; once the traces are done I changed the tool with a tip of 1/32 in order to cut the board.
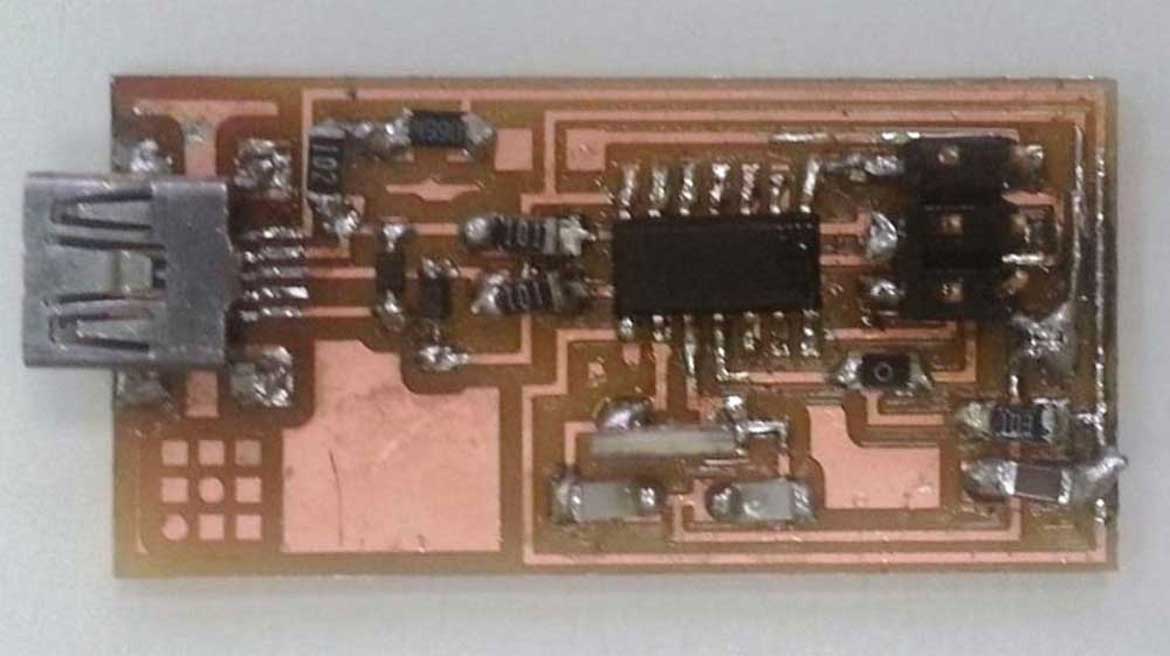
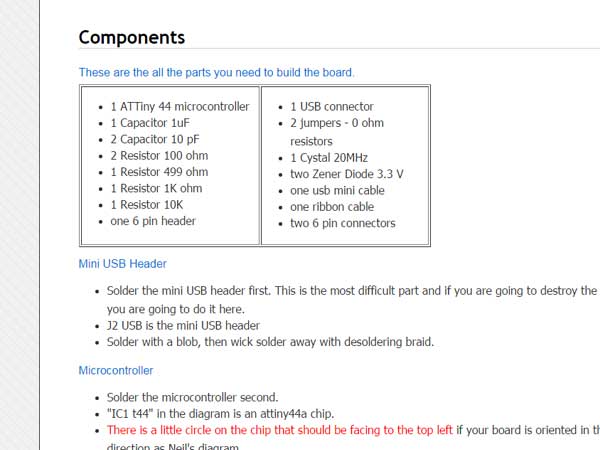
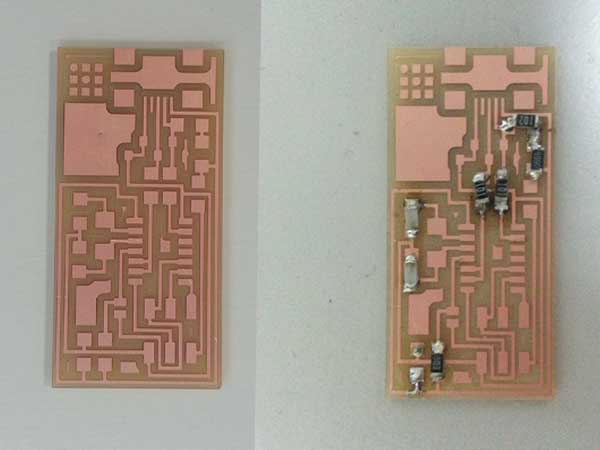
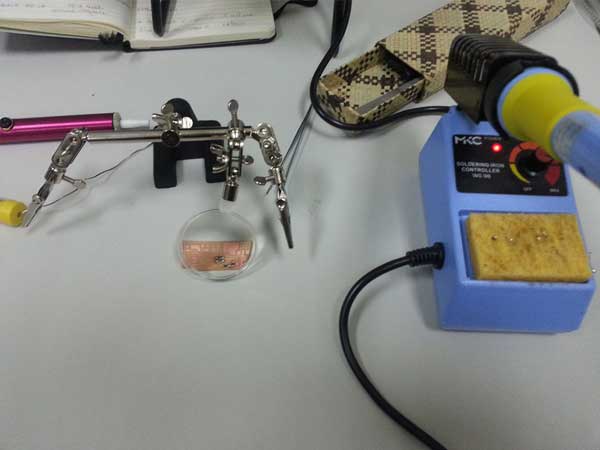
After finishing the milling process I had to solder the components on the board.
It was the first time I had contact with this kind of operation so after some disasters such as placing components at the wrong position or even wrong ones, I managed to finish my board!
Second phase: Programming the FABIsp.
I program the ISP following this tutorial.
The programming procedure went good, but unfortunately my personal computer (Windows operating system) do no recognize the ISP.
After various tests and checks I concluded having to make another board. After repeating the entire production process to made the board I tried again the programming of my new FabIsp and this time was a success! The operation was confirmed by my computer recognizing my board as a USB input!