Week16 - Mechanical Design, Machine Design
GROUP ASSIGNMENT: make a machine, including the end effector, build the passive parts and operate it manually, document the group project and your individual contribution.
CLASS WEB PAGE:
http://academy.cba.mit.edu/classes/mechanical_design/index.html
http://academy.cba.mit.edu/classes/machine_design/index.html
The exercise of this week was a group work to build a machine that makes somethings. We decided to made a Polystyrene Cutting Machine reproducing the sample 'Machine that makes'.
Once decided which machine to be build each of us started working on its own assignment.
The tasks I have done are mainly two:
-GROUP WEB PAGE PRODUCTION.
-ELECTRONICS & MECHANICAL PROTOTYPING.
DOWNLOAD FILES:
CODE
ELECTRONICS
INTERFACE
MODEL
PROTOTYPE
WEB PAGE:
I made a overall web page using HTML5 to report the total work of the group. So, from the beginning of the assignment, I paid attention to document the work of all colleagues with pictures and videos. Little by little made progress, I asked all to send me the files produced to collect and elaborate it.
You can see it on the Fab Lab Frosinone web page in the archive of the Fab Academy site.
Prototyping:
Cheking the kit in the package we had available theese following components:
-4 stages = stepper + rod bar
-8 guide bars
-4 gestalt circuit boards
-misc materials as nylon bearings
-RS485 connecting cable
-4 resistor
-plugs
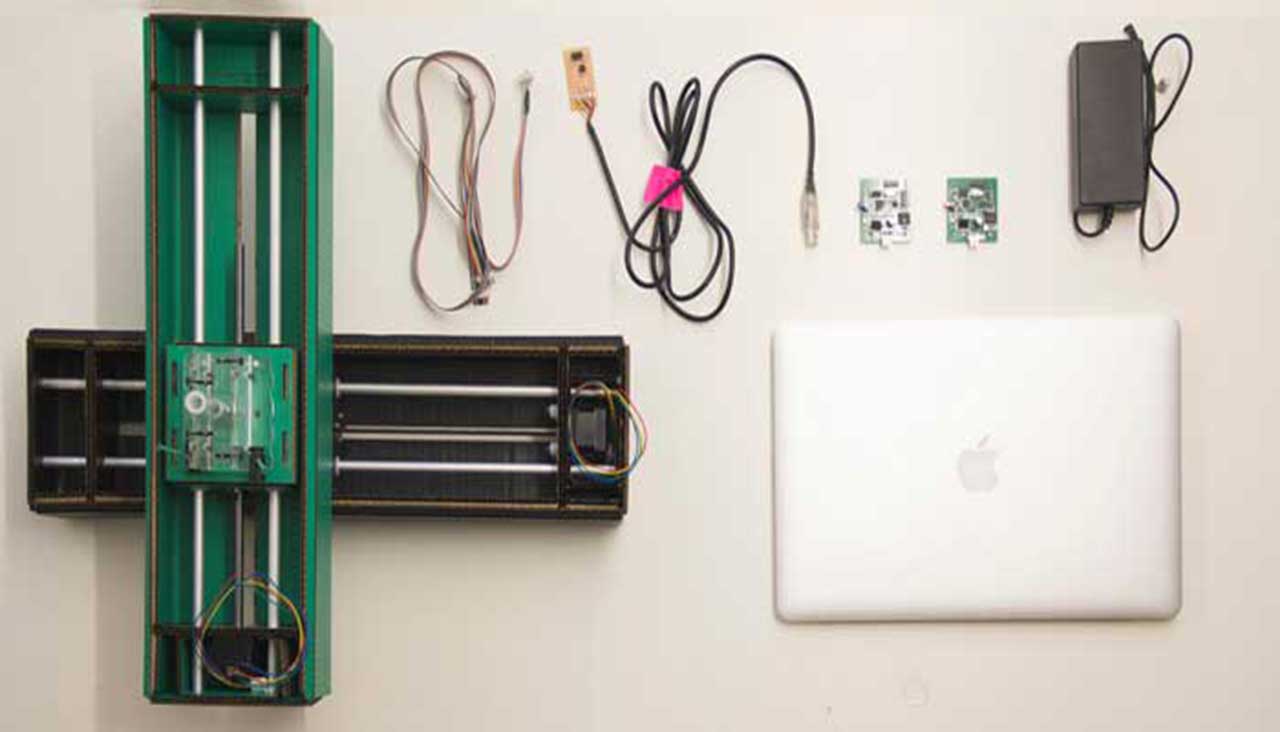
Machine Kit
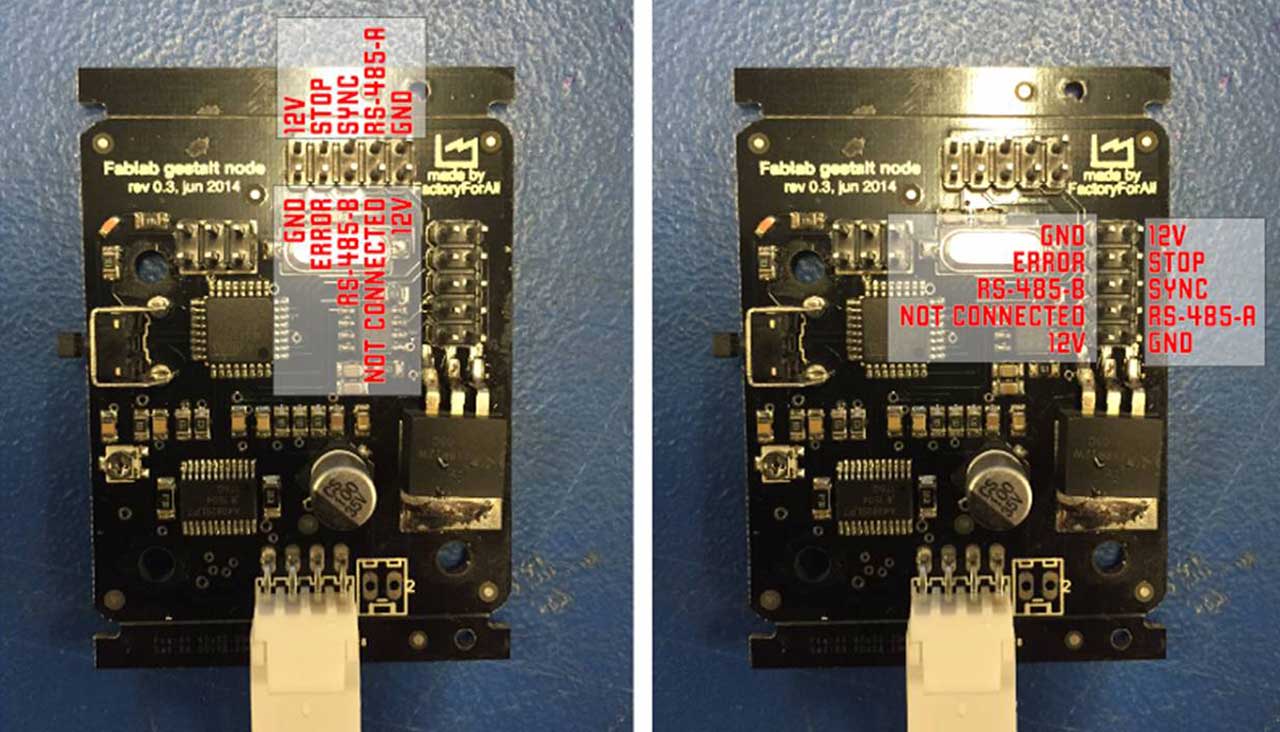
Gestalt Boards
Communication between 'Gestalt' is via network. To do this we need to mill the 'FabNet Shield'. So first I downloaded the file our disposition and I made the PNG and RLM files.
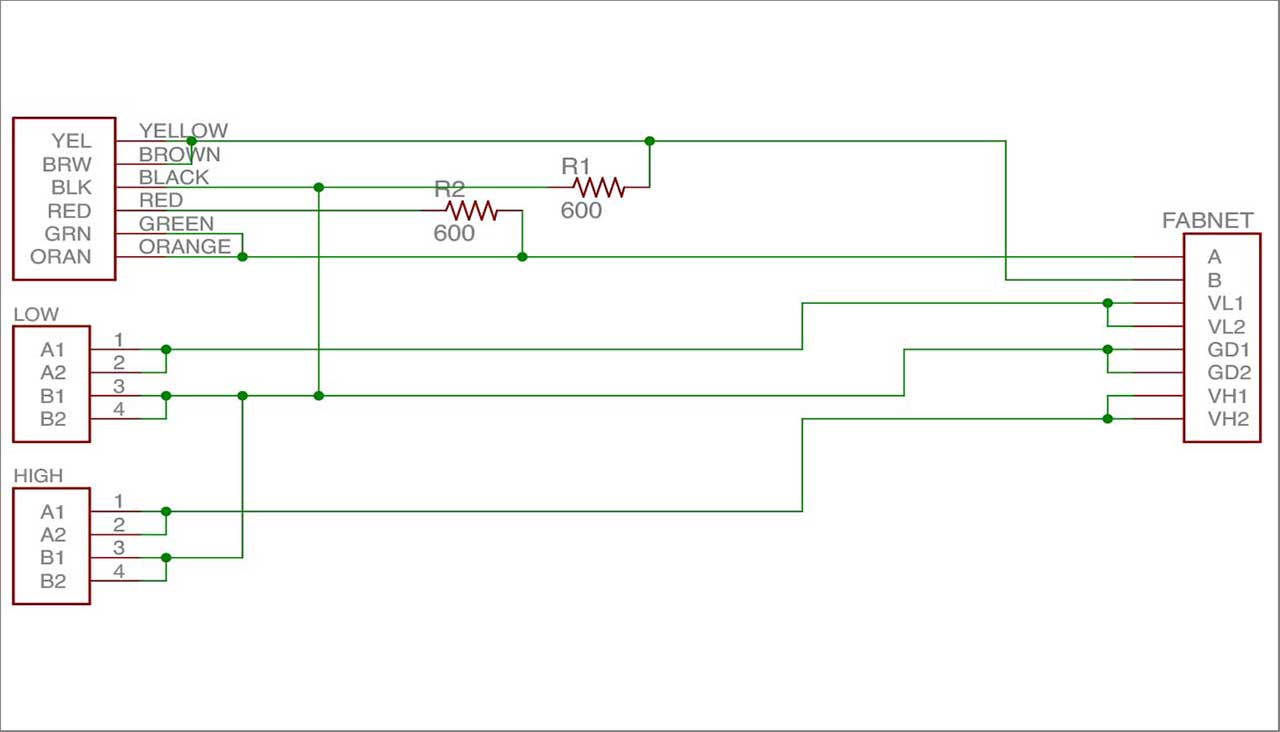
FabNet Schematic - Eagle's File
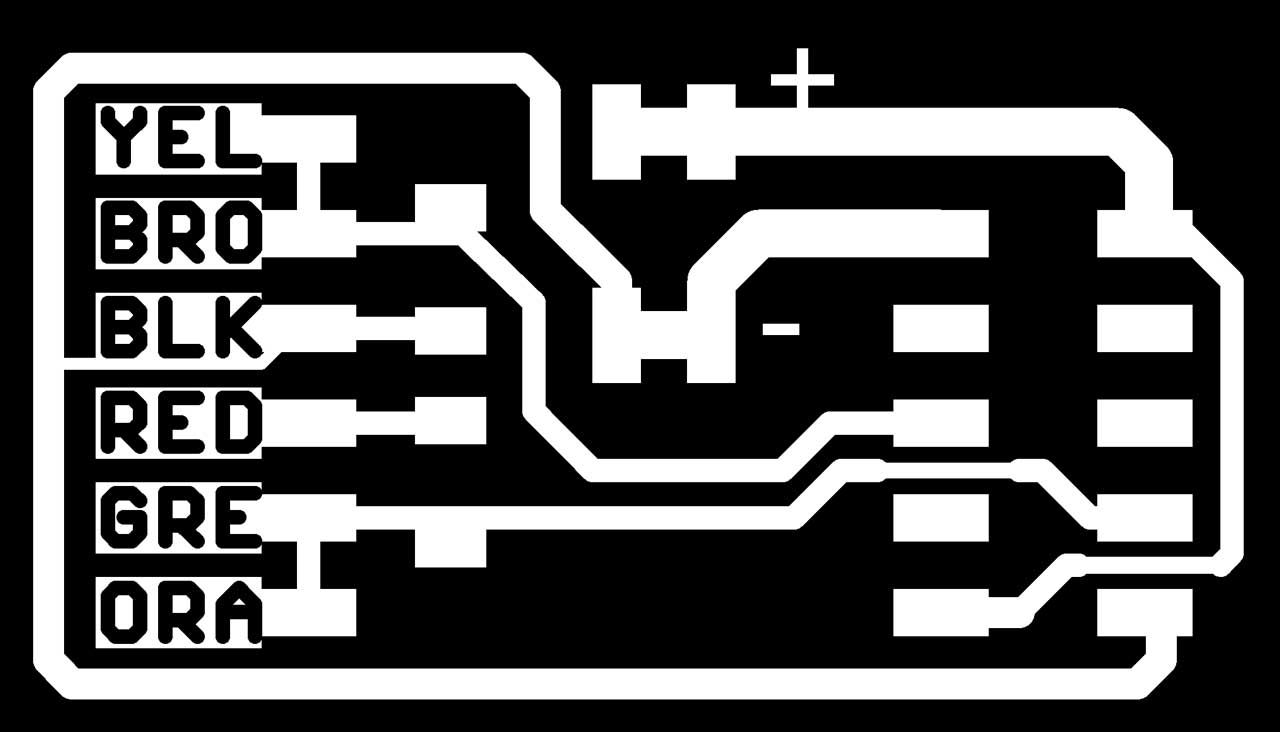
FabNet Shield - PNG's File
To mill the FabNet I used the Roland SRM-20 Machine. To do the traces I used a tip of 1/64 size. Once the traces are done I changed the tool with a tip of 1/32 in order to cut the board. My collegue Massimiliano Dibitonto helped me with the soldering to put all electronics components in the shield.
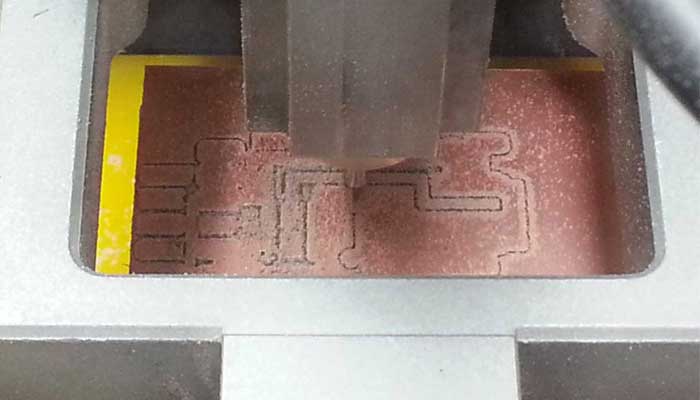
Milling the FabNet

Soldering the FabNet
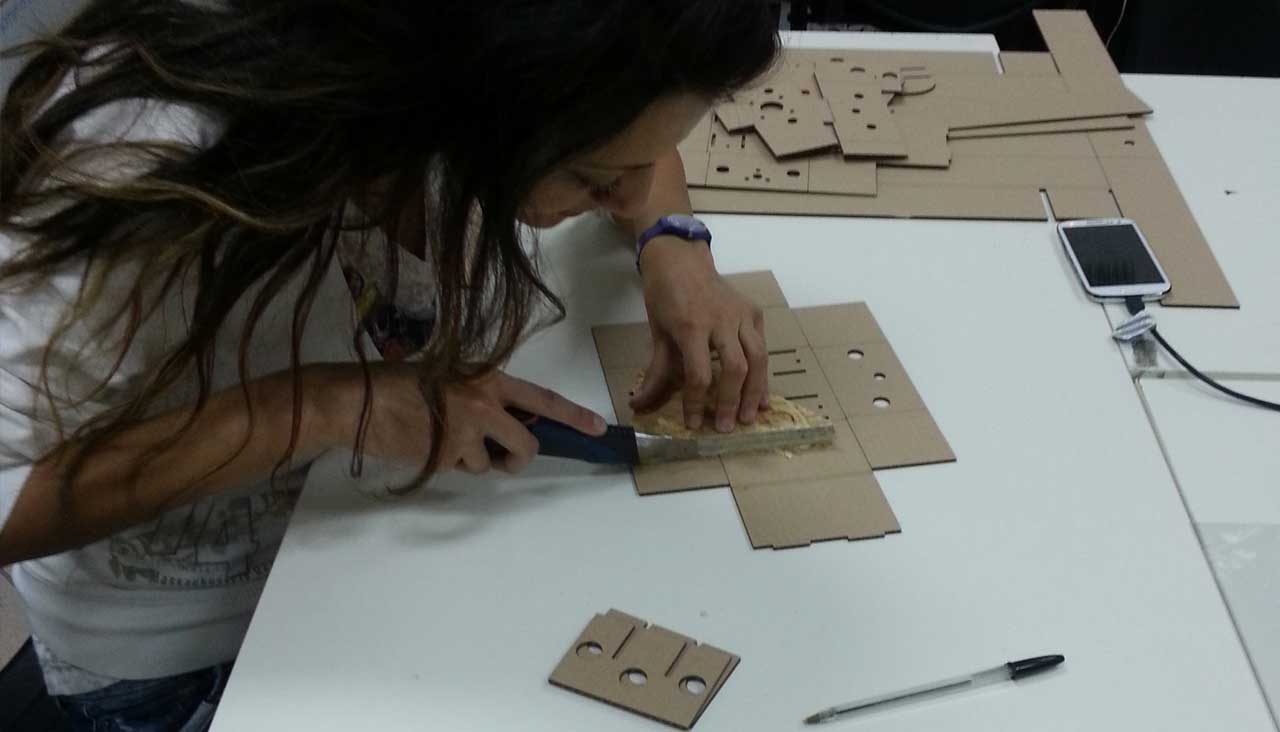
In a second moment I downloaded the file of the Cardboard stage to test sizes with our panels available in the Fab Lab. After a first laser cutting me and my colleague Marco Sanalitro noticed that the 2d file had to be settled. So I redraw the stage files and after I cutted other four cardboard to assemble the stages of the machine.
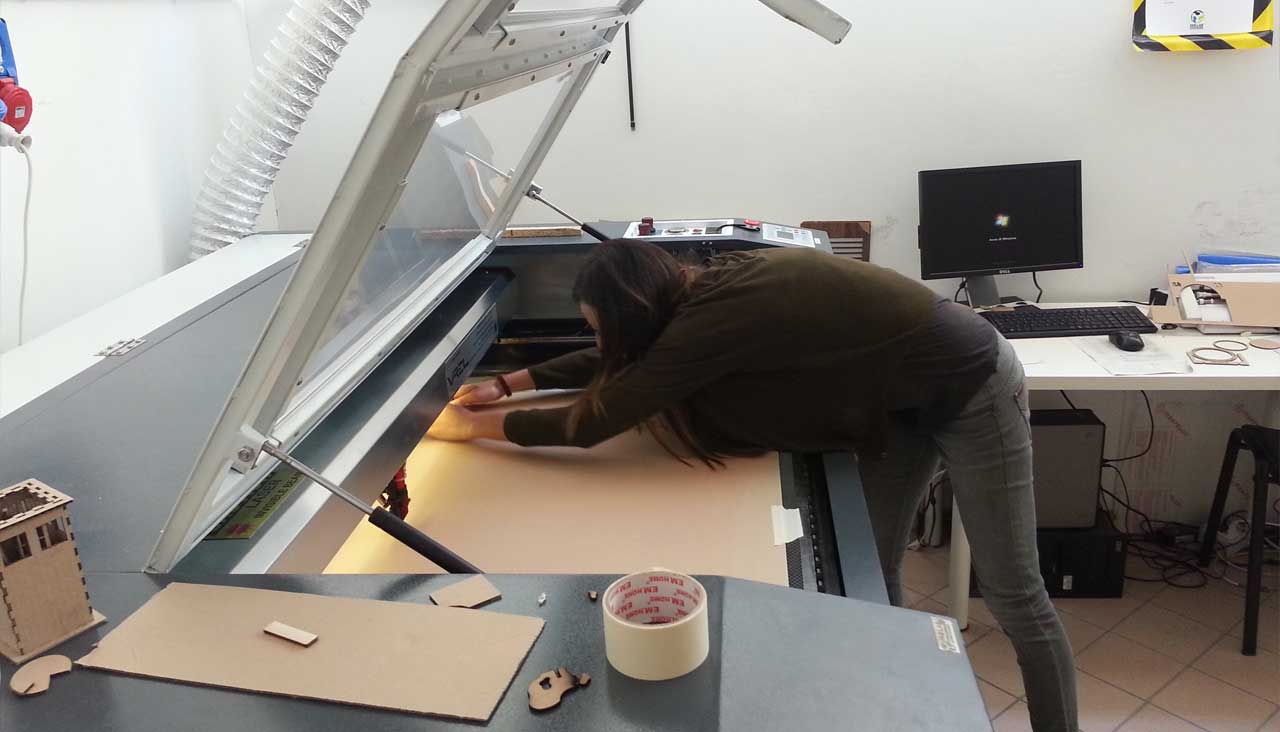
Putting the Cardboard in the Laser Machine
Waiting the Cutting of the Stage

The Stage is cutted