Week12 - Composites
Design and make a 3D mold (~ft2), and produce a fiber composite part in it
CLASS WEB PAGE:
http://academy.cba.mit.edu/classes/composites/index.html
For this week, the exercise was about composite; design and make a 3D mould and produce a fibre composite part in it, by using air-vacuum process. Since you can reuse the mould it allows you to make repetitive things fast.
DOWNLOAD FILES:
MODEL
| STL
| ISO
First Phase: Modeling & Milling.
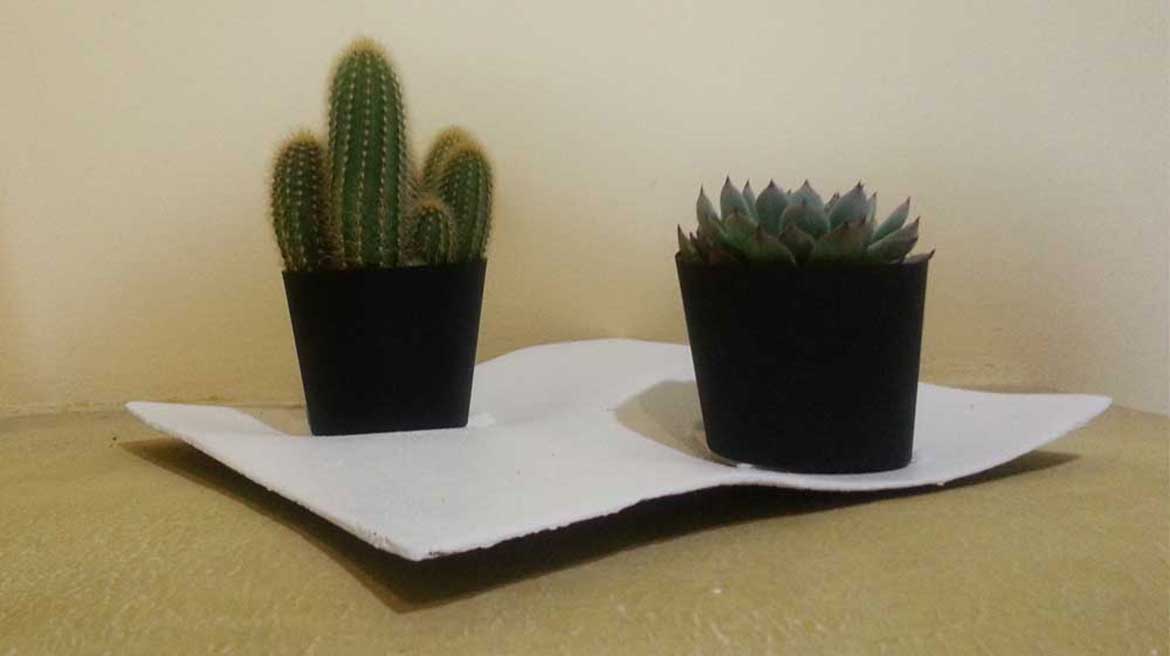
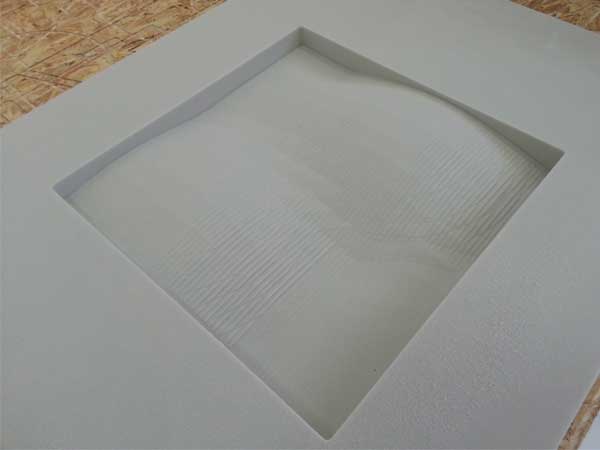
The first step was made a 3D Model to make the Mould on a Polyurethan Panel ( 600x800x100 mm of which profits 500x600x60 mm) . Beginning my idea was to create a tray. Trough an exercise with Grasshopper I got my Mesh, after I opened it with Rhinoceros to work on it. I sized the model (300x300x28 mm) paying attention to the dimension of the machine spindle, because the maximum height that I could use was 30 mm.
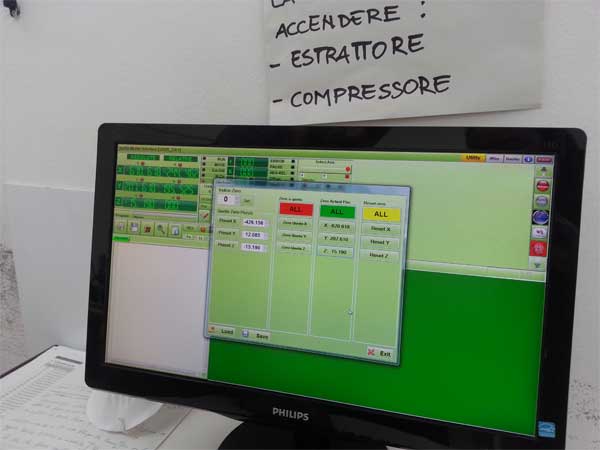
After I exported the .stl file and I downloaded and installed on my pc the trial version of Mesh Cam software. I had to set up the units in mm, determine the size of the area to mill and most importantly, in the Toolpath Parameters, I set the two milling process which are the Roughing (tip 8 mm flat-head) and the Finishing (tip 3.2 round-head). Did this I saved the two .iso file for the Isons Software where I set the X,Y (0,0) and the Z-axis home coordinates values and I modified the gcode to start the milling process.
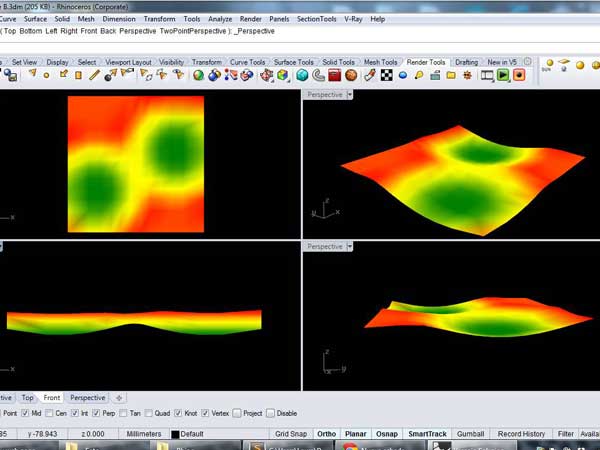
The mesh Model for the Mold to mill.
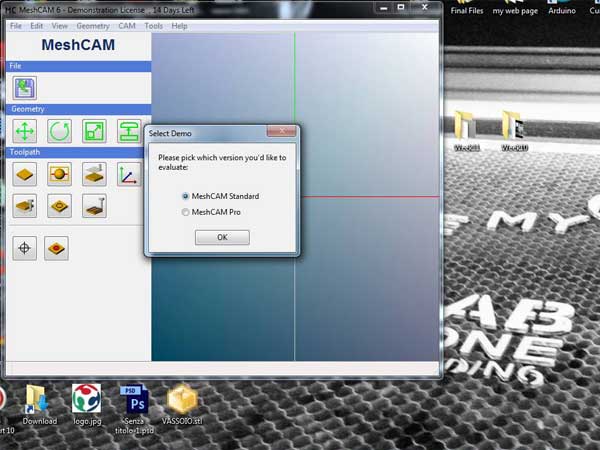
Setting of the .stl File for the Milling Machine
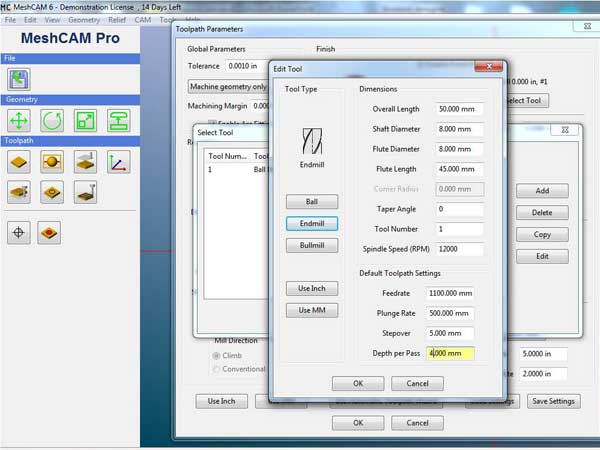
Roughing Settings
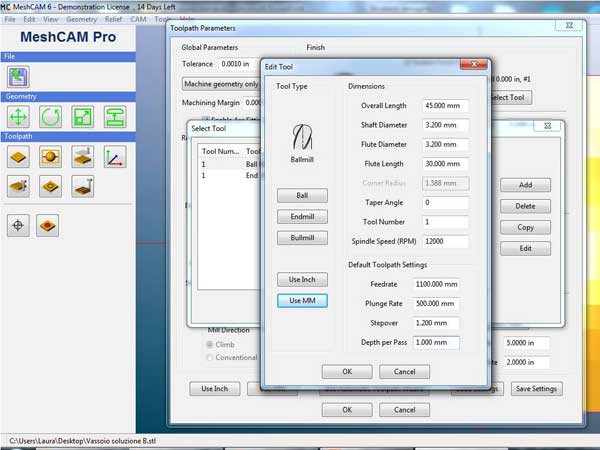
Finishing Settings
Roughing Settings:
-tip 8 mm square-head
-feed rate: 1100 mm/s
-plunge: 500 mm/s
- spindle speed: 12000 rpm
-depth per pass: 4 mm.
Finishing Settings:
-tip 3 mm ball-head
-feedrate: 1100 mm/s
-plunge: 500 mm/s
-spindle speed: 12000 rpm
-depth per pass 1 mm.
We manually modified the GCODE to stop the machine after the roughing to change the tool. M5 to stop the spindle, G0 and x,y,z coordinates to move the axis.
A very important thing to remember before start CNC is to switch on the air compressor and the extractor!
Setting of the .stl File for the Milling Machine
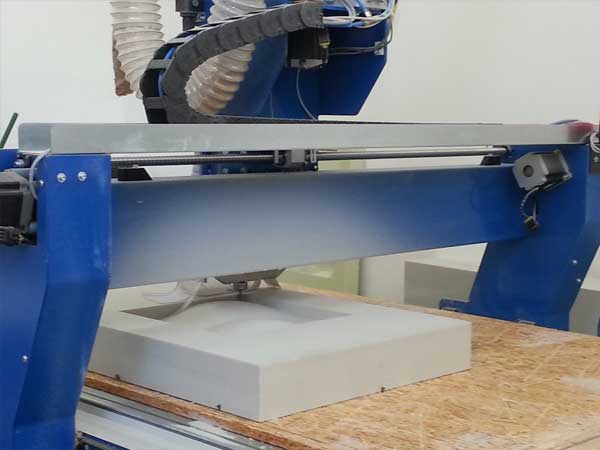
Setting of the .stl File for the Milling Machine
Time taken for Roughing: 2.25 h
Time taken for Finishing: 1.30 h
Second Phase: Wet Lay Up.
Once ready the Mold, followed a long procedure of some subphases. The coordination with some colleagues was crucial to perform simultaneously some procedures.
- Lightly Sanded.
- 2 Coats of Epoxy resiner & Hardener (2:1 ratio).
- Lightly Sanded.
- 4 Coats of Wax Mold Release each 30'.
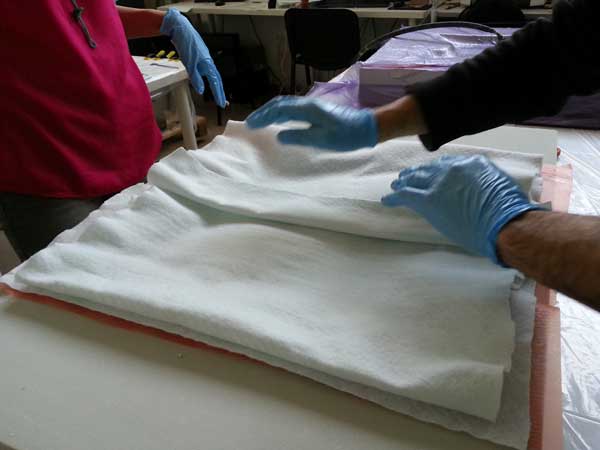
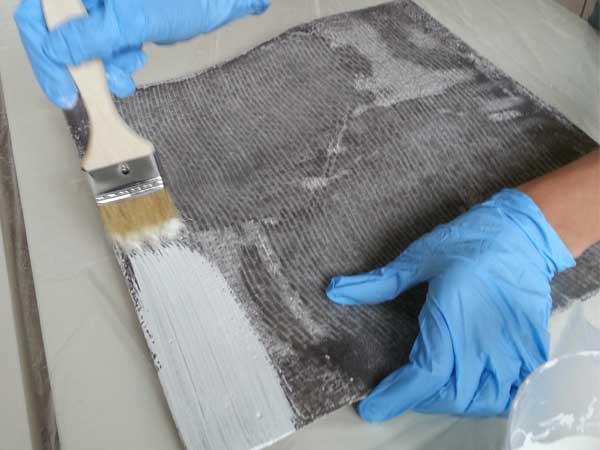
- 3 Layers of Linen Fabric and Epoxic Resin
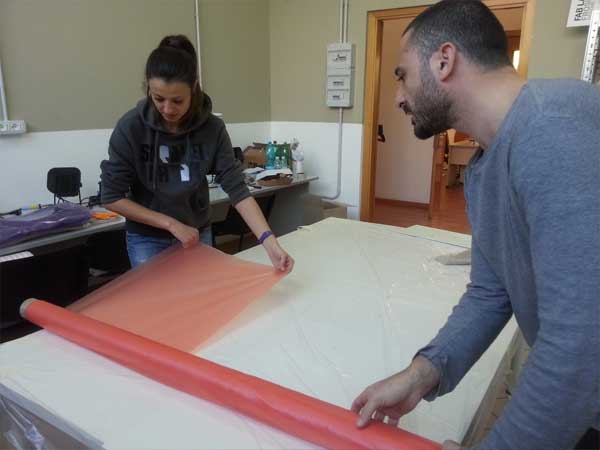
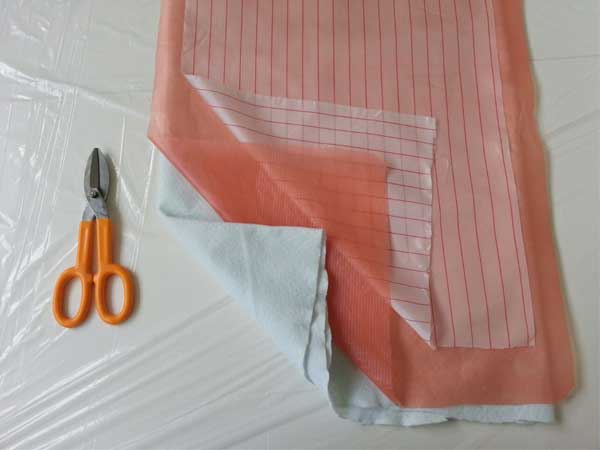
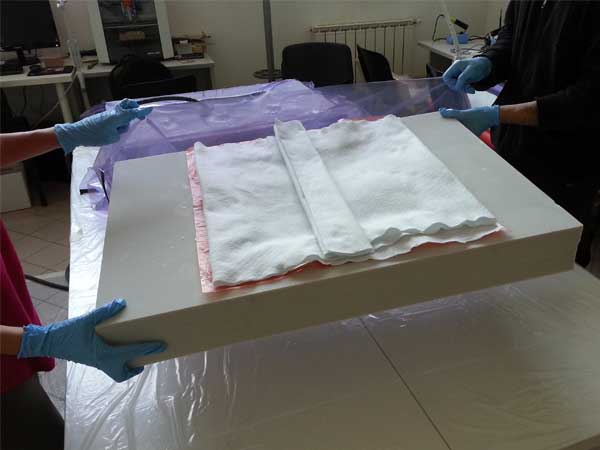
- 3 Protective Layers (Peel Ply-Plastic Laminate with Holes-Breather)
- Accomodation of all in the Air-Vacuum Bag
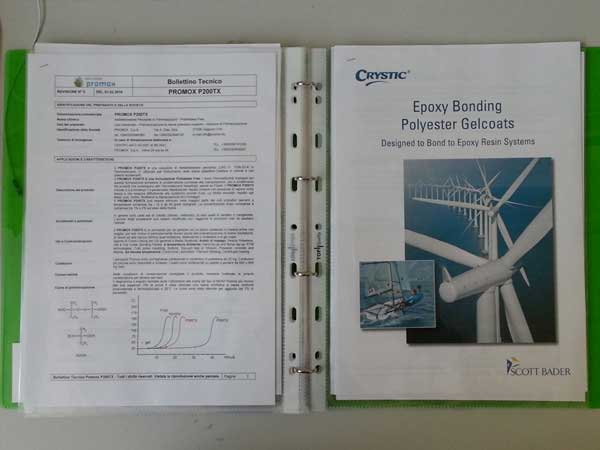
Our Materials Book
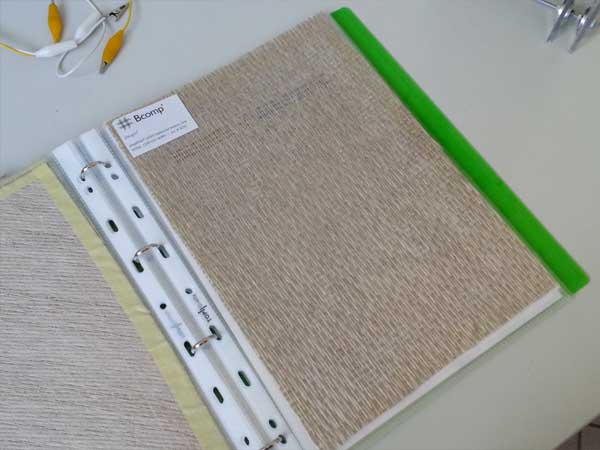
Type Linen: Bcomp.
Type Linen: Bcomp.
Type Linen: Bcomp.
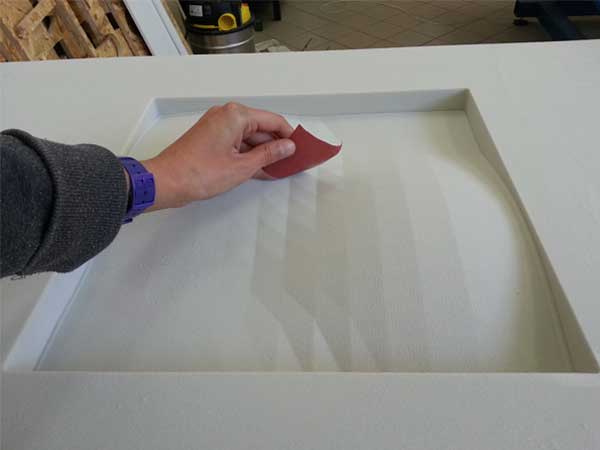
Sanding the Mold.
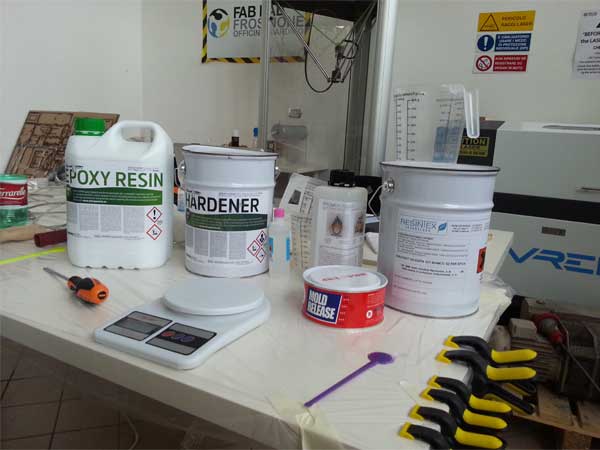
What I need for the mixtures.
The epoxy resin, gelcoat and other chemical products I used are toxic. So I worked using protective glasses, mask and gloves in a ventilated room.
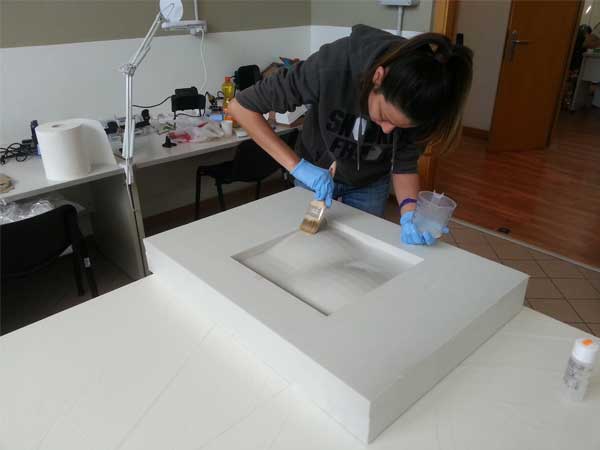
Coat of Epoxy Resiner & Hardener
Release Mold
Release Mold
Release Mold
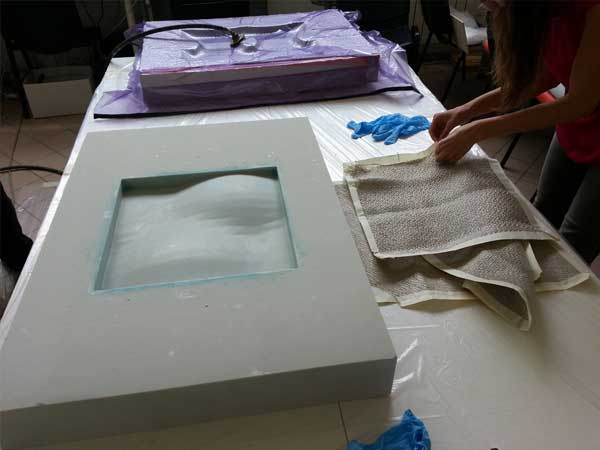
Protective Textiles

Linen Fabric
Starting Wet Lay Up
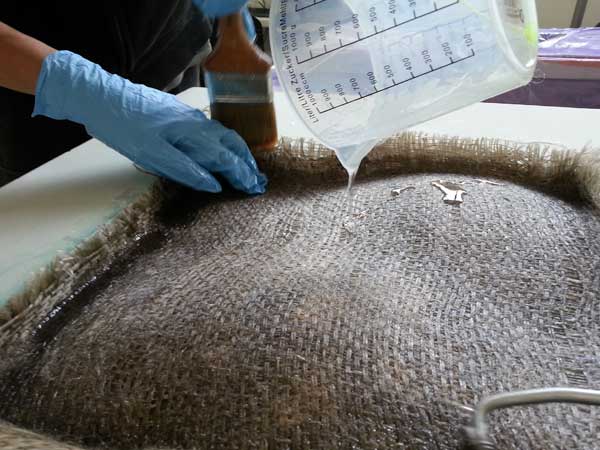
Casting Resin between Linen Layers

3 Layer of Linen and Resin
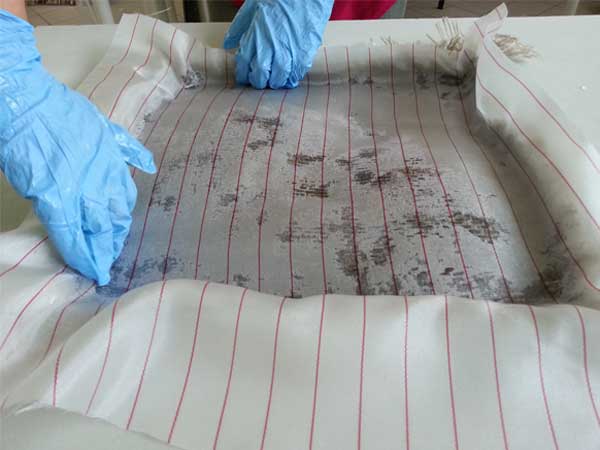
Peel Ply Layer
Plastic Laminate with Holes (Bleeder)
Cotton Fabric Layer (Breather)
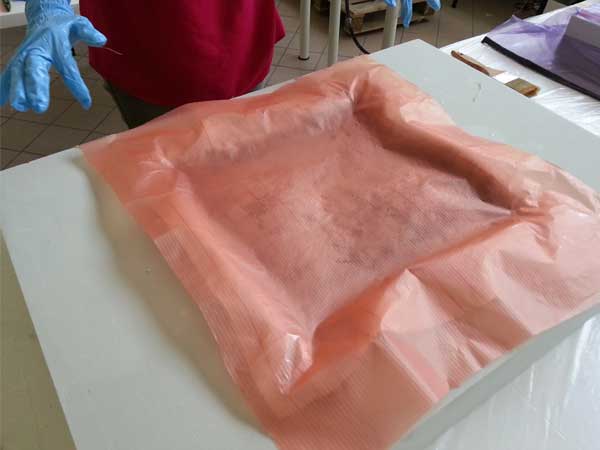
Put the Mold with all fabric layers in the Vacuum Bag
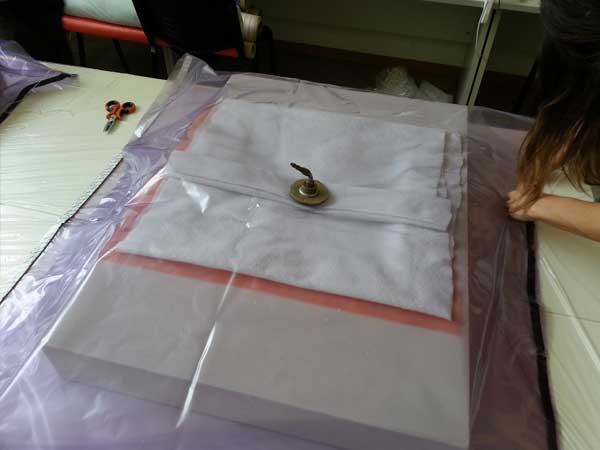
Put the Valve and Seal Up the Vacuum Bag
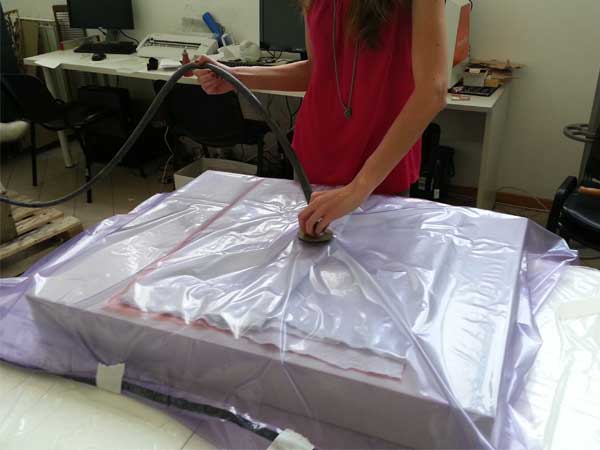
Doing the Vacuum
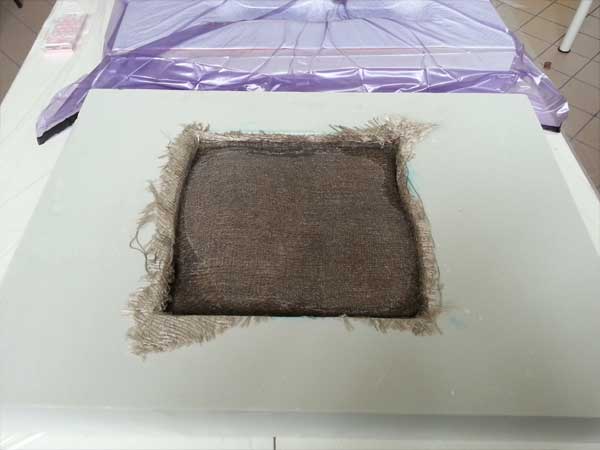
Extraction of the Package
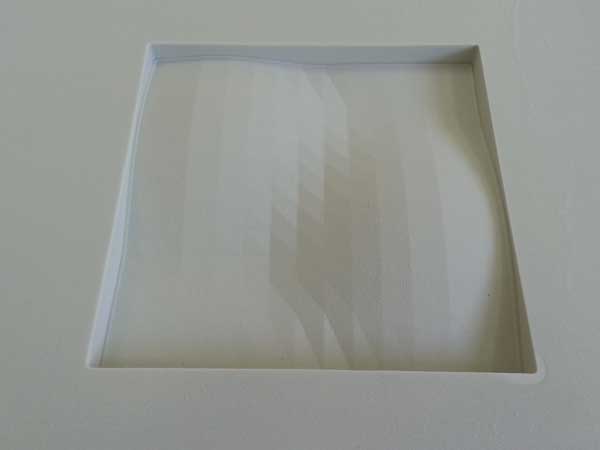
Hard Ways to free my Tray
My Tray must be finished!
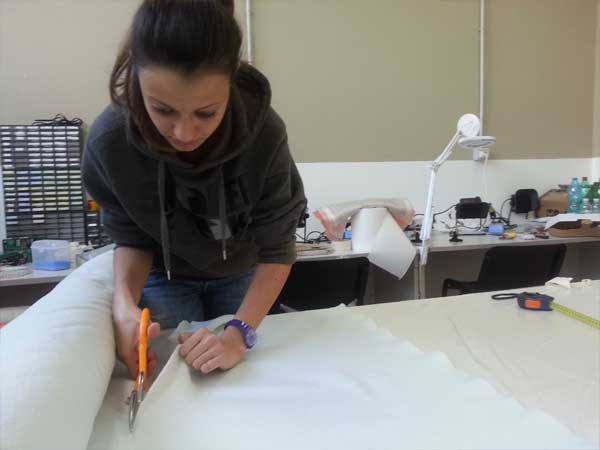
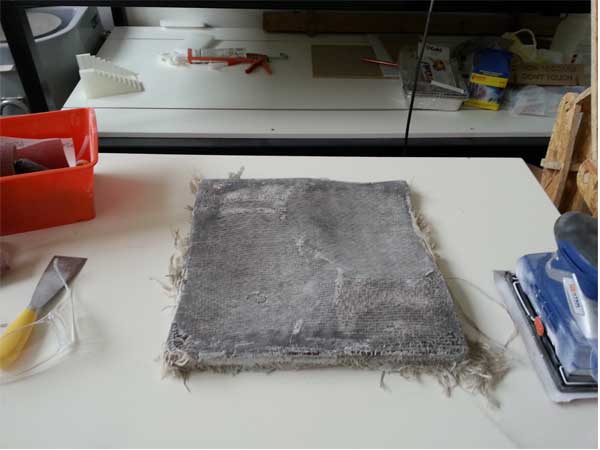
Cutting the Edges
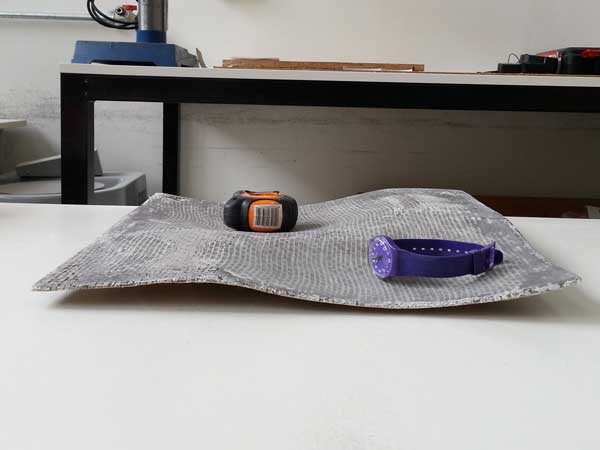
Rough Version... that I love it!
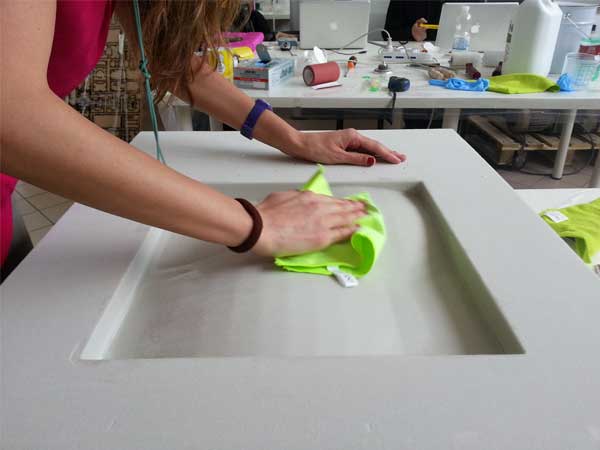
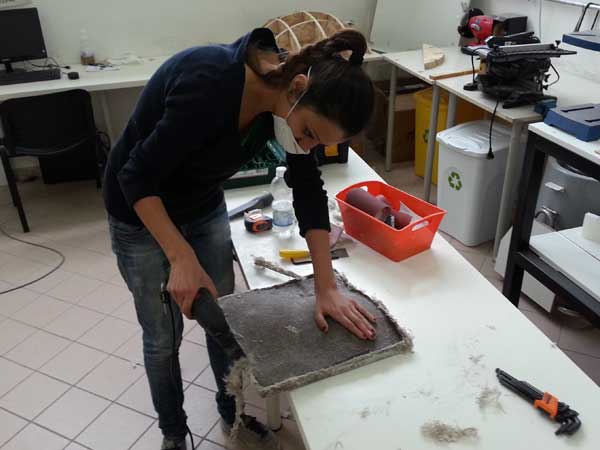
A coat of Gel
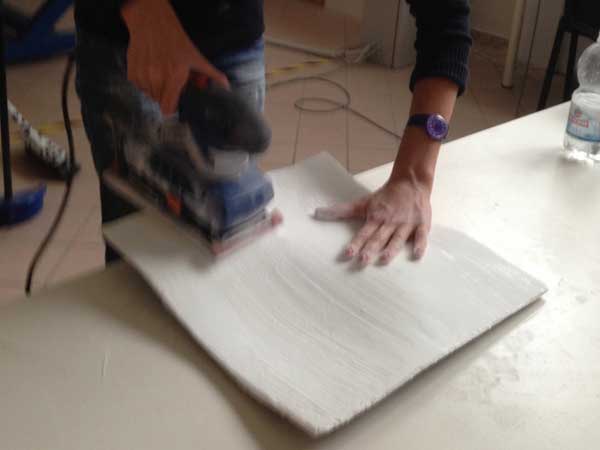
Again Sanding!!
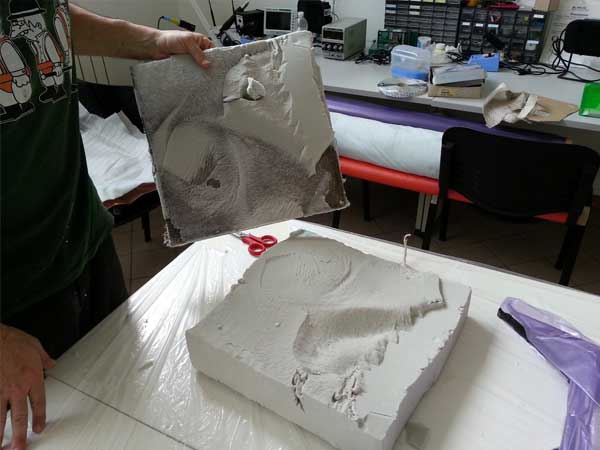
The extraction of the hull from the mold was very difficult in my case, so the only solution was to break up the mold with the help of my tutor Mauro. Once I released the object from the mold, the cleaning and smoothing operations were very long. My thought was to leave the tray with linen in sight, but it was too stained between resin and residues of polyurethan, so I decided to sand the tray and put the gelcoat on the surface to finish the object.