Electronics production
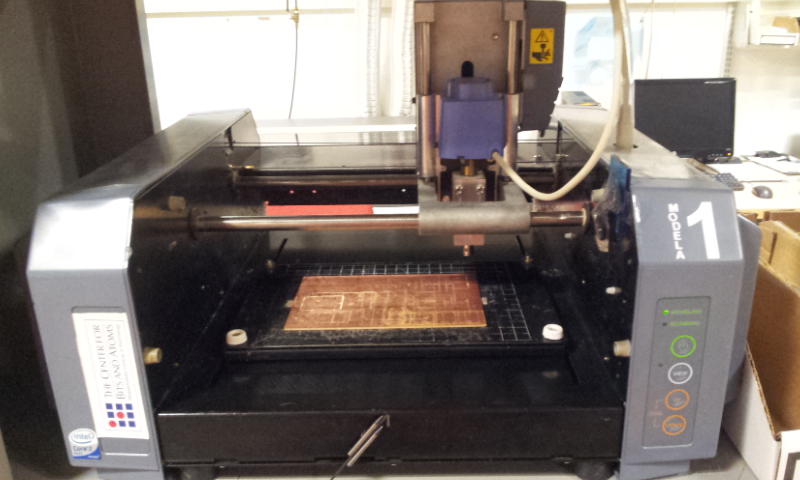
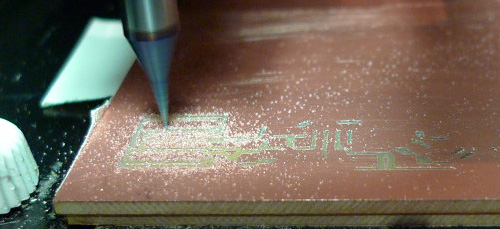
Milling An ISP Board using MODELA
This week unfortunatly we didn't received the endMills so I practiced using the ones we had in order to get ride off the bad ones.
I used the following the Andy one:

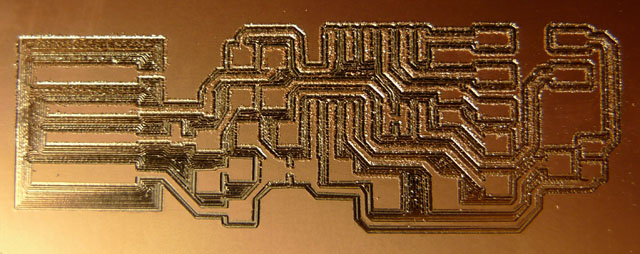

The week after with the new endmill
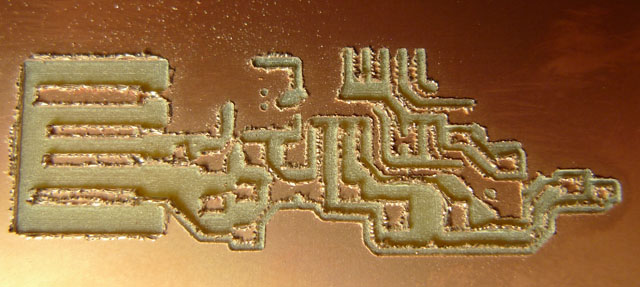
 The result is much better with new endmill, now I just have to adjust parameters like offset and overlap.

Offset : 4 Overlap : 0.33 when you clic on make path, some small part of copper are still here ( see picture in red )
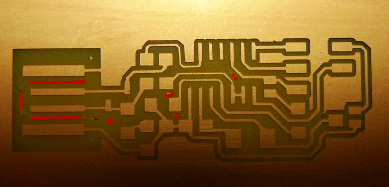
Offset : 5 Overlap : 0.4 Still some copper line
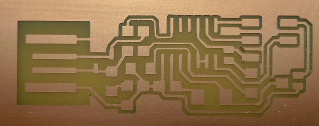
To ensure that all the unwanted copper part will be removed, I set the offset to -1 Offset : -1 Overlap : 0.5

- Without good endmill tool you can't do anything good.
- to produce good board with fabmodule the original PNG file should have a good resolution: min:600DPI
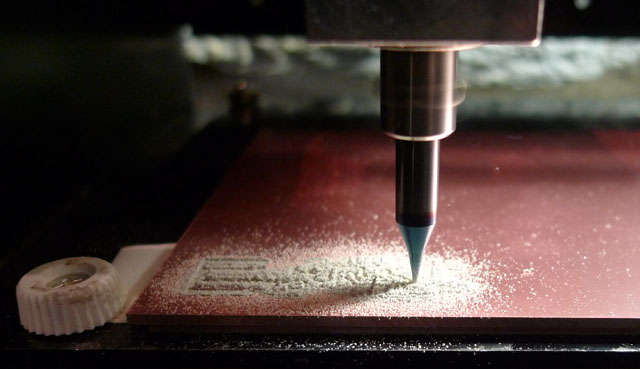
- to preverse your endmill you have to adapt Depth and Speed depending of the diameter of the tool:
I used : for 0.3 mm tool: cut depht : 0.05 to 0.07 even if I have to redo the job one time.
speed 2mm/s
number of offsets : 4 is great, but if you want to make a cleaned board -1 is good but will take more time.
soldering
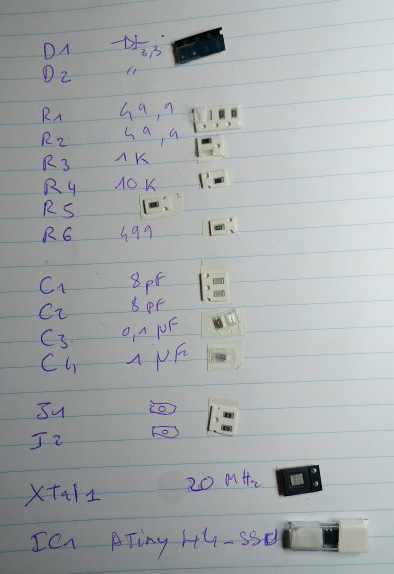
I prepared all the componants on a paper using double sided tape.
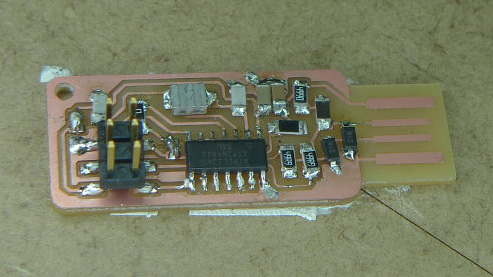
I also fixed the board on a piece of pcb which make soldering easier.
Progamming
For this part I just followed the tutorial

make clean

make hex
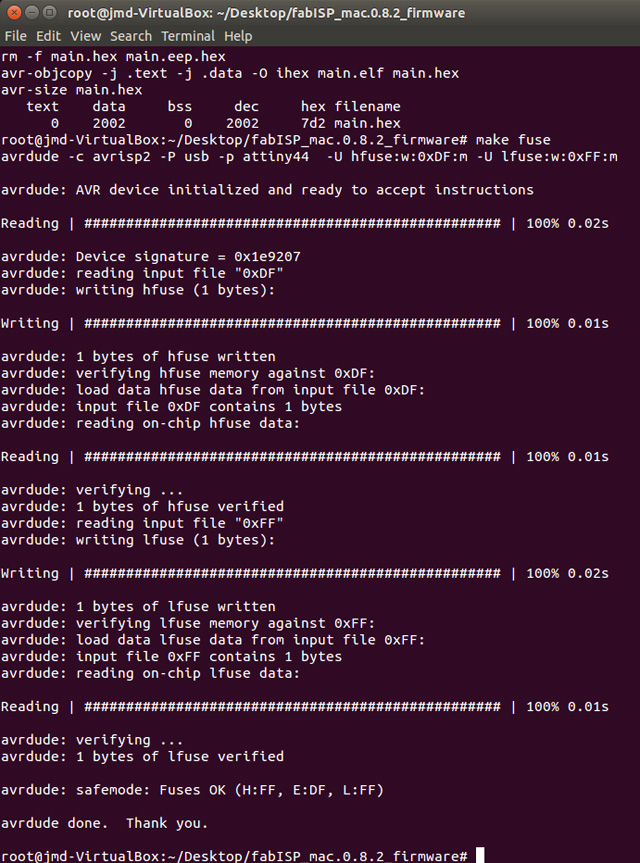
make fuse.
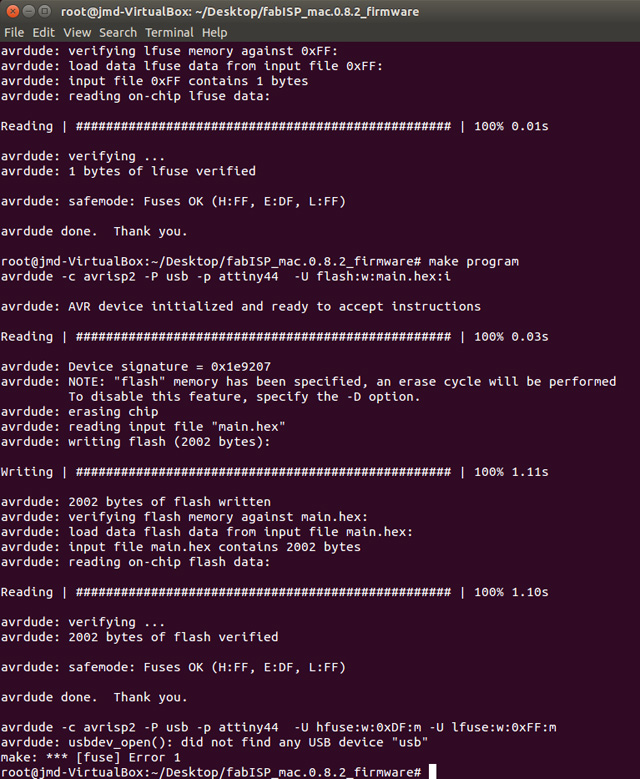
make fuse.
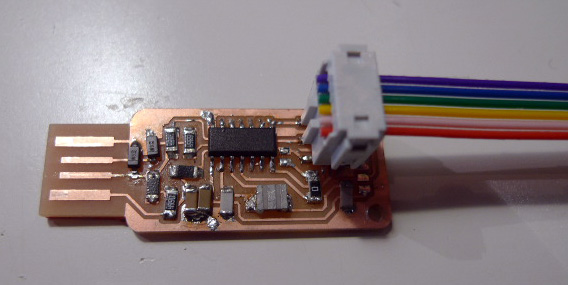
then I just have to remove the 2 jumpers and prepare the 6Pins connector.