Computer-controlled cutting
The Assignment for this week was to Design, Make and Document a Press Fit Construction Kit.
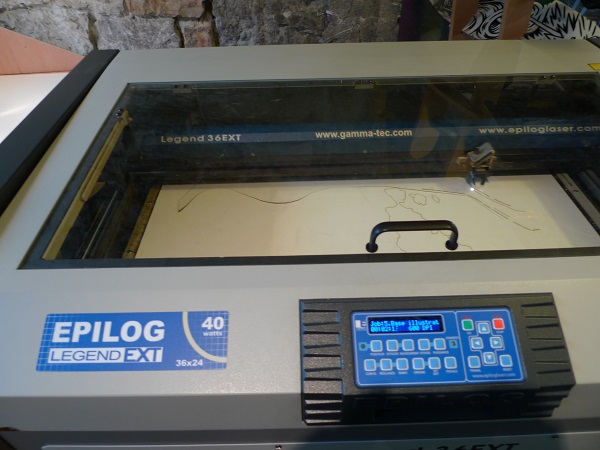
LaserCutting


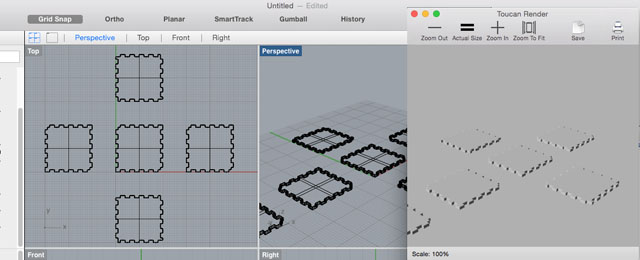
I used MDF (Mediun Dense Fiberboard) wood 3mm. The lasercutter I used is an EPILOG LegendEXT 40watts.
I ran some tests before the job just to validate Speed and Power for this medium:
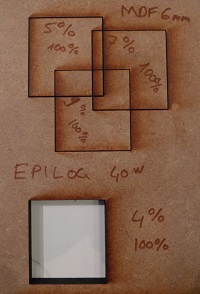
| Type | Speed | Power |
|---|---|---|
| MDF 3mm | 9~10% | 100% |
| MDF 6mm | 4% | 100% |
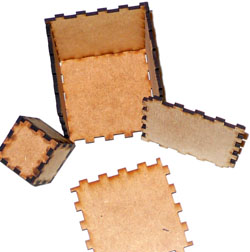
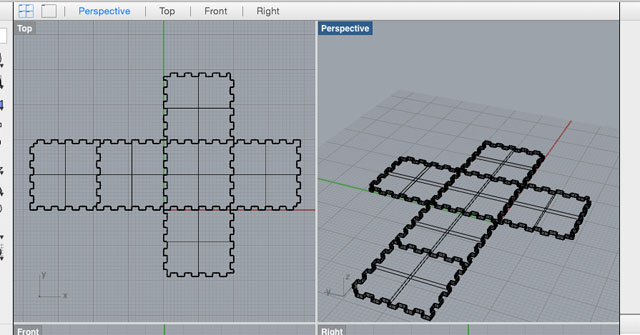
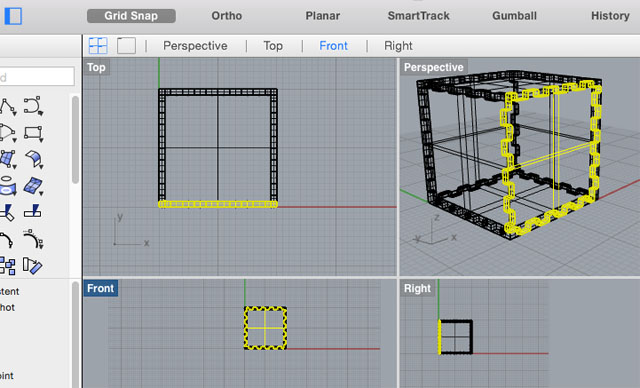
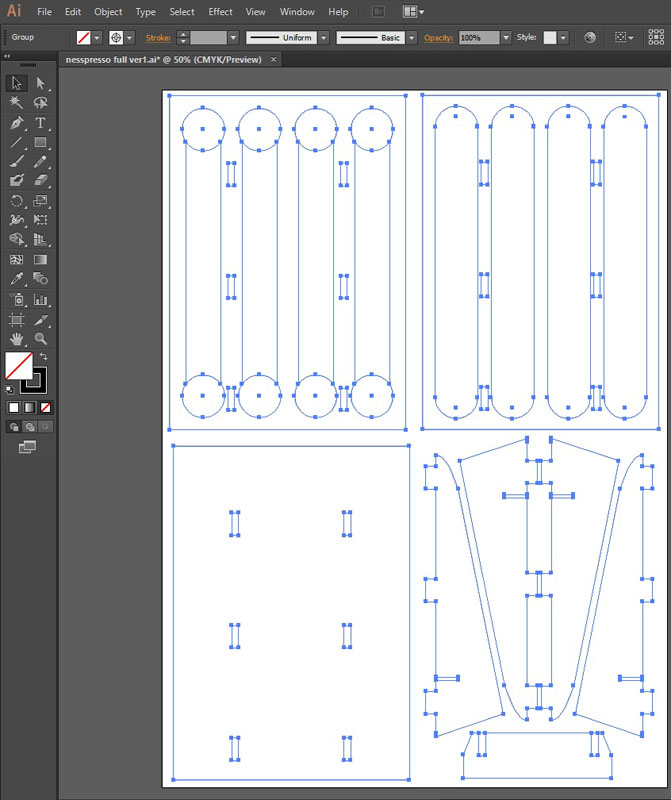
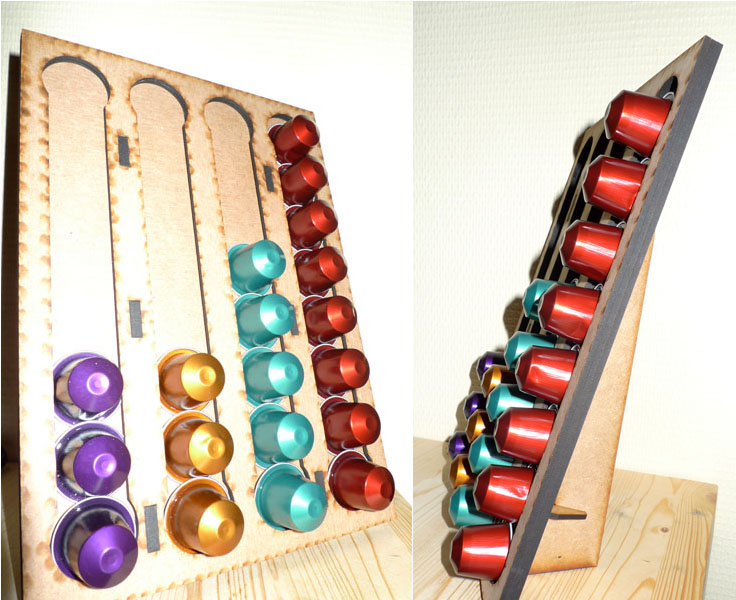
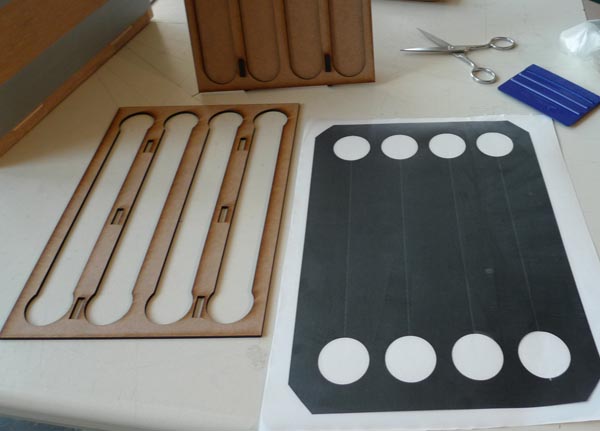
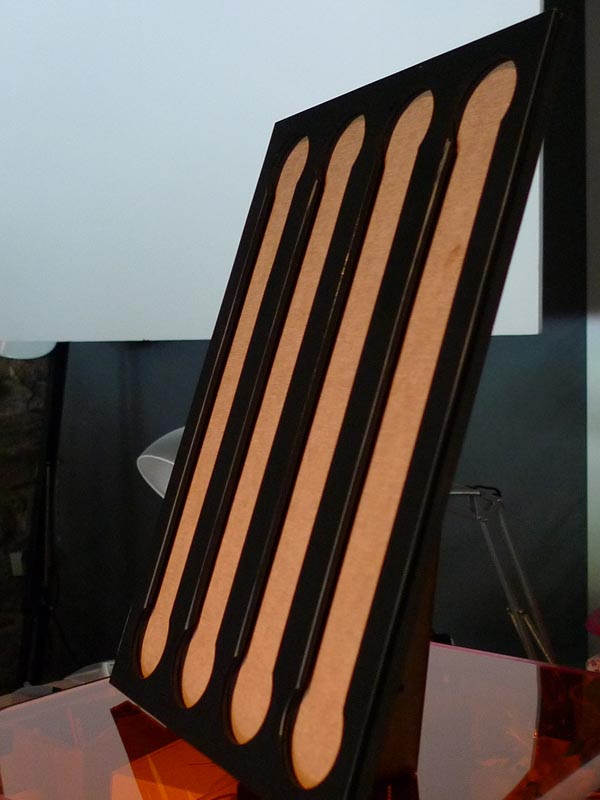
Then I decide to create NESP.....Caps Distributor For this one I used only ADOBE ILLUSTRATOR
It was cut using MDF 3mm.
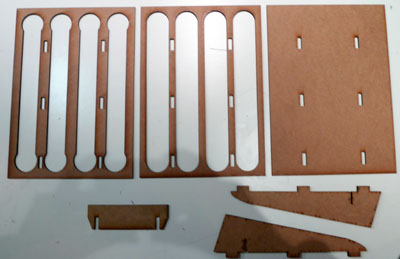
Here is the result.
vinylcutter
I will use it to cover the front of the caps distributor:
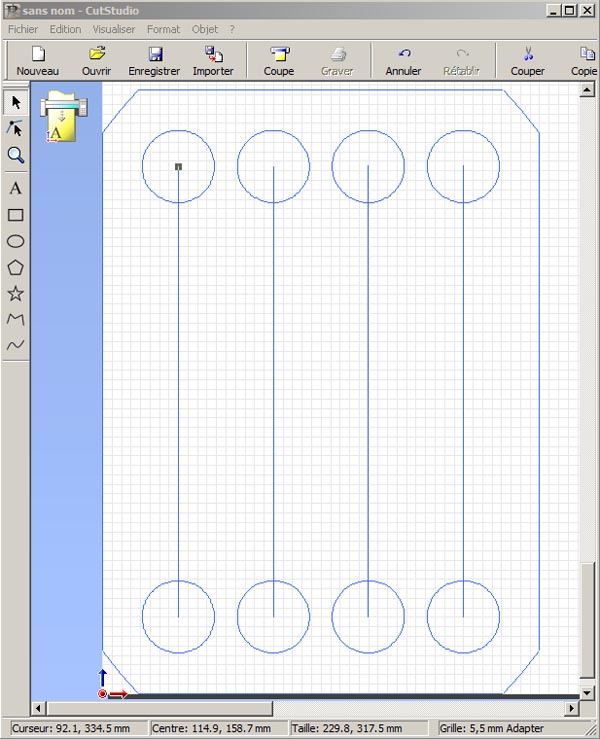
As the laser machine, the viynl cutter need a vector file, so I used Adoben illustrator to create cut file. On the computer linked to the vinylCutter Adobe Illustrator has an AddOn Button linked to RolandCutStudio, when the design is done you just have to clic on the R icon :
On the machine itself I have put the vinyl Roll, let the machine discover the size of the vinyl, set the strength 70 which is enough for vinyl. Under Roland Cut Studio, clic on cut (coupe in fr) select "Roland GX-24" then Properties to verify the parameter
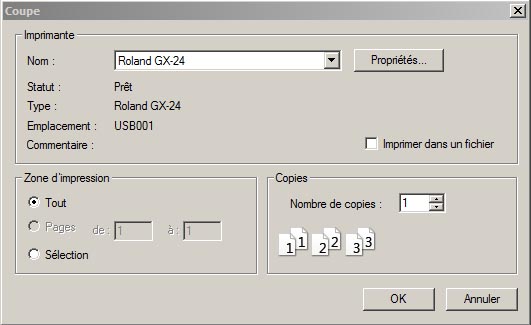
Clic on Size to retreive the size of the sheet from the machine. Then create a new setting to define the Cutting Speed (here 10cm/s)

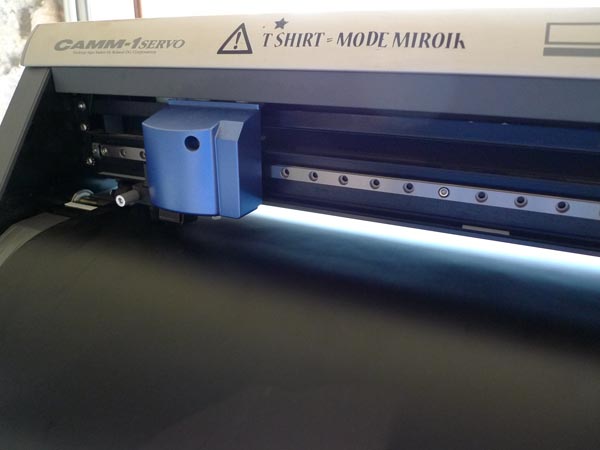
then clic on OK and let the machine cut the vinyl:
After you just have remove all part you don't want to keep, use a transfert sheet with spatula to remose bulle and ensure a good application.
Here I use it to cover the surface of the front part on the caps distributor:
Vinyl cut is an easy machine to use for making stickers, t-shirt with an heat Press but also circuit using copper roll (with less speed and more strenght).
you can find the Adobe Illustrator files on my
github repository :![]()