
Electronic production
MISSION: produce a pcb and solder some component on it, the FabISP
The weekly assignment is to fabricate the fabISP (a serial programmer for the microcontroller, used in the other lessons to program the atmel chip), and it’s also a way to learn how to produce and fabricate printed circuit board (pcb) in order to make custom circuit for solder the electronic on.
There are a several way to make PCB:
- acid based reagent to etching the copper
- milling machine for PCB
- laser based engraving
There are also various type of PCB board to be engraved, milled or etched:
- FR4 glass-reinforced epoxy laminate sheets
- FR1 cellulose based
- flexy PCB laminate
- full epoxy laminate
- etc.
The FR4 and other glass based pcb are not much compatible with the milling process because it free some micro-dust of glass that are dangerous if inhaled, so we decide to use paper based pcb FR1.
(to be honest this experimentation was not made on purpose, because I make the support on cura but I forget to set the right overhang angle).
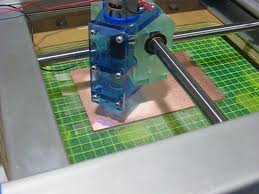
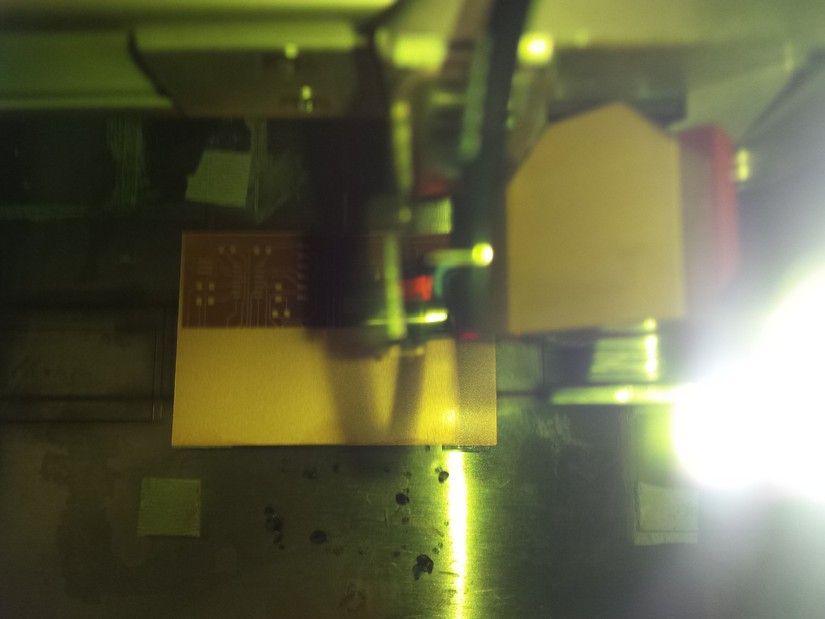
In our lab we had some issue with the milling machine (who come with a damaged electronic board and so it doesn't work), for this reason we experiment a combined flexx and co2 laser machine from Trotec.
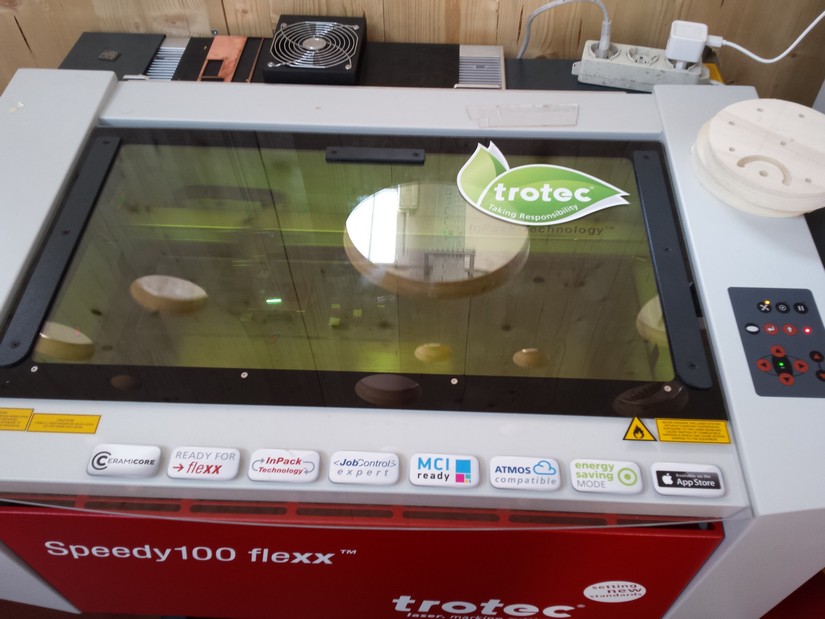
We experiment various type of combination because we have to set the flexx laser frequency and the dpi setting of the machine,. Also the power, the speed, the type of working process (raster, vector, engraving), the number of "loop" for the whole process.
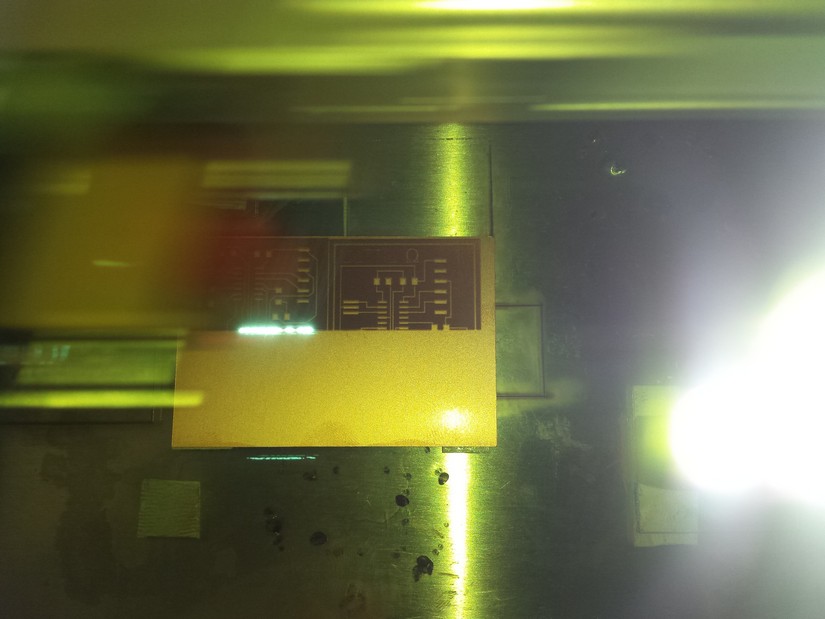
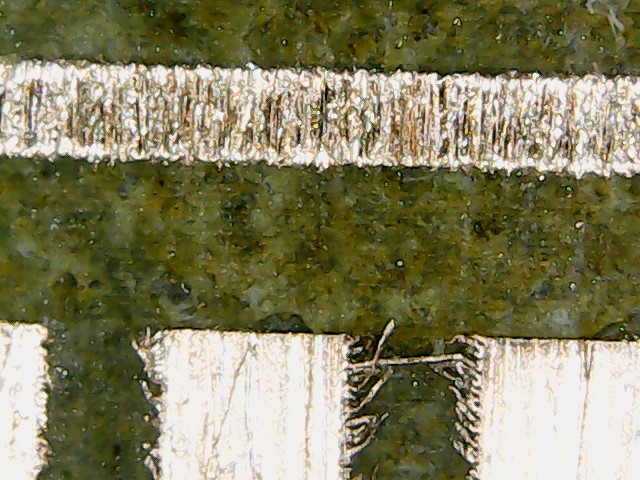
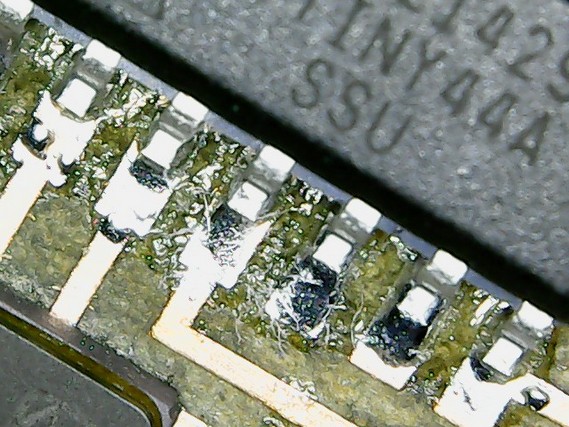
After doing some experimentation, we notice that some micro wire of copper remain in between the traces, so them make short circuit inside the board (and it is not so good for the pcb design).
Using a digital microscope we can observe the short circuit made by melted or vaporized copper not totally removed from the laser.

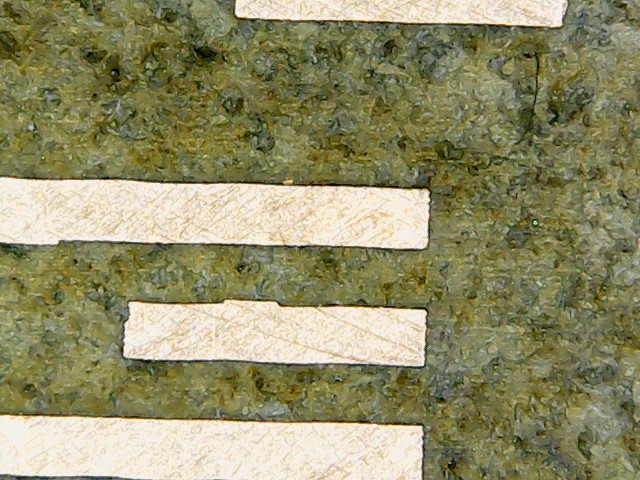
For this reason we play aground some setting of the flexx laser setting them to 20 MHz and also set the DPI of the laser to be 1000 instead of 500, because we noticed that the edges of the corner are not really sharp enough.
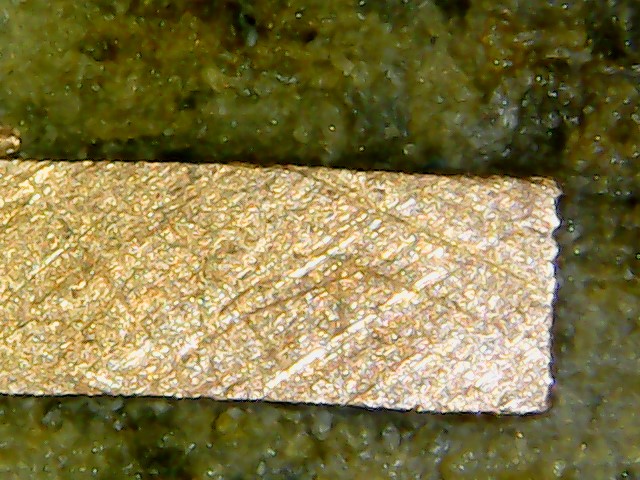
After this change we noticed a real change in the final result: the traced are really well separated and the edges are really sharp and clean.
A difference between a milling process is that the laser is more precise.It will make possible to have thinner traces that can be put between component or between other things allowing the pcb to be smaller and concentrated.
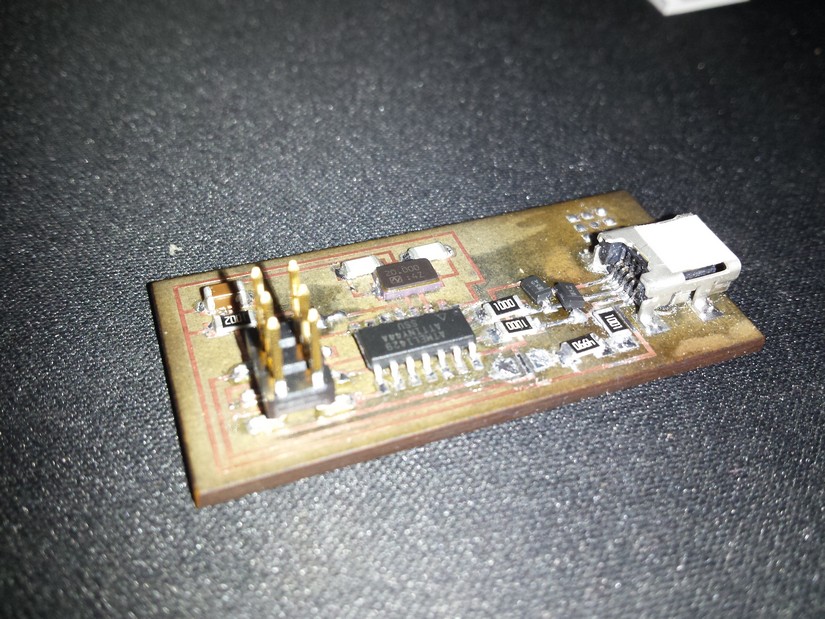
Passing to the soldering process I experiment my rework station and try to solder with hot air gun for smd process.
I have to practice in this process because is very important to put the right quantity of soldering paste (a mixture of soldering rosin and atomized tin); if you put it too much, it will go on other traces and pad and make short circuit, if you didn't put enough it will not solder the component.
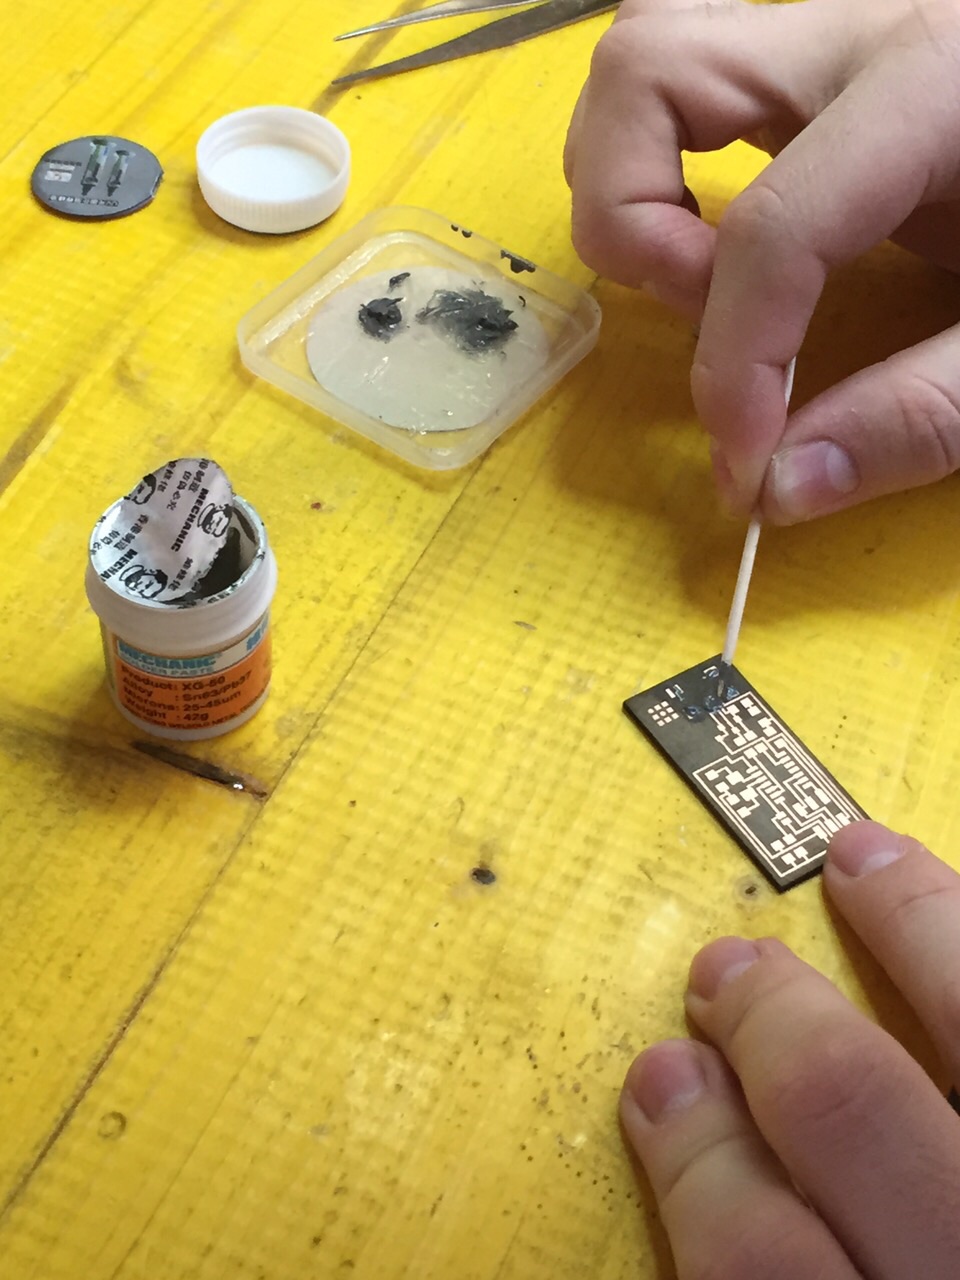
In this process is not important a precise positioning of the component, because when the thin become in liquid state the superficial tension of the liquid will attract the pin to the pad and make all in place.
You have also to consider to not heat for very long time the component or it will be damaged.
So a good rules is to count 10 second and after direct the air gun away, and if is not properly solder, wait some time and repeat the process.
The circuit comes out well and well soldered.

We had some problem during the programming of the board because the "first" fabISP doesn't work properly, but after the "flashing" the first one with a pickit2 we program the other with a FabISP.
Here the text of the programming made with command line using avr-gcc and the avrdude.
(for more information about avrdude and avr-gcc see lesson 7 embedded programming).
Simone@ZIMOX:fabISP.0.8.2_firmware ZIMOX$ sudo make fuse

Password:

avrdude -c stk500v1 -P /dev/tty.usbmodem1421 -b19200 -p attiny44 -U hfuse:w:0xDF:m -U lfuse:w:0xFF:m


avrdude: AVR device initialized and ready to accept instructions


Reading | ################################################## | 100% 0.06s


avrdude: Device signature = 0x1e9207

avrdude: reading input file "0xDF"

avrdude: writing hfuse (1 bytes):


Writing | ################################################## | 100% 0.02s


avrdude: 1 bytes of hfuse written

avrdude: verifying hfuse memory against 0xDF:

avrdude: load data hfuse data from input file 0xDF:

avrdude: input file 0xDF contains 1 bytes

avrdude: reading on-chip hfuse data:


Reading | ################################################## | 100% 0.02s


avrdude: verifying ...

avrdude: 1 bytes of hfuse verified

avrdude: reading input file "0xFF"

avrdude: writing lfuse (1 bytes):


Writing | ################################################## | 100% 0.06s


avrdude: 1 bytes of lfuse written

avrdude: verifying lfuse memory against 0xFF:

avrdude: load data lfuse data from input file 0xFF:

avrdude: input file 0xFF contains 1 bytes

avrdude: reading on-chip lfuse data:


Reading | ################################################## | 100% 0.02s


avrdude: verifying ...

avrdude: 1 bytes of lfuse verified


avrdude: safemode: Fuses OK (E:FF, H:DF, L:FF)


avrdude done.  Thank you.


Simone@ZIMOX:fabISP.0.8.2_firmware ZIMOX$ sudo make program

avrdude -c stk500v1 -P /dev/tty.usbmodem1421 -b19200 -p attiny44 -U flash:w:main.hex:i


avrdude: AVR device initialized and ready to accept instructions


Reading | ################################################## | 100% 0.05s


avrdude: Device signature = 0x1e9207

avrdude: NOTE: "flash" memory has been specified, an erase cycle will be performed

         To disable this feature, specify the -D option.

avrdude: erasing chip

avrdude: reading input file "main.hex"

avrdude: writing flash (1988 bytes):


Writing | ################################################## | 100% 3.39s


avrdude: 1988 bytes of flash written

avrdude: verifying flash memory against main.hex:

avrdude: load data flash data from input file main.hex:

avrdude: input file main.hex contains 1988 bytes

avrdude: reading on-chip flash data:


Reading | ################################################## | 100% 2.26s


avrdude: verifying ...

avrdude: 1988 bytes of flash verified


avrdude: safemode: Fuses OK (E:FF, H:DF, L:FF)


avrdude done.  Thank you.


avrdude -c stk500v1 -P /dev/tty.usbmodem1421 -b19200 -p attiny44 -U hfuse:w:0xDF:m -U lfuse:w:0xFF:m


avrdude: AVR device initialized and ready to accept instructions


Reading | ################################################## | 100% 0.05s


avrdude: Device signature = 0x1e9207

avrdude: reading input file "0xDF"

avrdude: writing hfuse (1 bytes):


Writing | ################################################## | 100% 0.02s


avrdude: 1 bytes of hfuse written

avrdude: verifying hfuse memory against 0xDF:

avrdude: load data hfuse data from input file 0xDF:

avrdude: input file 0xDF contains 1 bytes

avrdude: reading on-chip hfuse data:


Reading | ################################################## | 100% 0.02s


avrdude: verifying ...

avrdude: 1 bytes of hfuse verified

avrdude: reading input file "0xFF"

avrdude: writing lfuse (1 bytes):


Writing | ################################################## | 100% 0.02s


avrdude: 1 bytes of lfuse written

avrdude: verifying lfuse memory against 0xFF:

avrdude: load data lfuse data from input file 0xFF:

avrdude: input file 0xFF contains 1 bytes

avrdude: reading on-chip lfuse data:


Reading | ################################################## | 100% 0.02s


avrdude: verifying ...

avrdude: 1 bytes of lfuse verified


avrdude: safemode: Fuses OK (E:FF, H:DF, L:FF)


avrdude done.  Thank you.
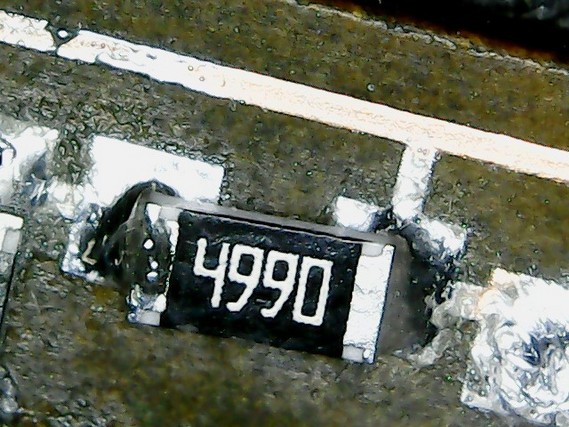
After we flash the firmware in the board, we have to remove a connection made between to pad and also remove a 0 ohm resistor to make not possible the rewriting of the firmware.
In this way we protect the fabISP from incorrect operation of writing a firmware.
