1. Vimeo Links : One, Two
2. Assignments : Design a 3D mold, machine it, and cast parts from it
3. Conception
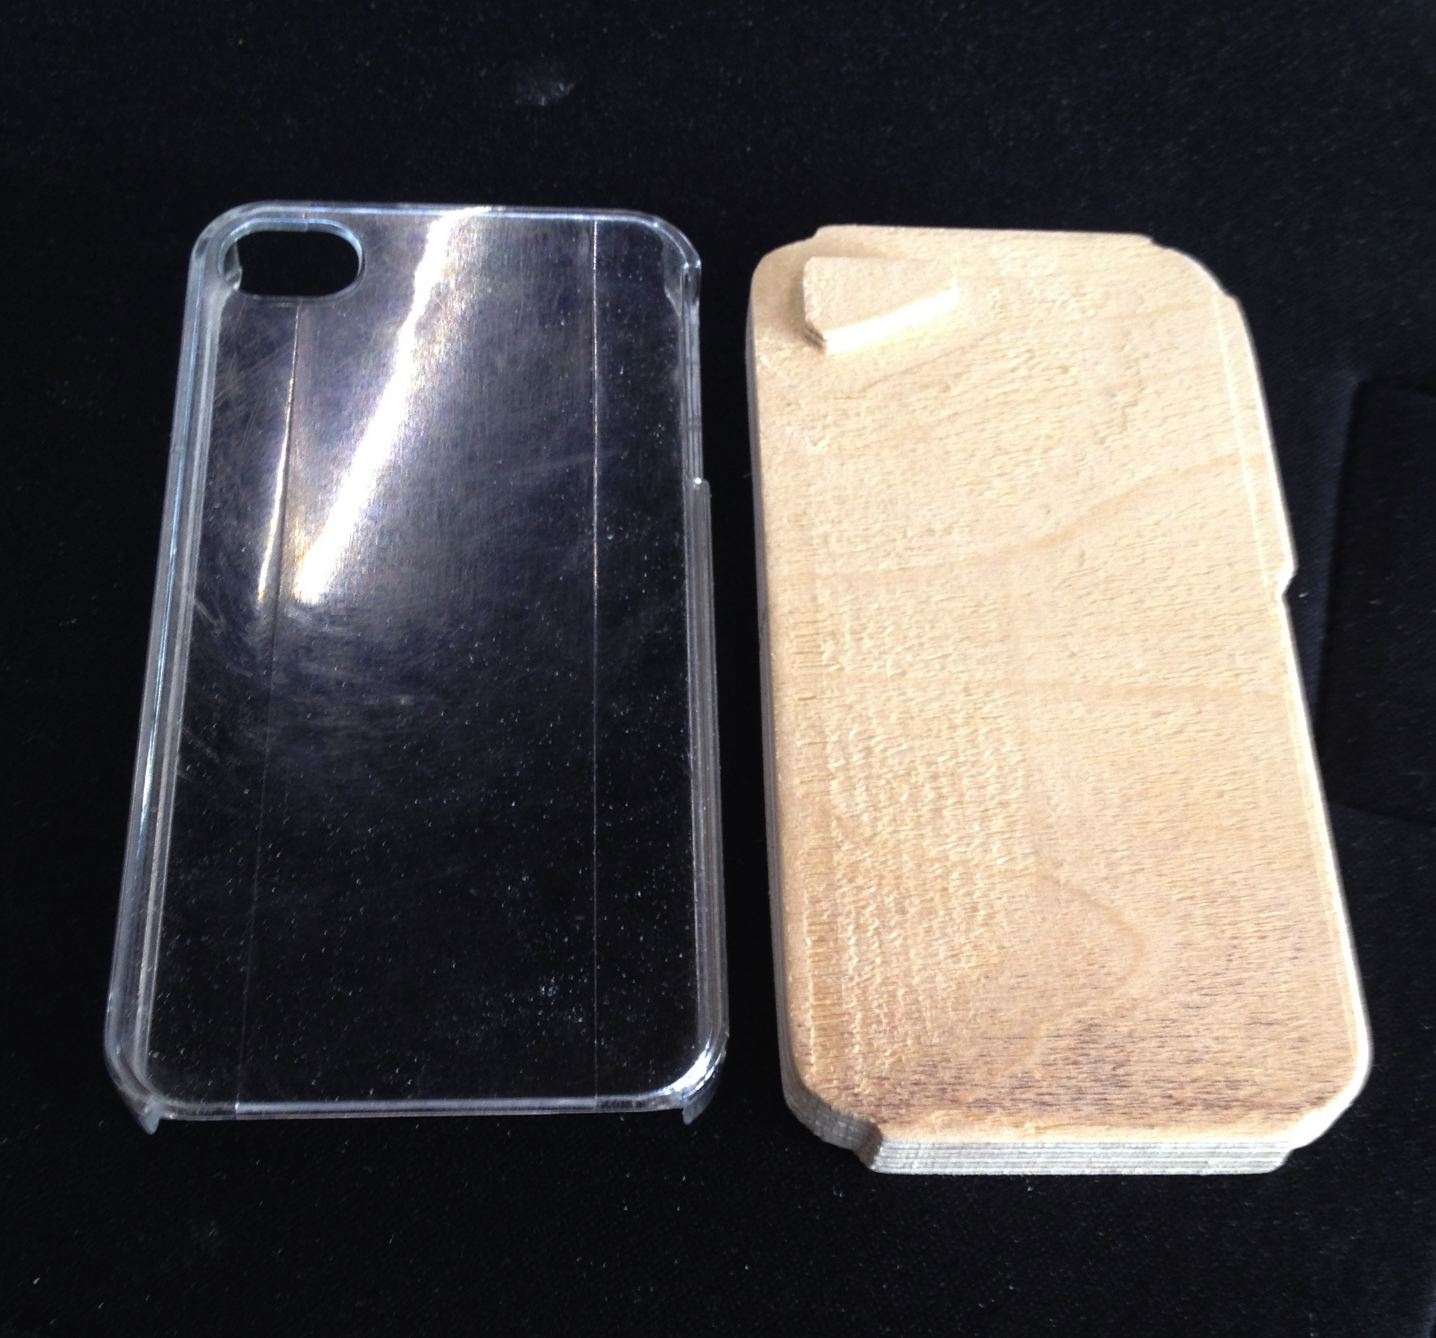
A. For this week, I came up with making a silicon phone case.
The phone case is difficult to make because it houses the phone which means that simple two piece casting is not satisfying.
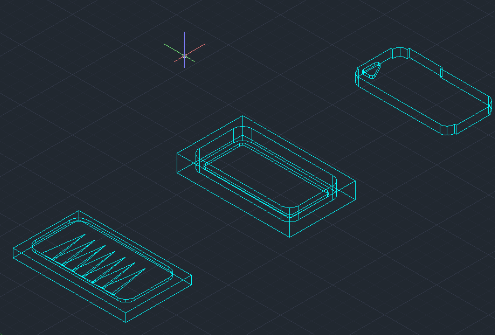
I needed to think how to make the phone case and finally I came up with 3 pieces.
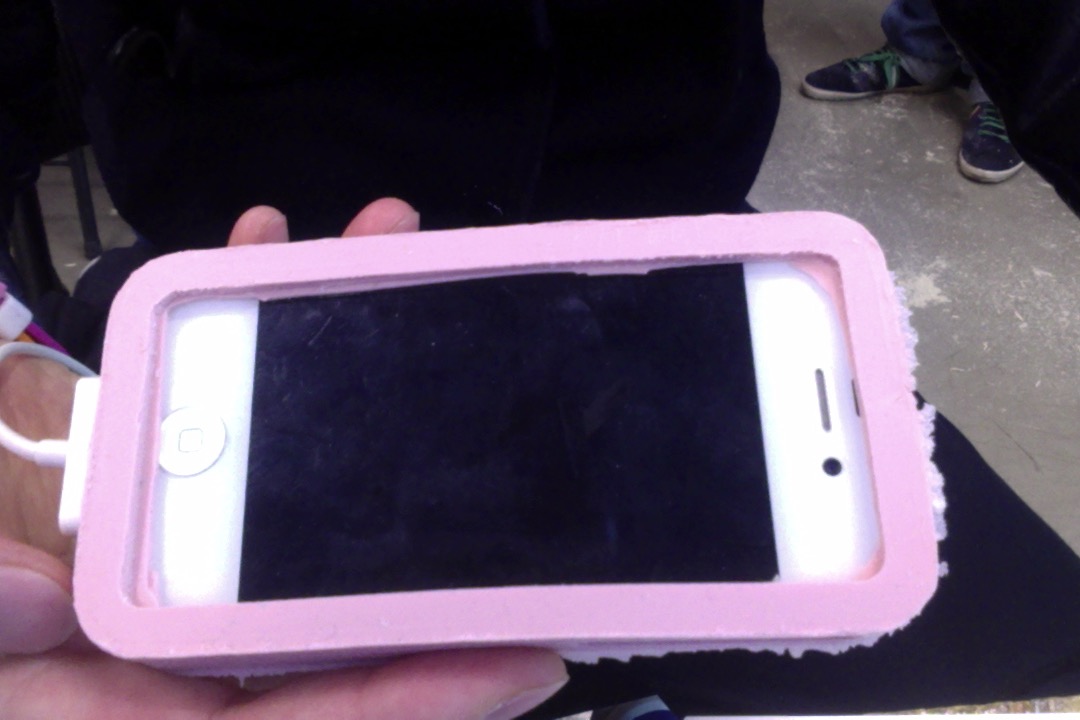
B. The three pieces will be explained in terms of phone shape. You can see what I mean from the final design picture.
1) Front of the phone: the front screen where case holds the 4 edges of the phone.
2) Phone: the shape of the phone that takes the space for the actual phone.
3) Back of the phone: the back of the phone that covers the back of the phone.
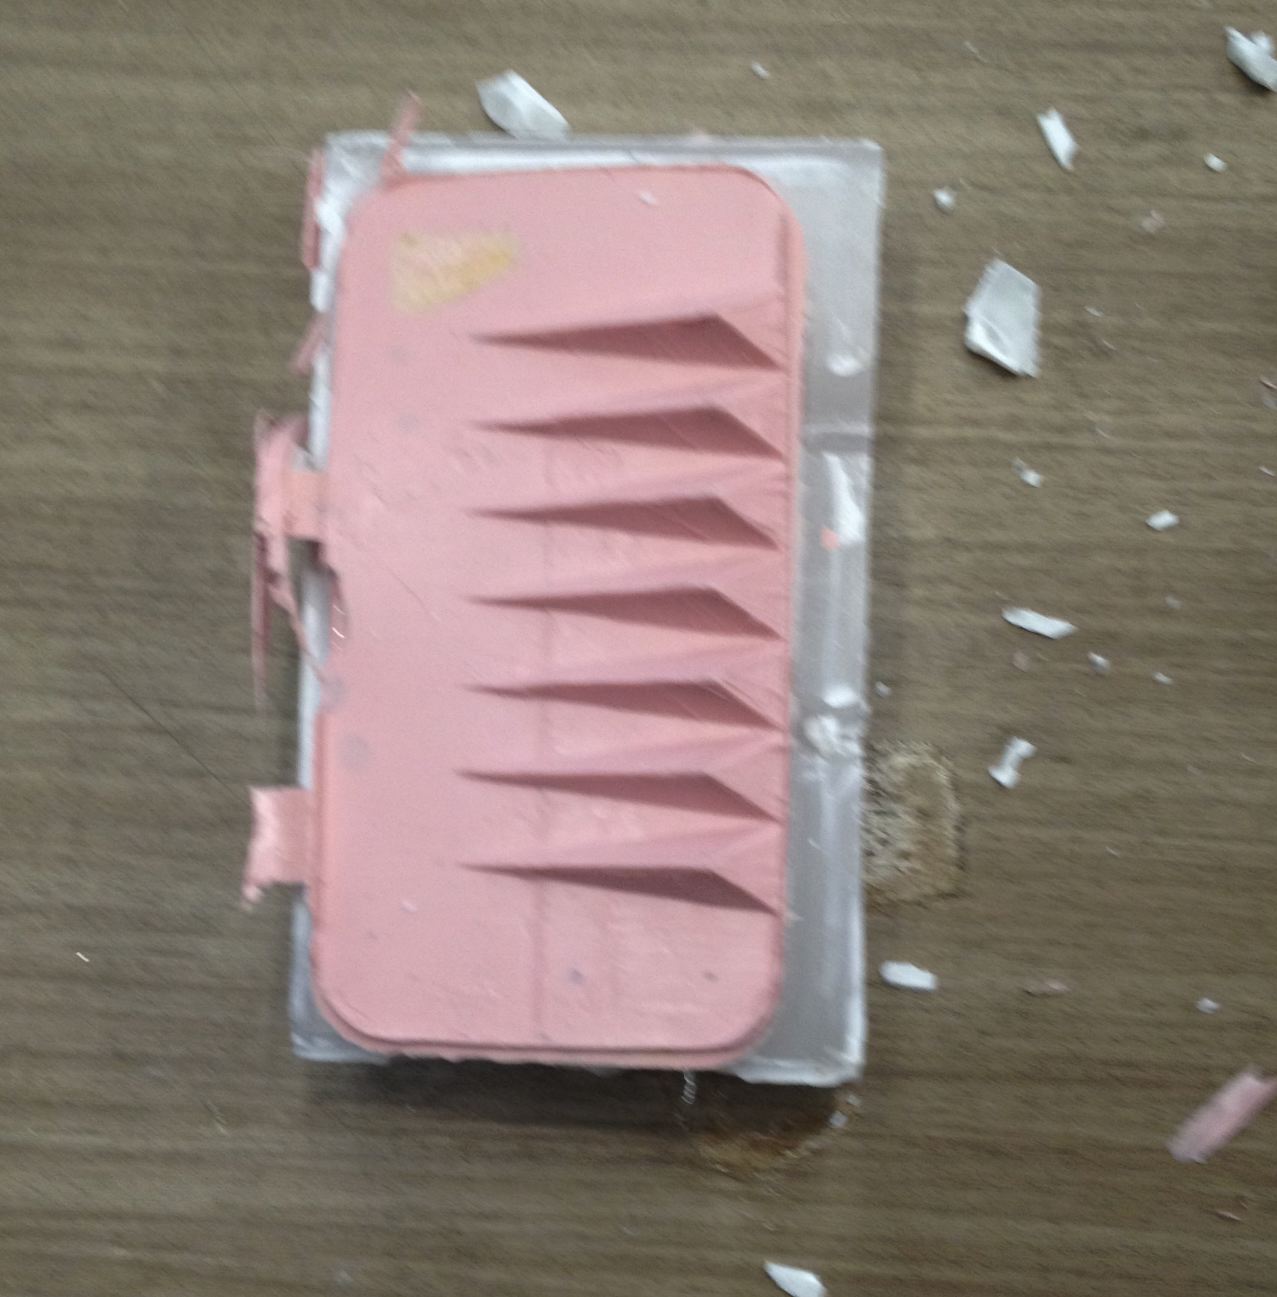
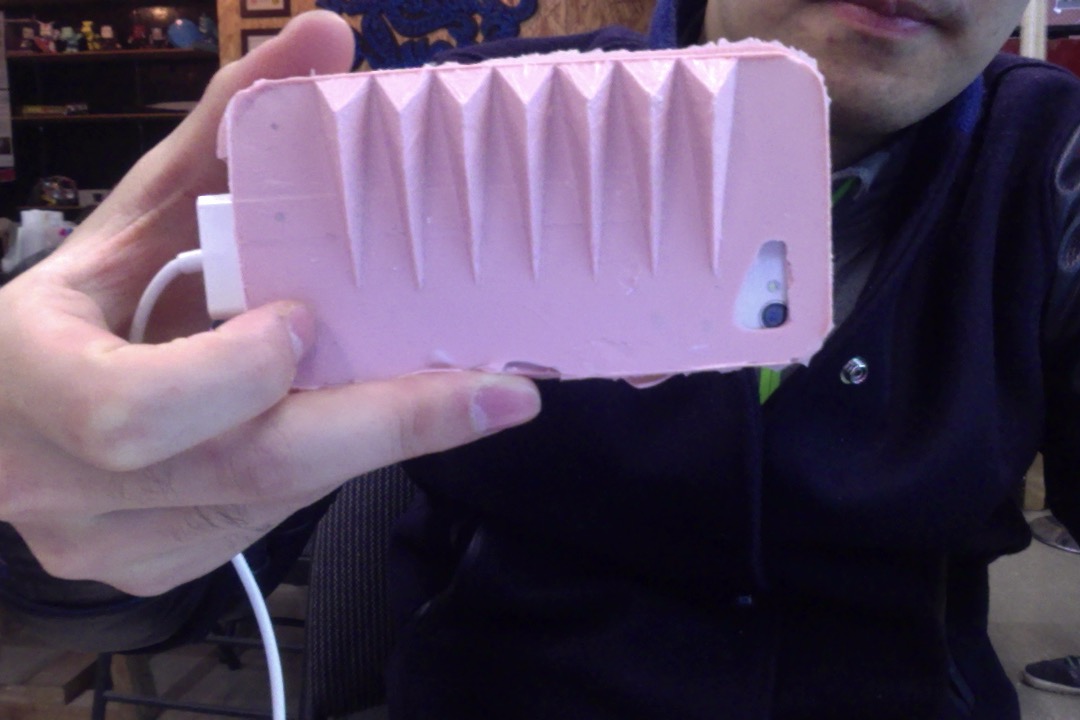
C. In terms of design, I made the multiple pyramids at the back of the case to support the phone in angled.
By making phone in angled position it will allow me to watch video better.
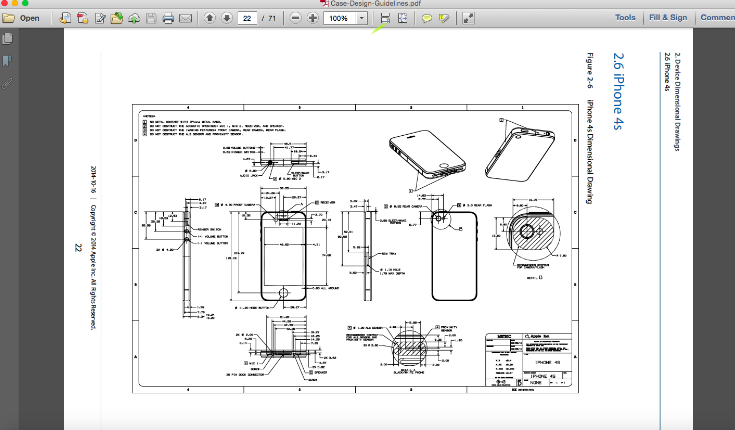
D. Apple provides a PDF file that gives the guidelines and dimensions of their devices.
I used dimensions from it because my phone is iphone4s.
4. Tryouts
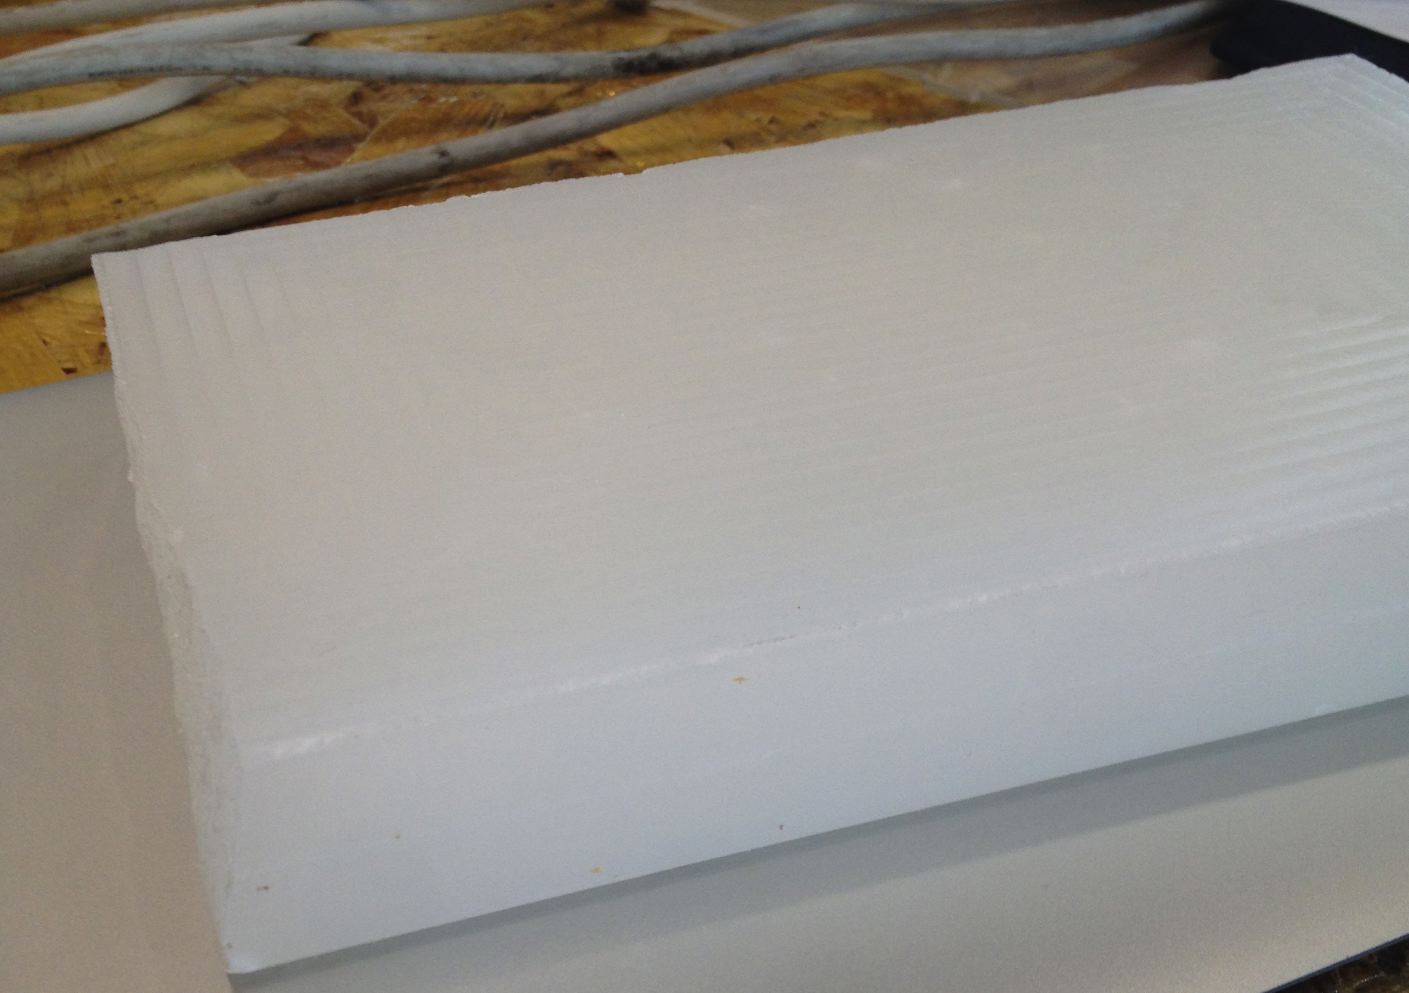
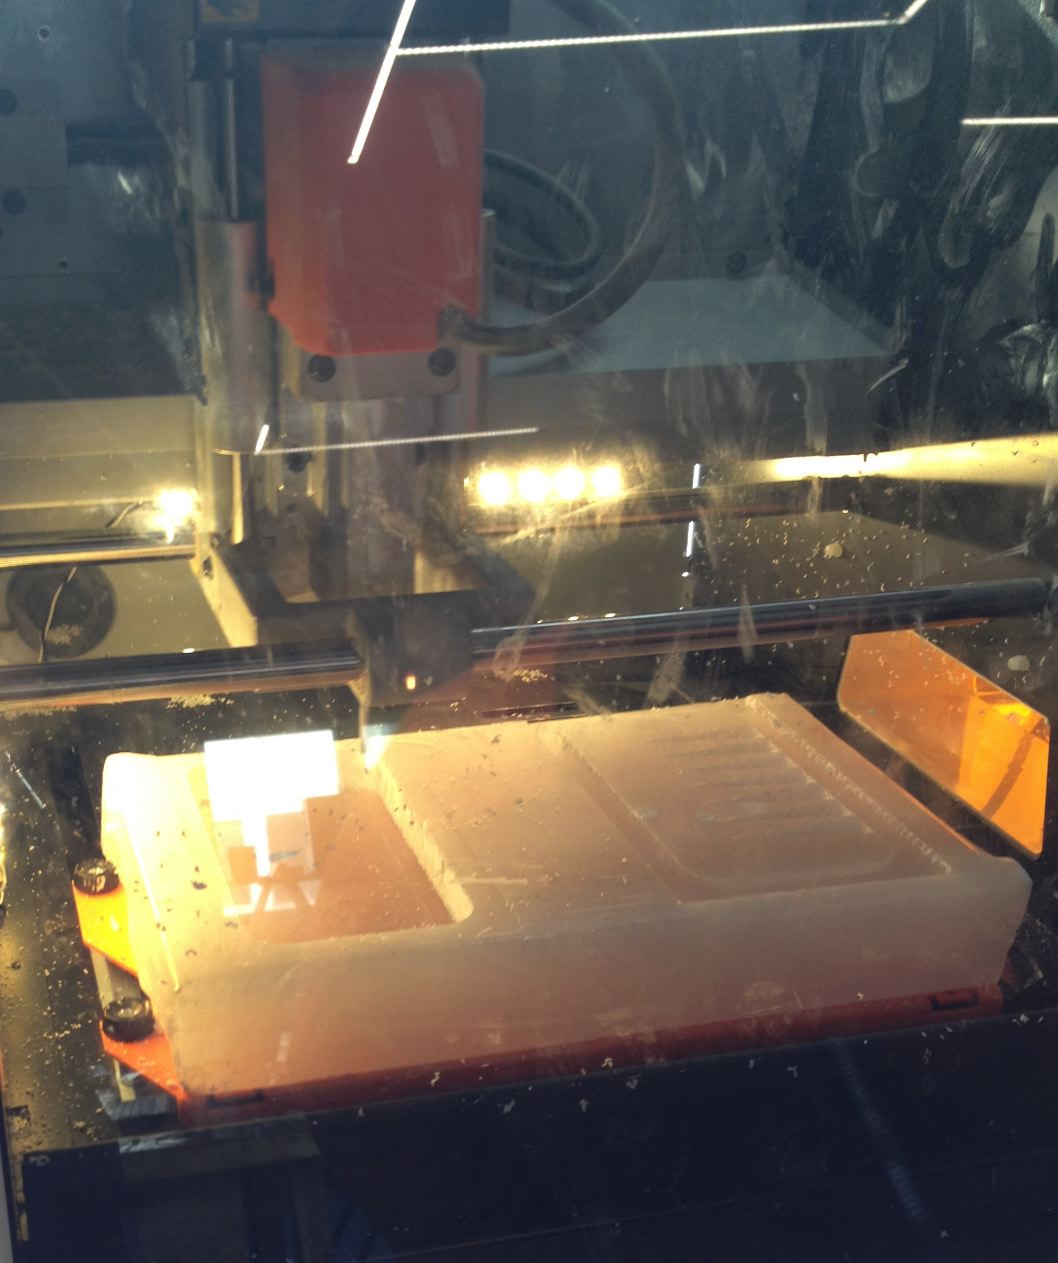
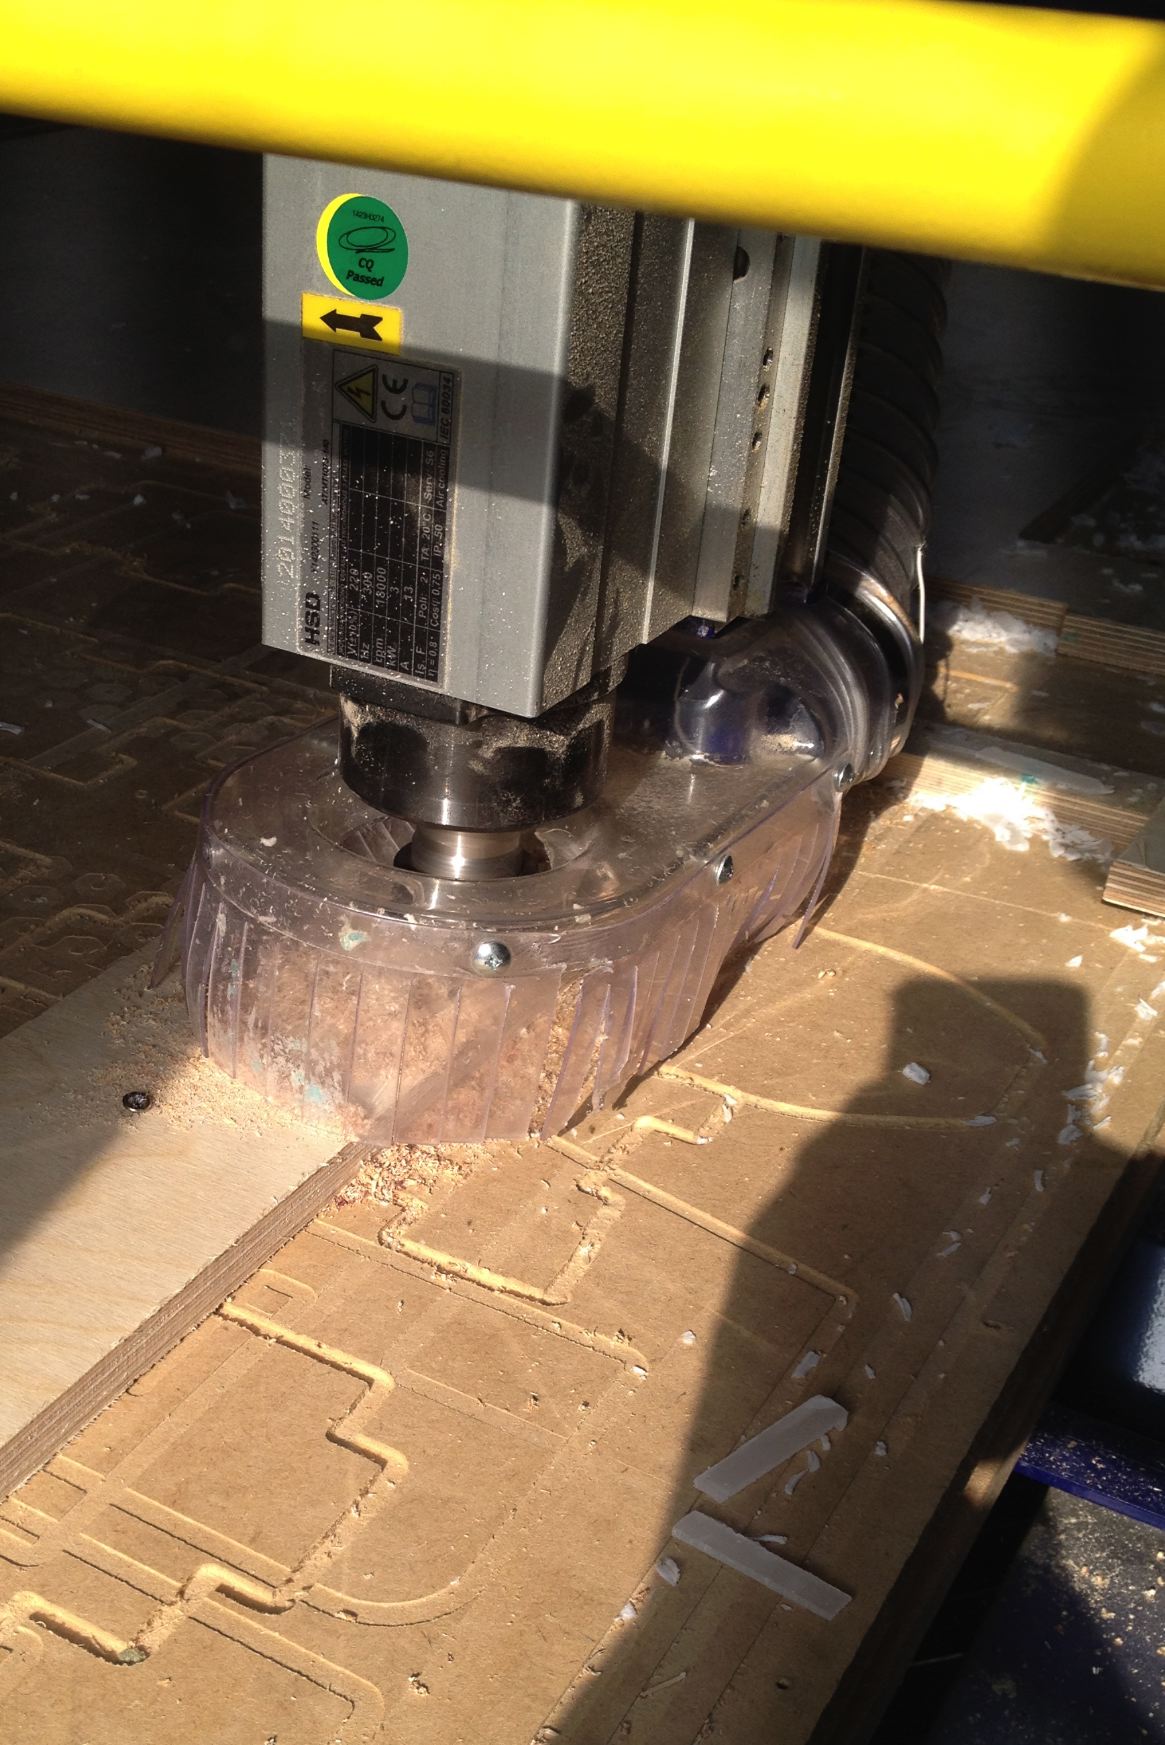
A. I used the wax to make molds. Before making molds I used shopbot to flatten the surface of the wax.
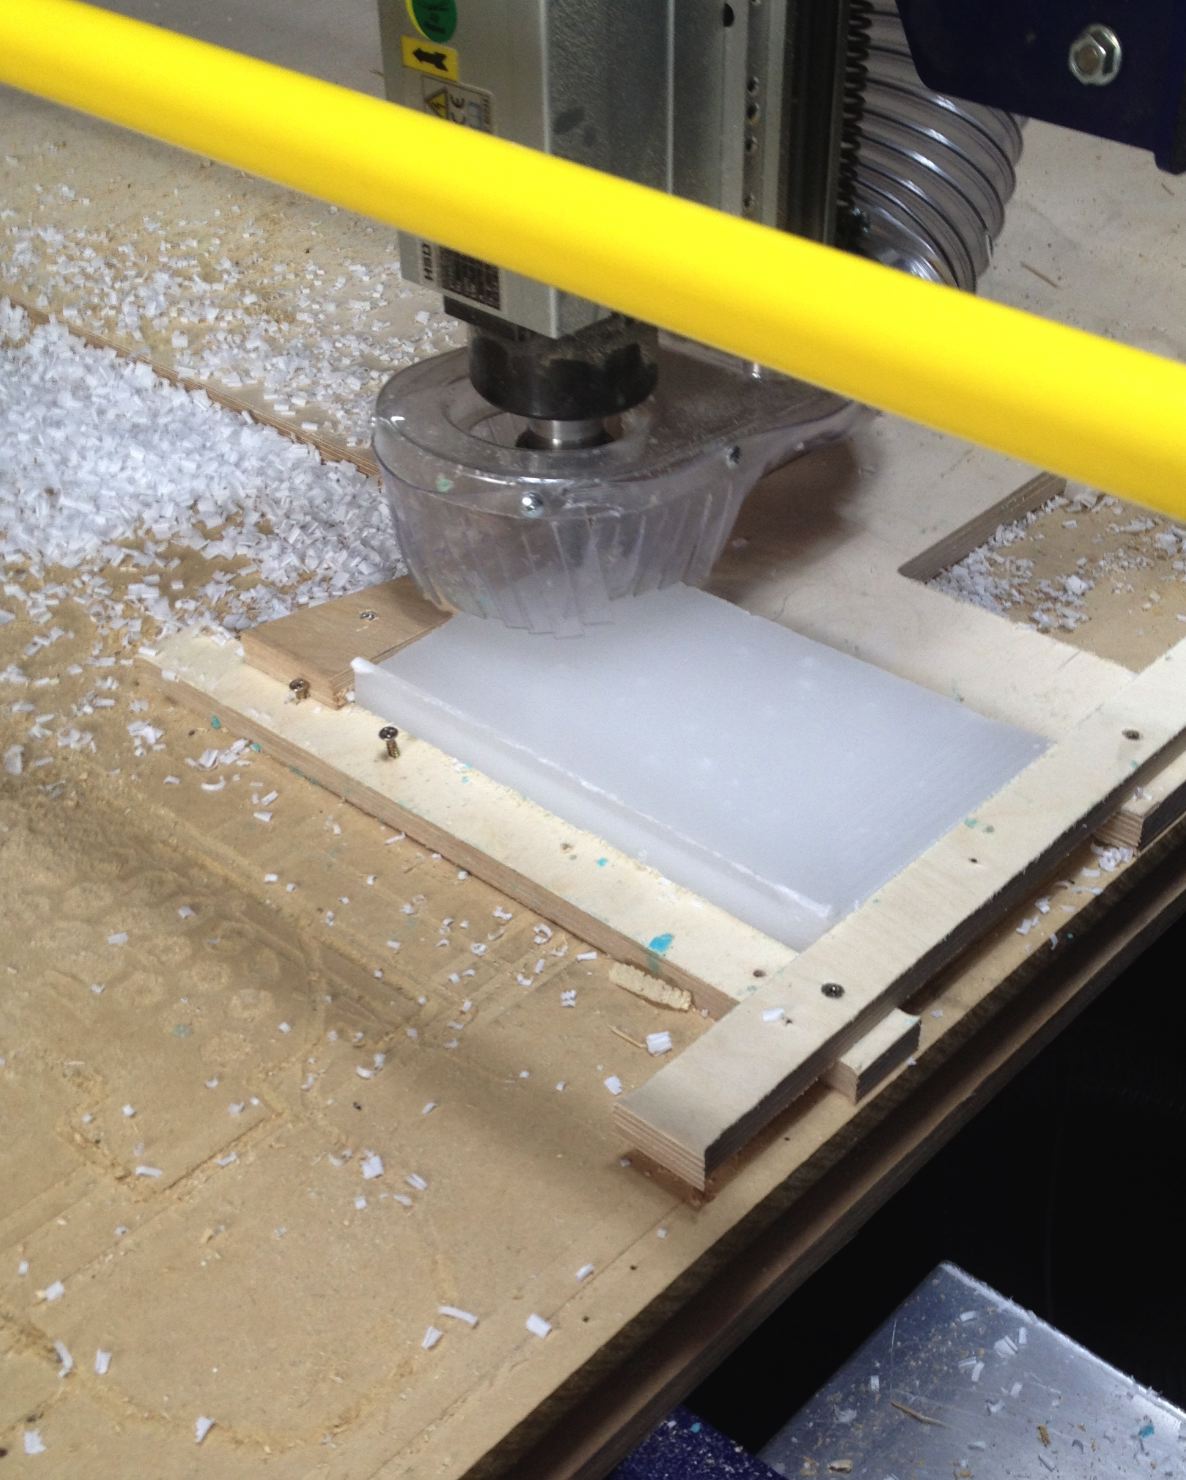
B. I placed the flattened wax on the roland SRM-20 and cut the molds for the front and the back of the phone case.
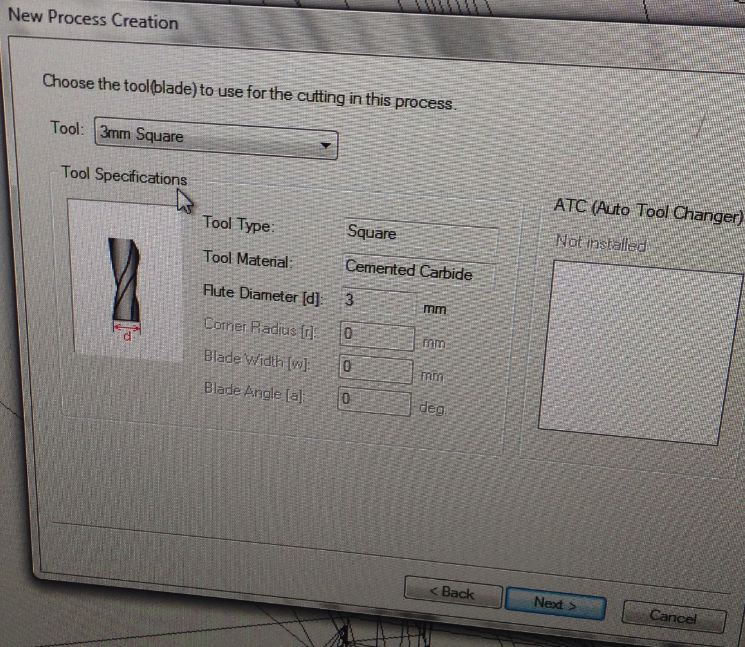
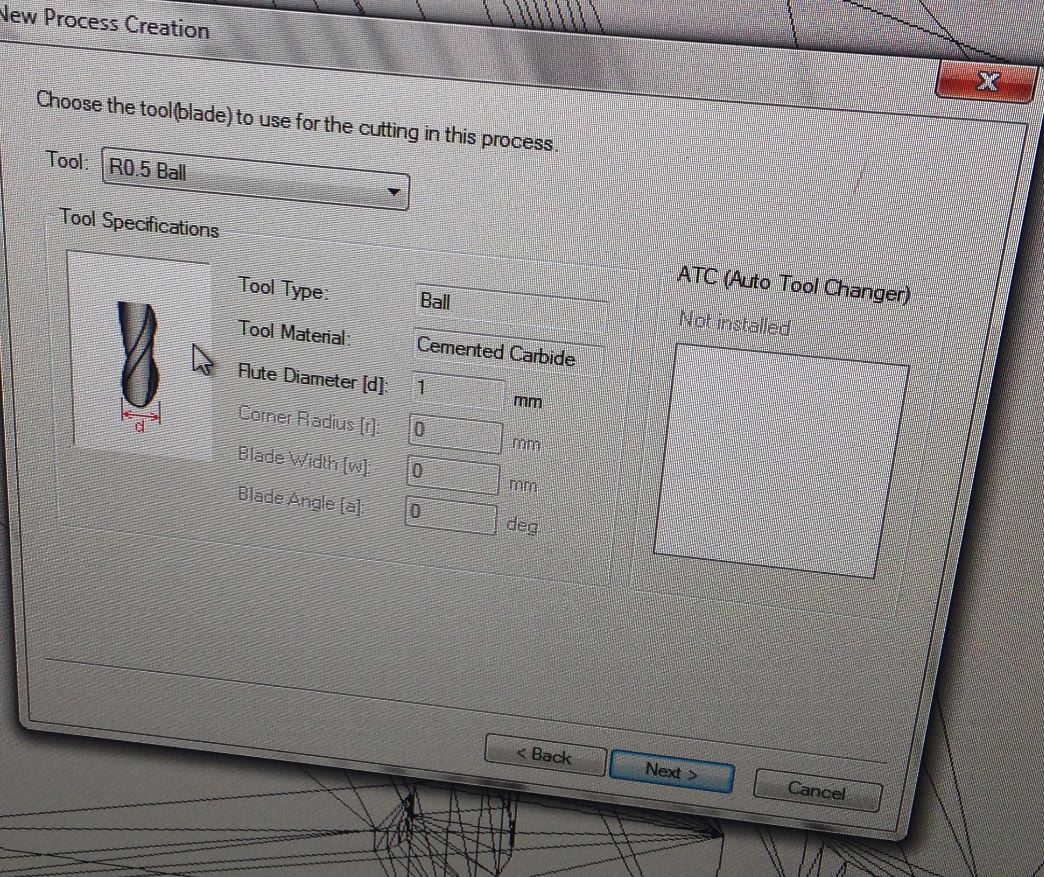
I used two mills: 1mm flat and 0.5mm ball maills. You can see the reasons what mills are chosen.
| Process |
Front |
Back |
Reason |
| Roughing | 1.0mm Flat |
1.0mm Flat |
1.0mm is
bigger mill which makes faster cut |
| Finishing |
1.0mm Flat |
0.5mm Ball |
The front is
flat surface so there was no need of ball. But the back had multiple pyramids which needed ball at the edge. |
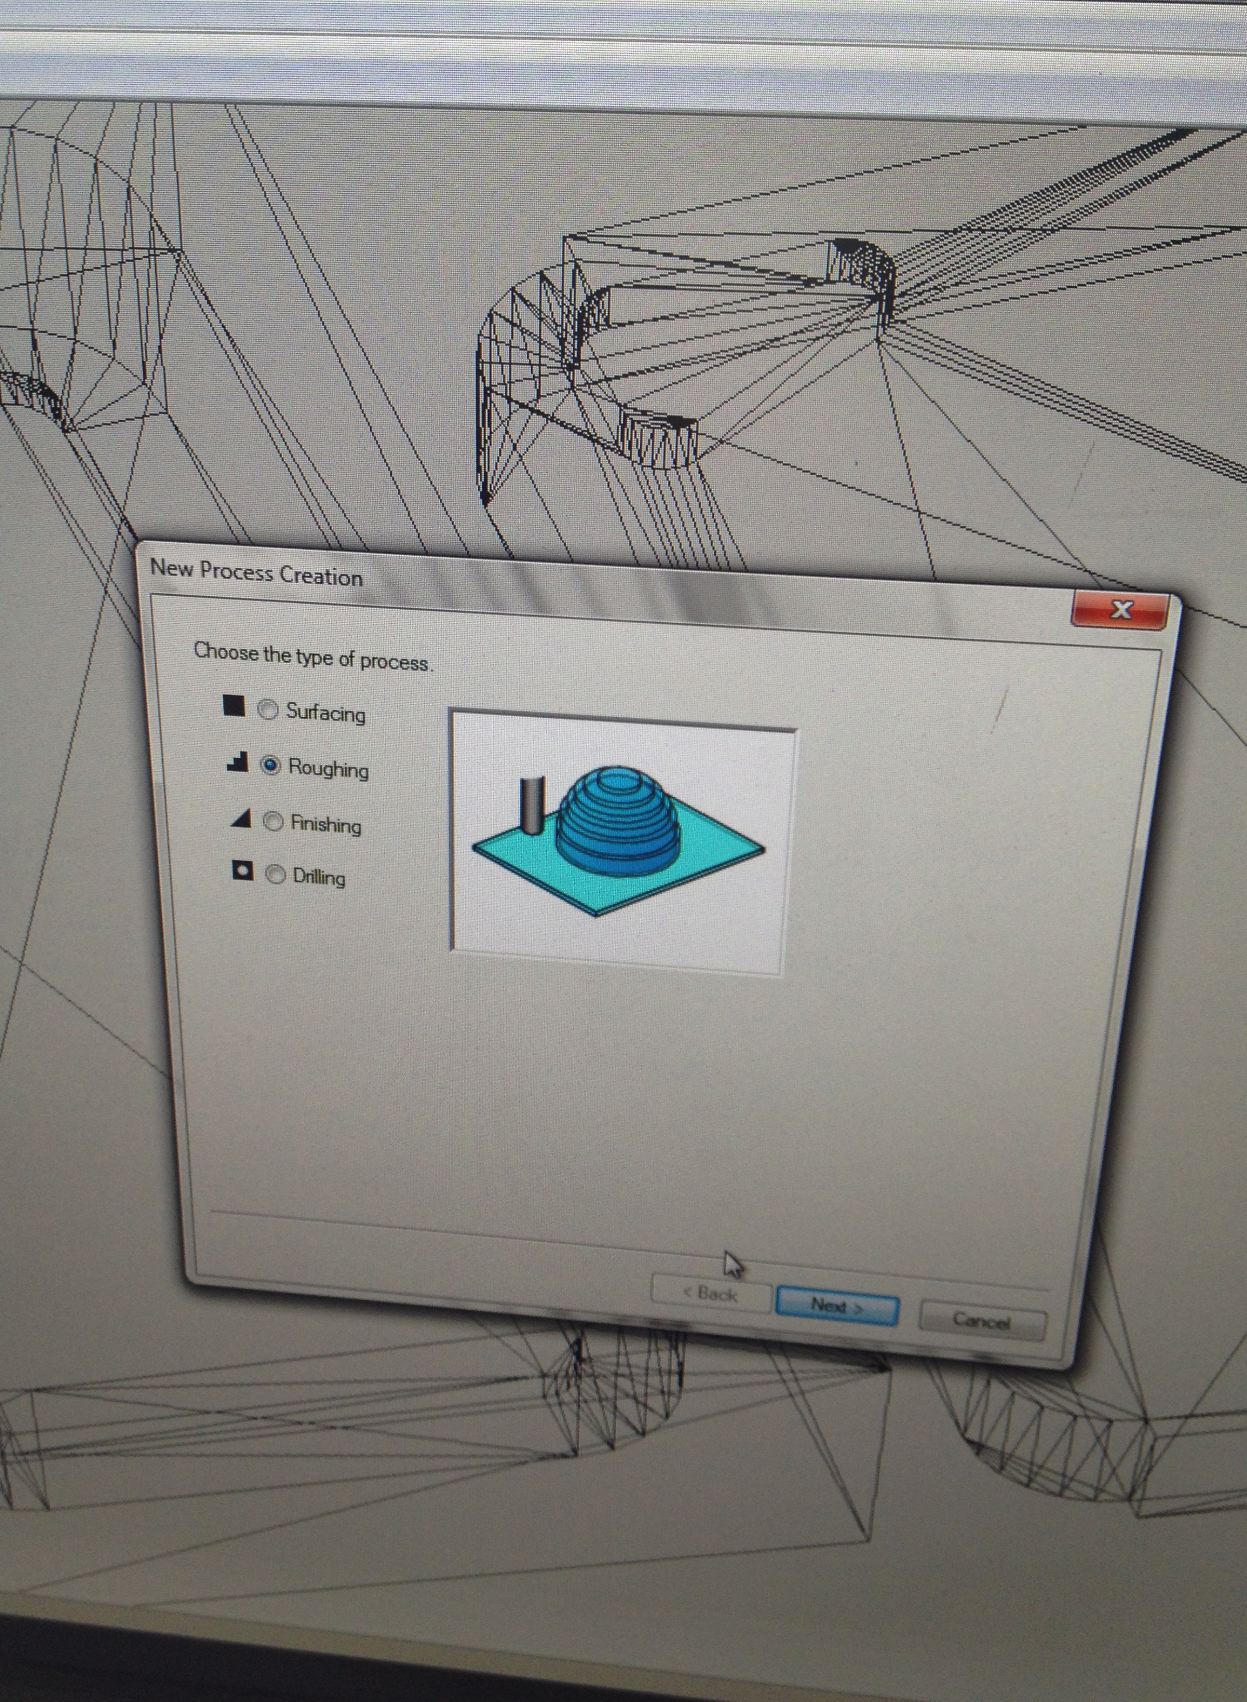
C. For controlling I used Modela Player. I uploaded DXF file to the modela and created rml files for the SRM-20.
1) Pick the right craft. Roughing OR Finishing.
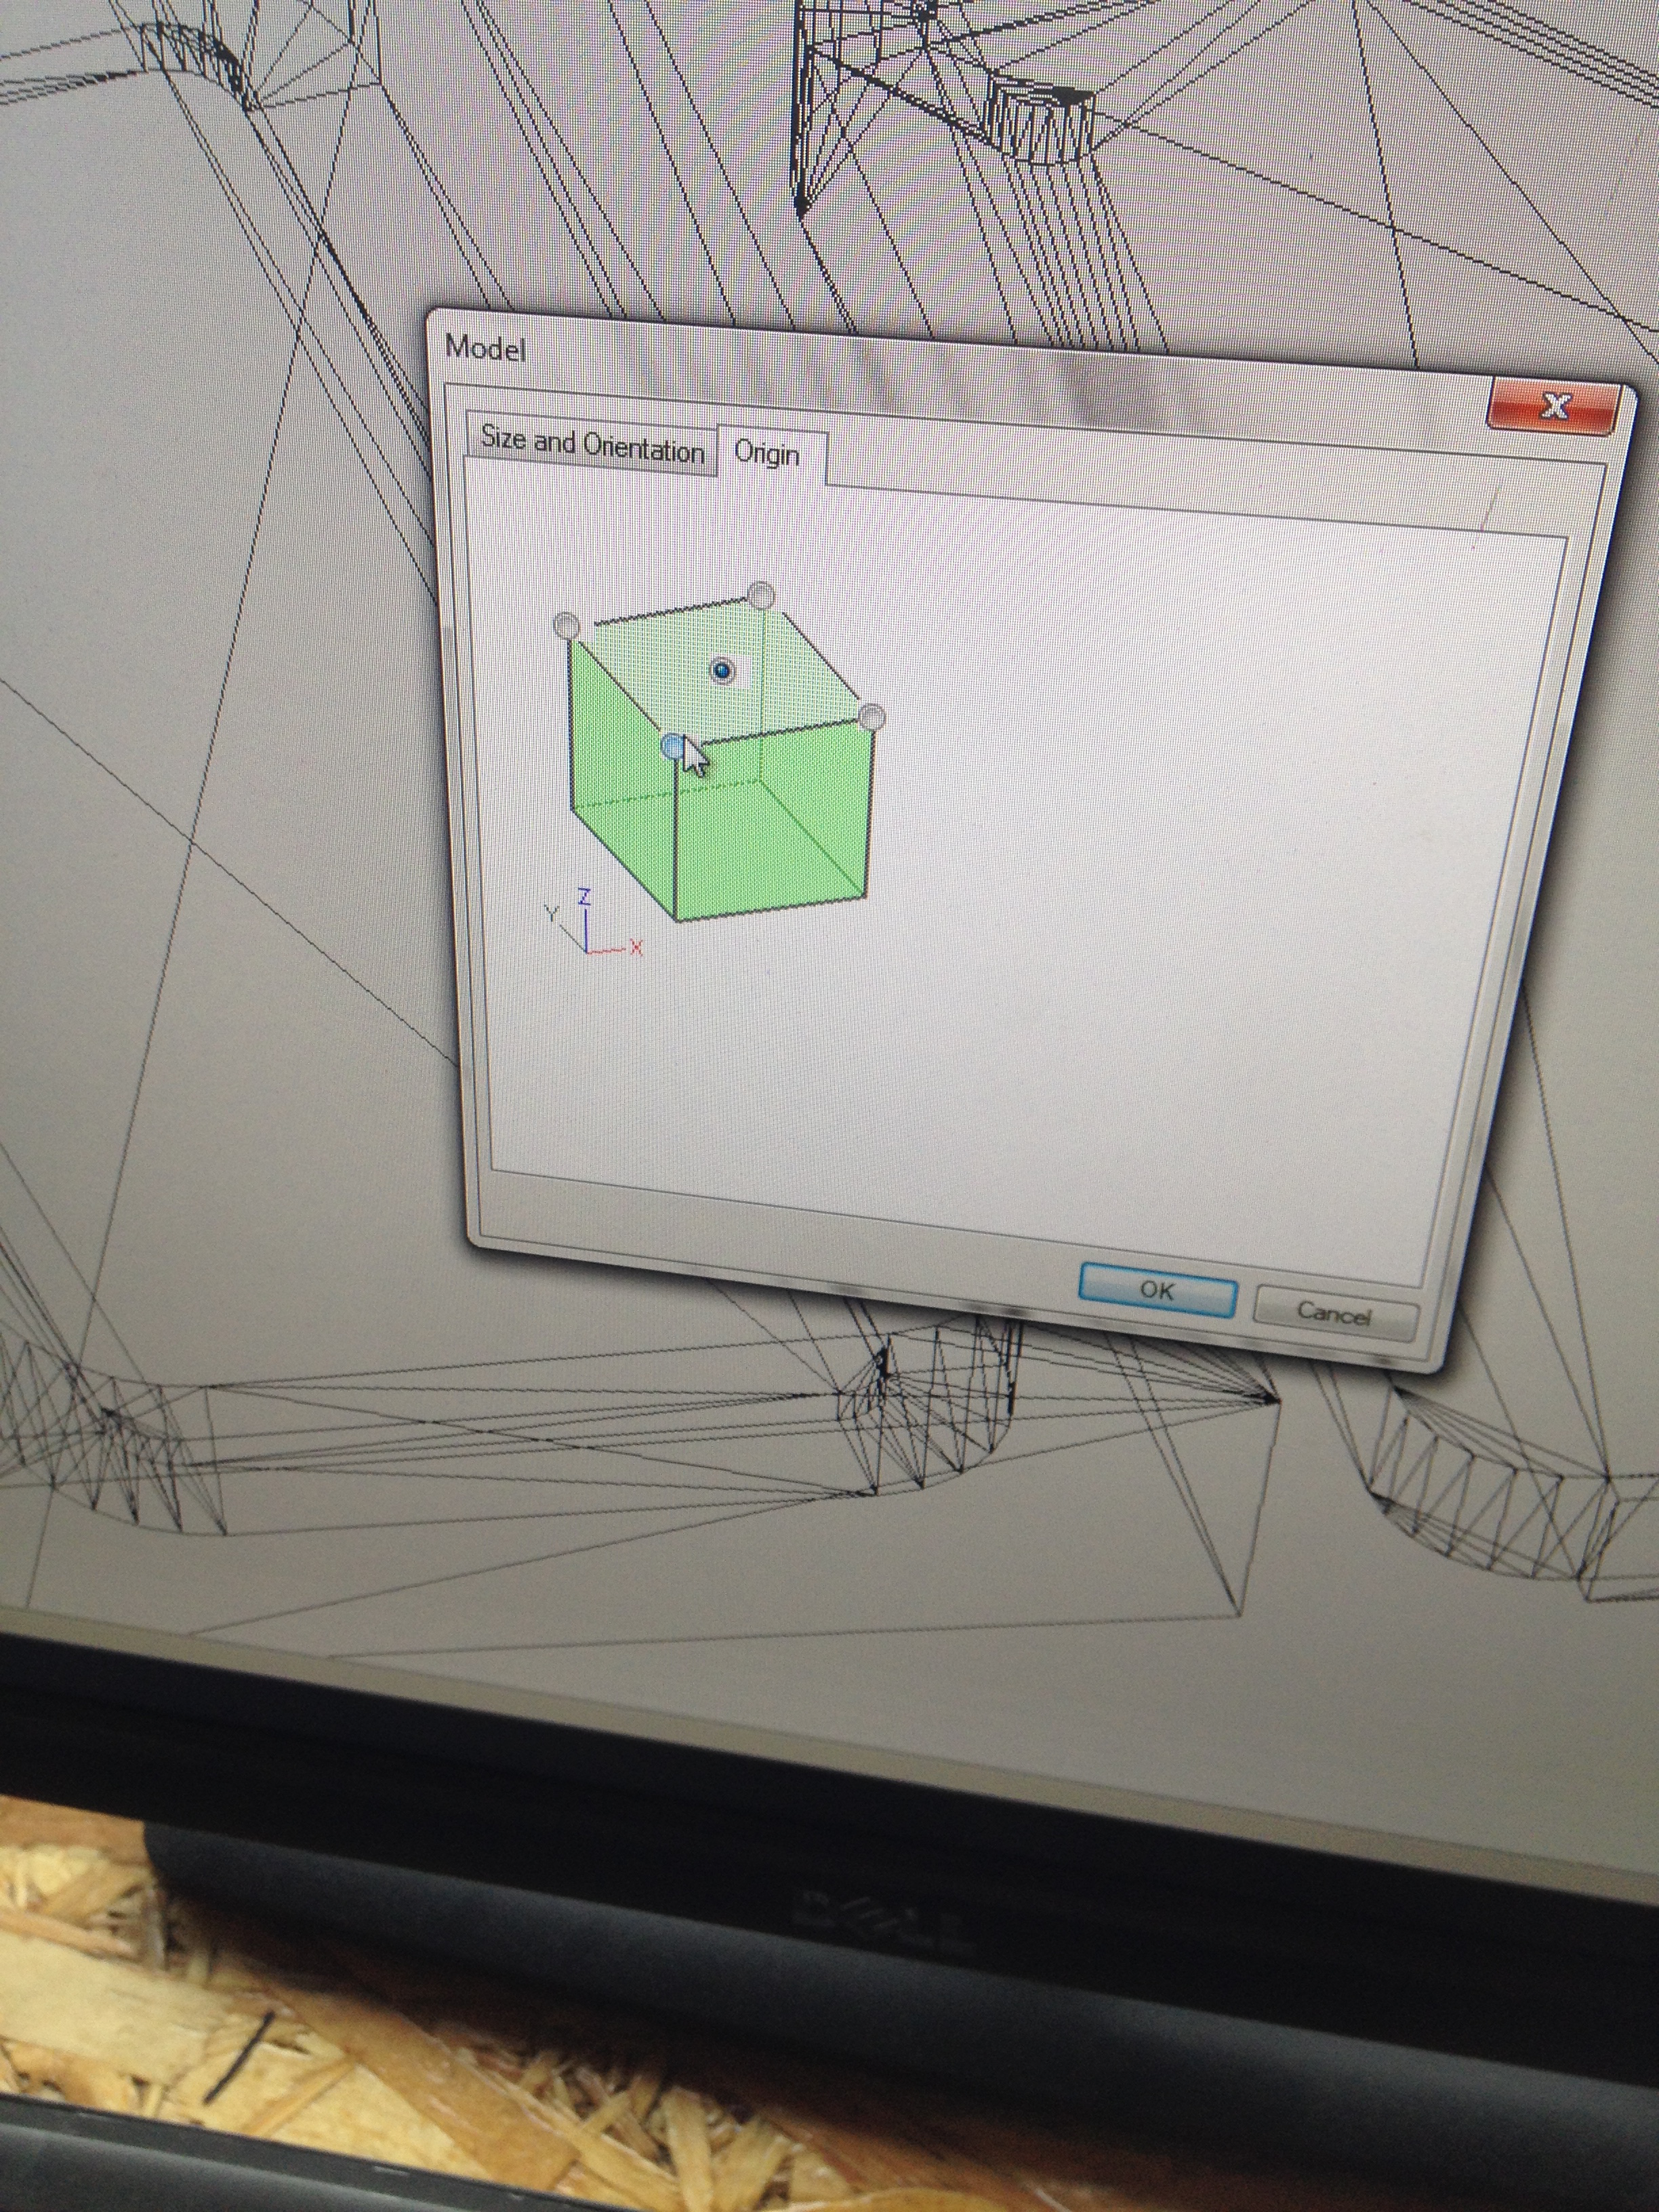
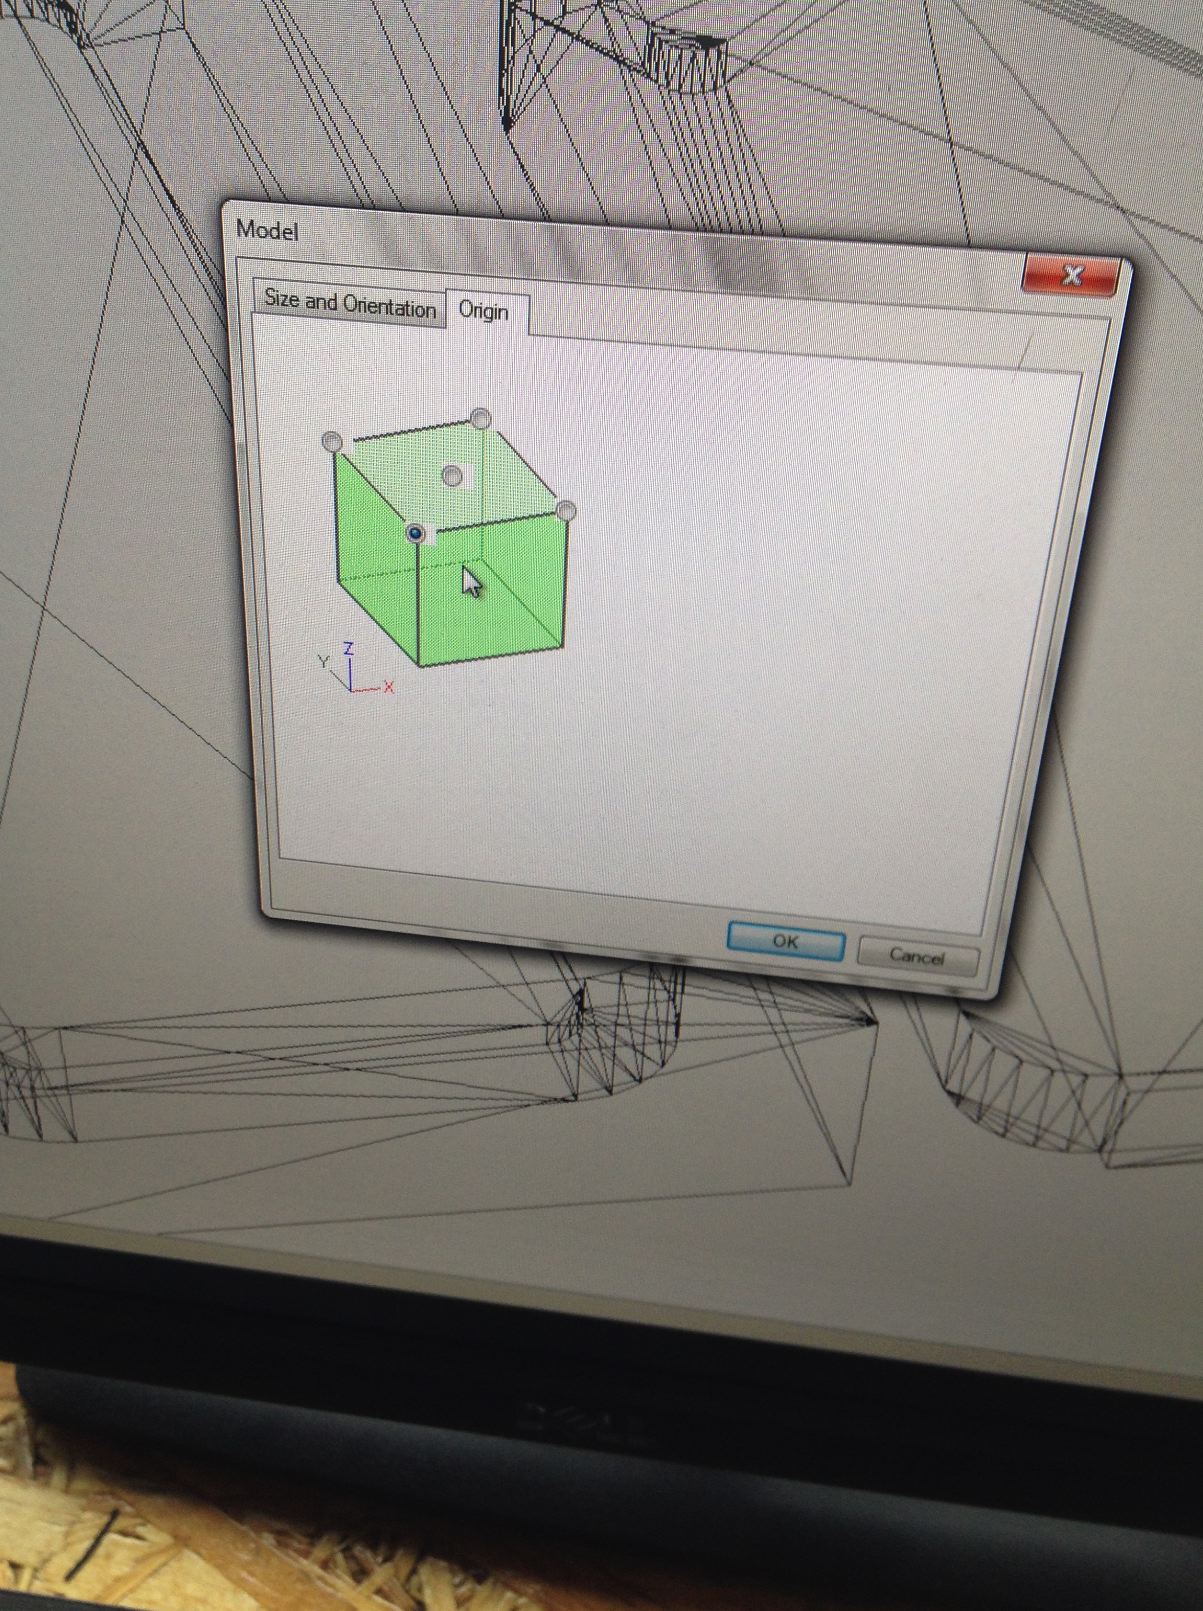
2) IMPORTANT: Pick the right origin. The origin should match the actual X,Y,Z.
I picked the wrong origin at the Modela Player which tool me more time.
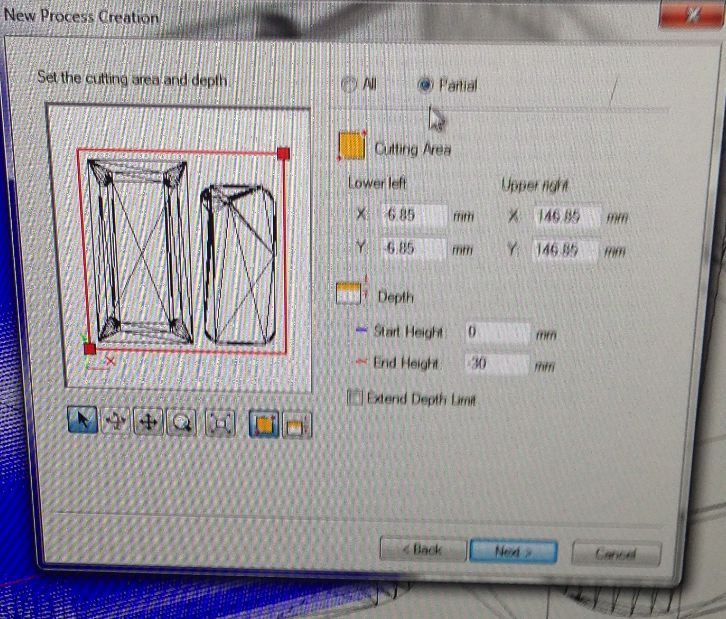
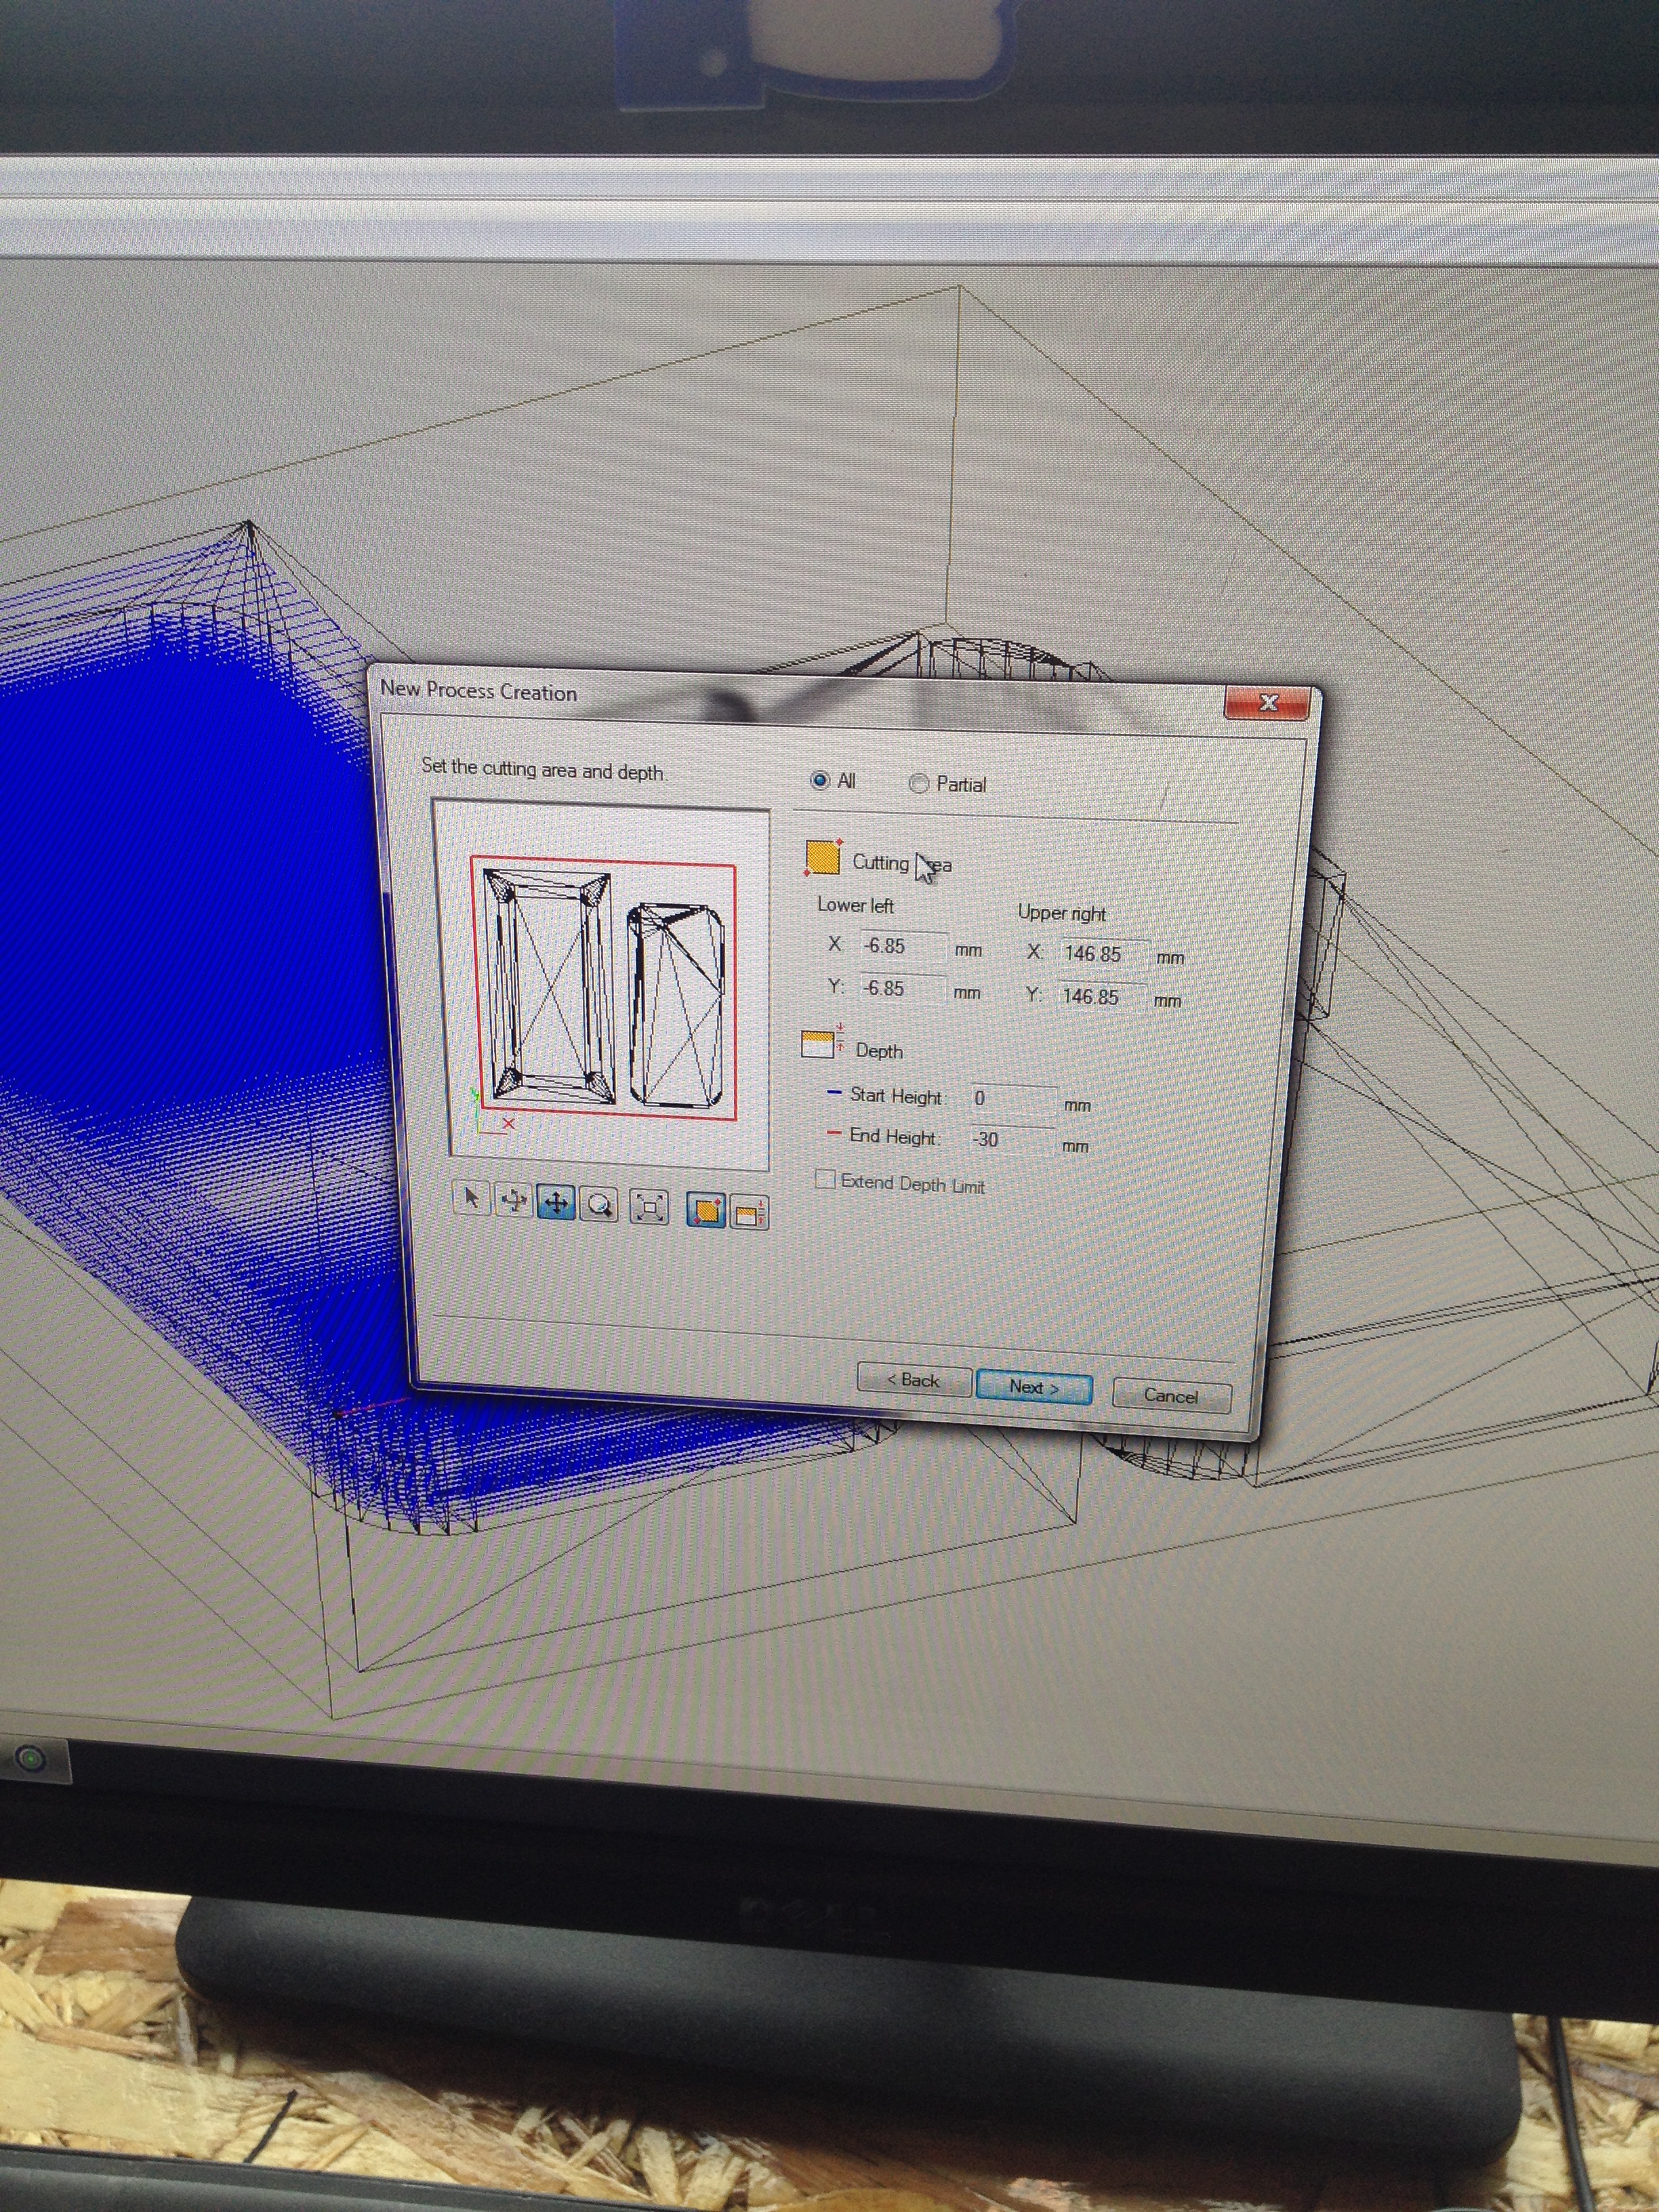
3) Limit the work area. I limited the area by adjusting the red line. It was necessary to save the time because I could cut the wax block later with the shopbot.
4) Pick the right mill. As I discussed at the above table, I worked responsibly.
I did not need to stop between roughing and finishing when the mill is not changed.
But I needed to stop the work between roughing and finishing when I changed the mill to the ball.
5) Finally it was cut. And I used Shopbot to separate two parts.
D. I worked on the middle part: the phone. Since the little bump at the camera area is too close to the outline of the phone, I needed to work smartly.
I used the 6mm flat, 1 flute mill. The mill could not pass between the little bump area and outline of the phone.
So here is the steps I made.
1) Flatten the phone area.
2) Outcut the bump.
3) Flatten the body part.
4) Outcut the phone shape.
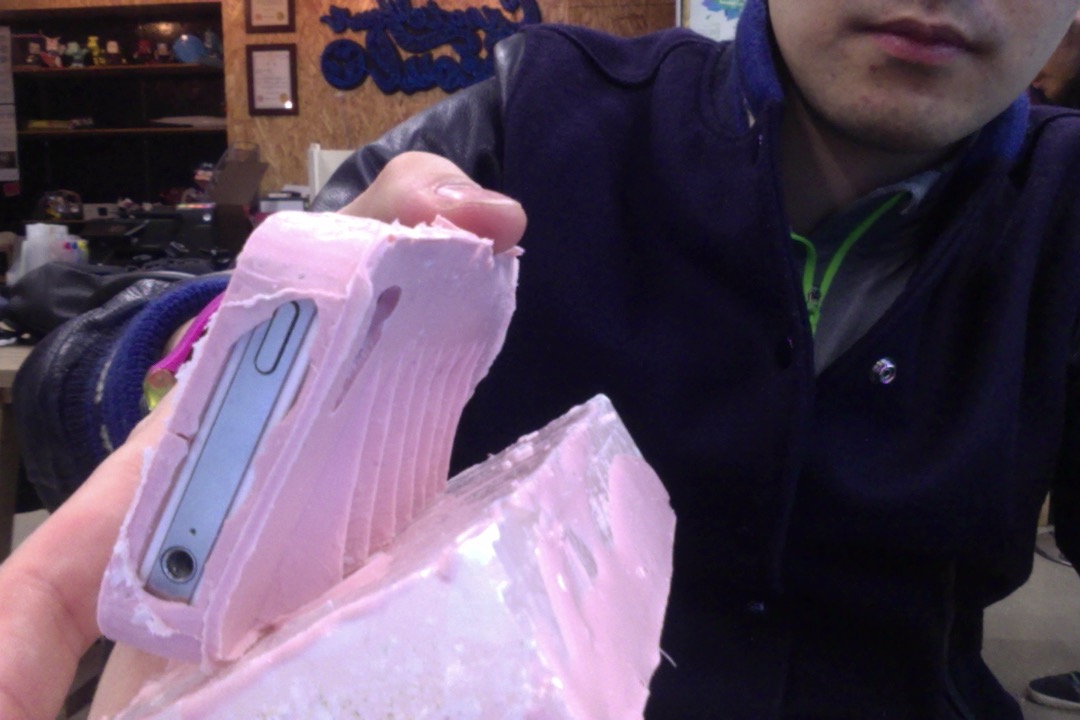
E. I assembeled the parts and the phone was too thick.
I sanded the phone and Edu recommended wax coat the wooden phone, I dipped into the wax.
After that I assemble the parts and the middle was too thick again. So I made the wooden wall to heighten up the mold.
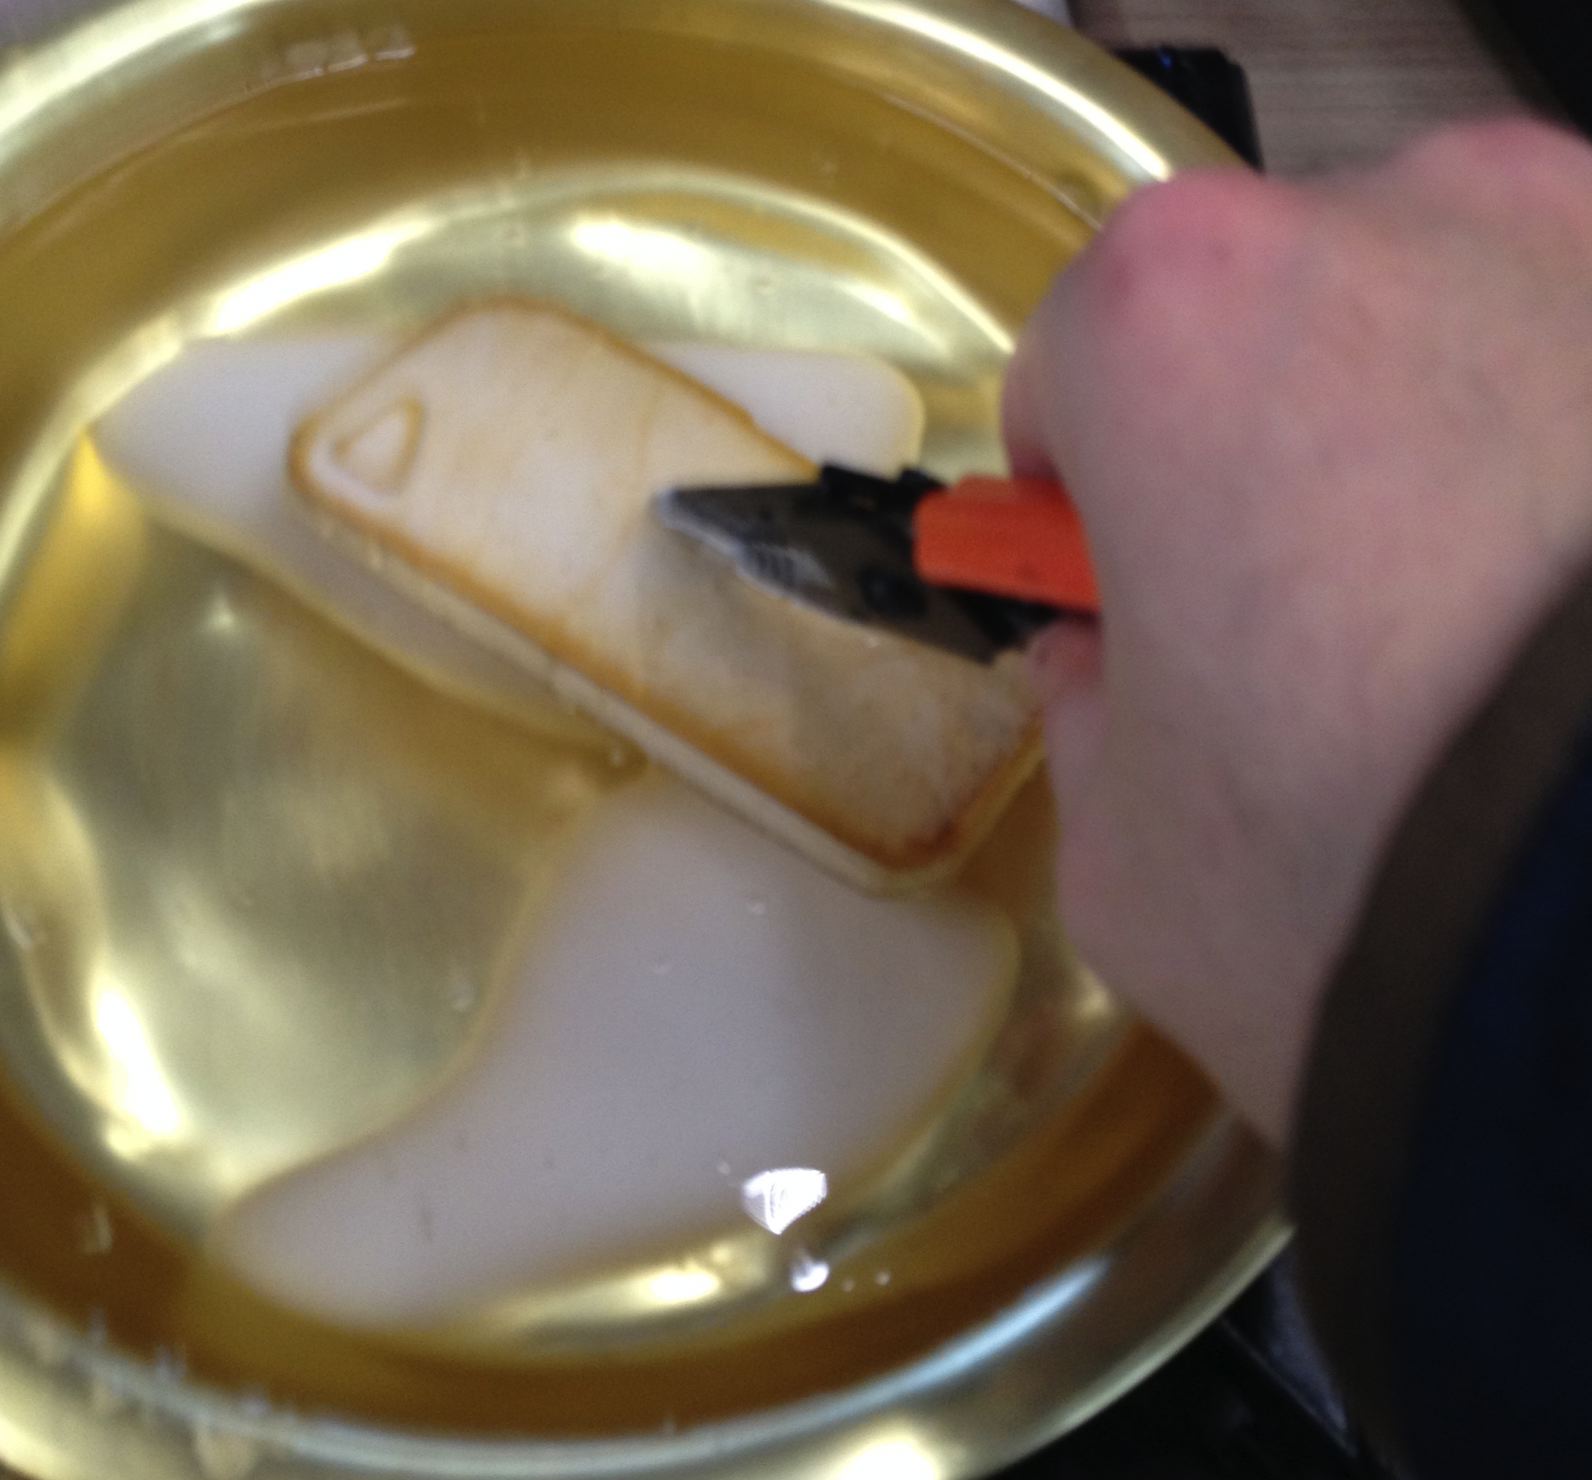
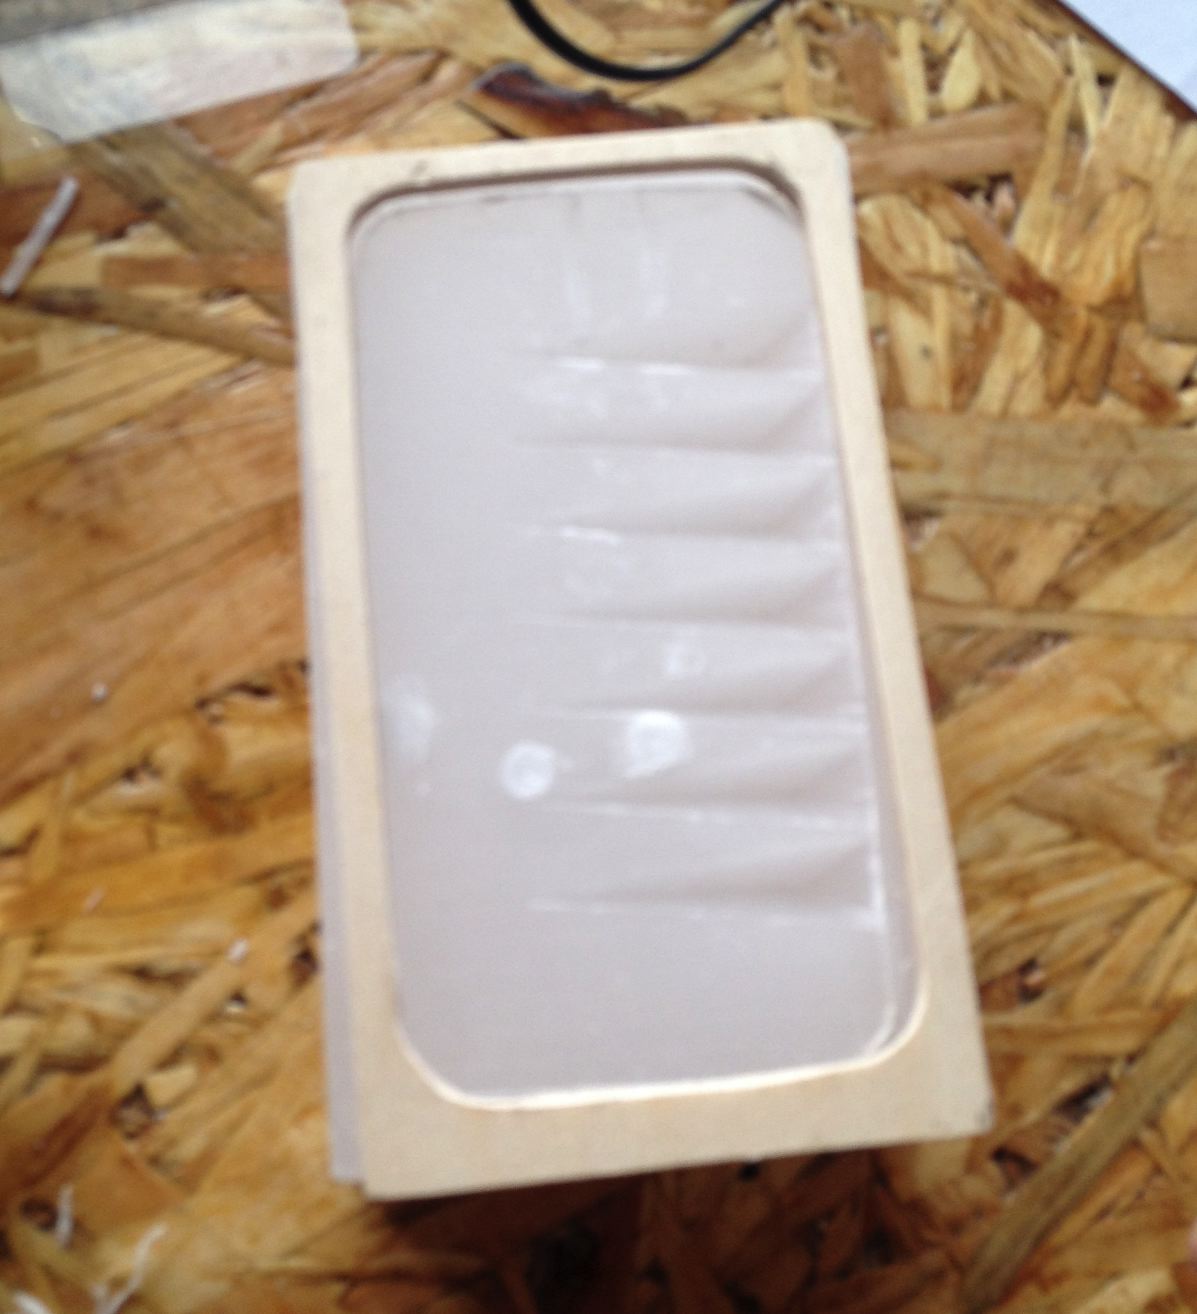
F. Finally, I made the silicon mold.
1) I marked the position of the molds with the duck tape so that I can position them aligned later.
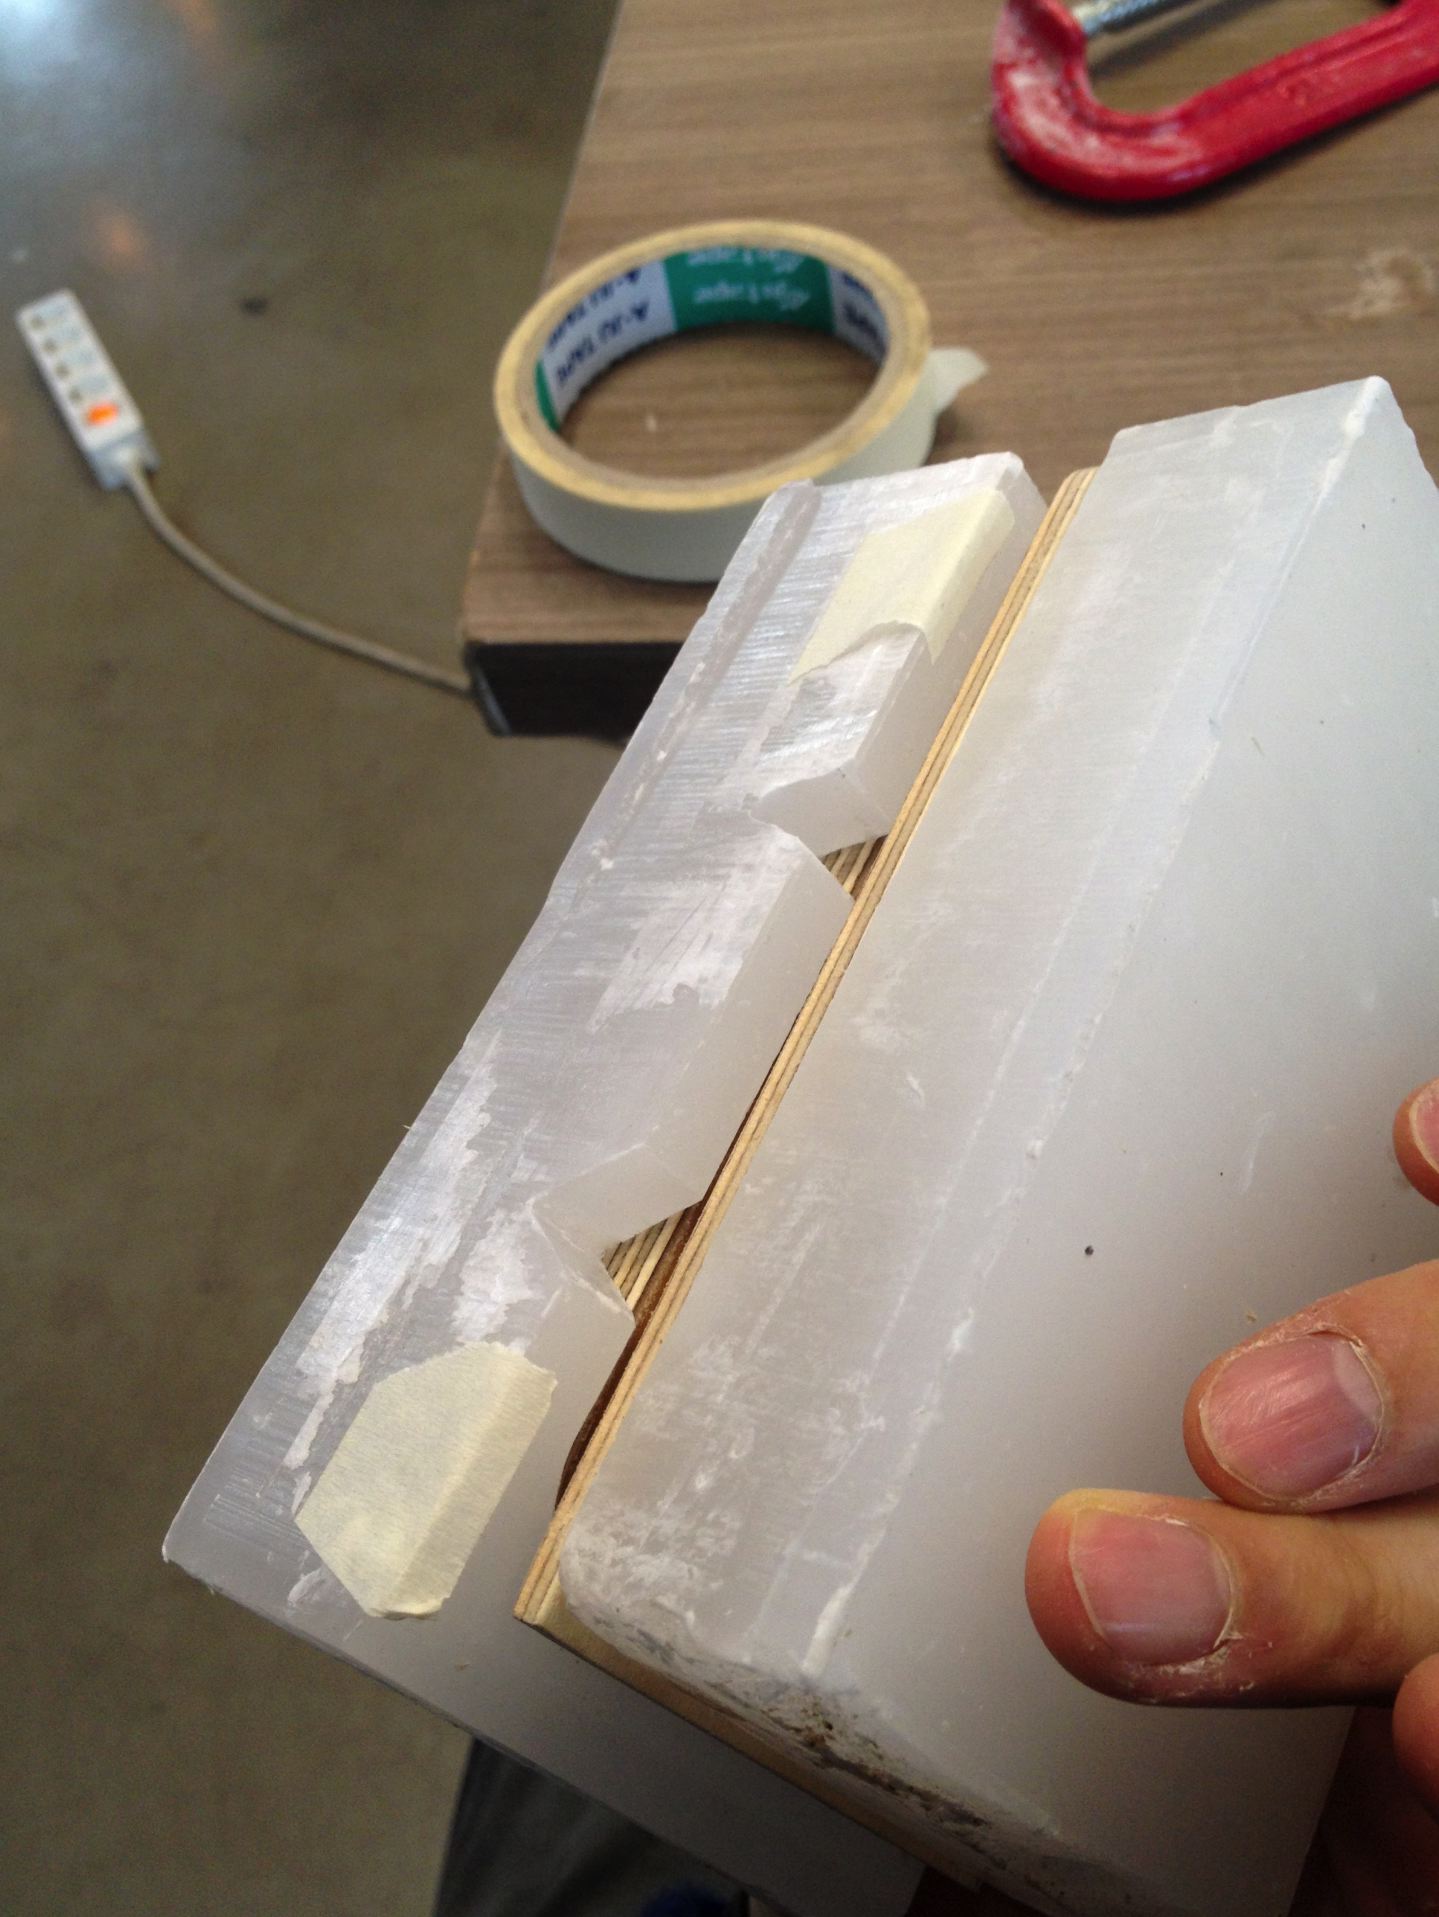
2) I cut wax mold to make holes.

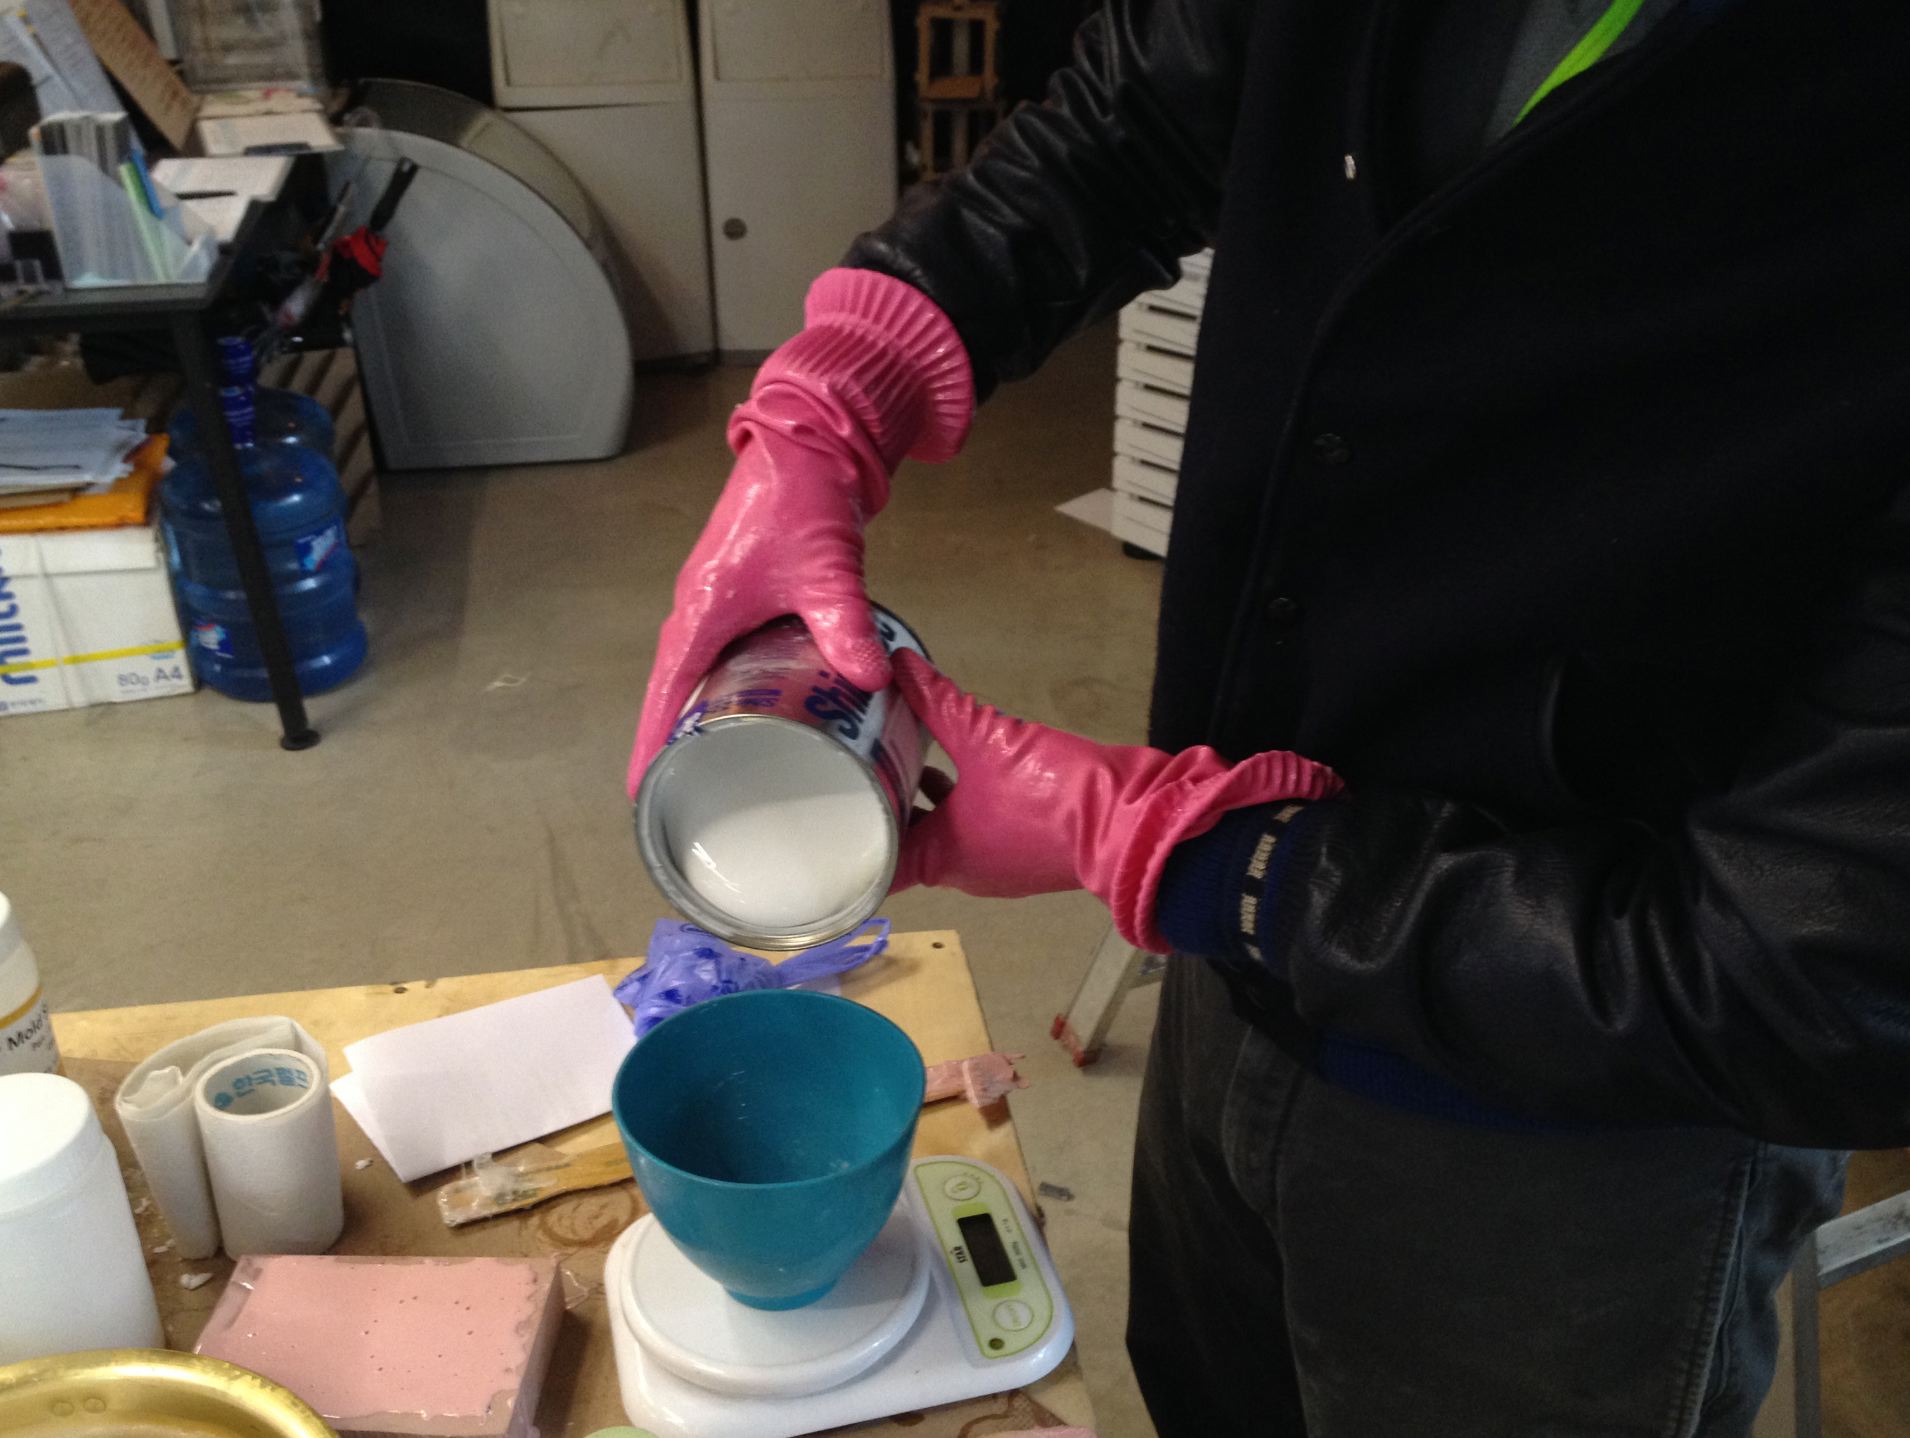
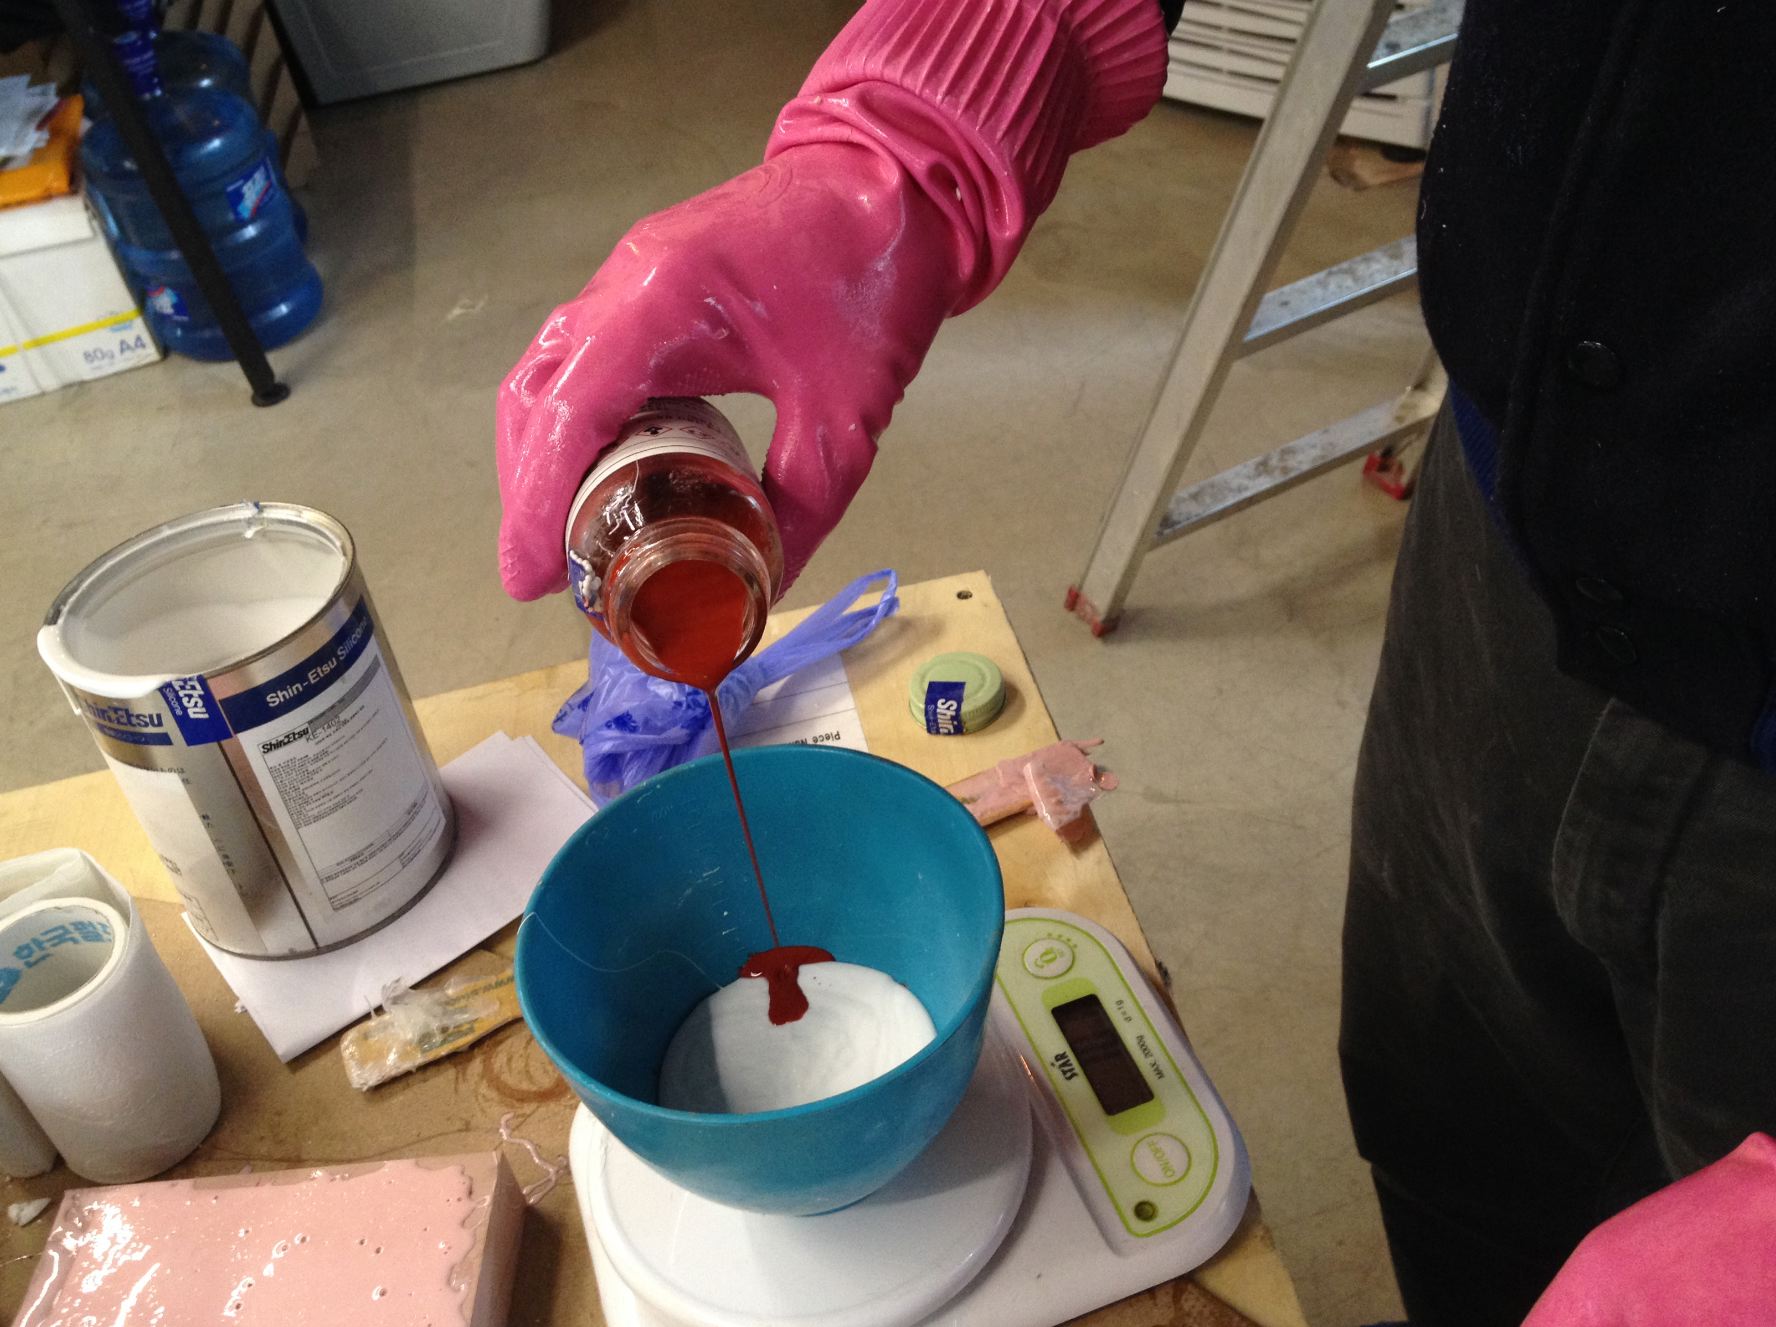
3) The ratio of the Catalyst:Silicon was 1:10. I poured the mixed silicon to the hole and it was too densed that it started blocking the hole.
So I opened the mold, poured the silicon and closed it.
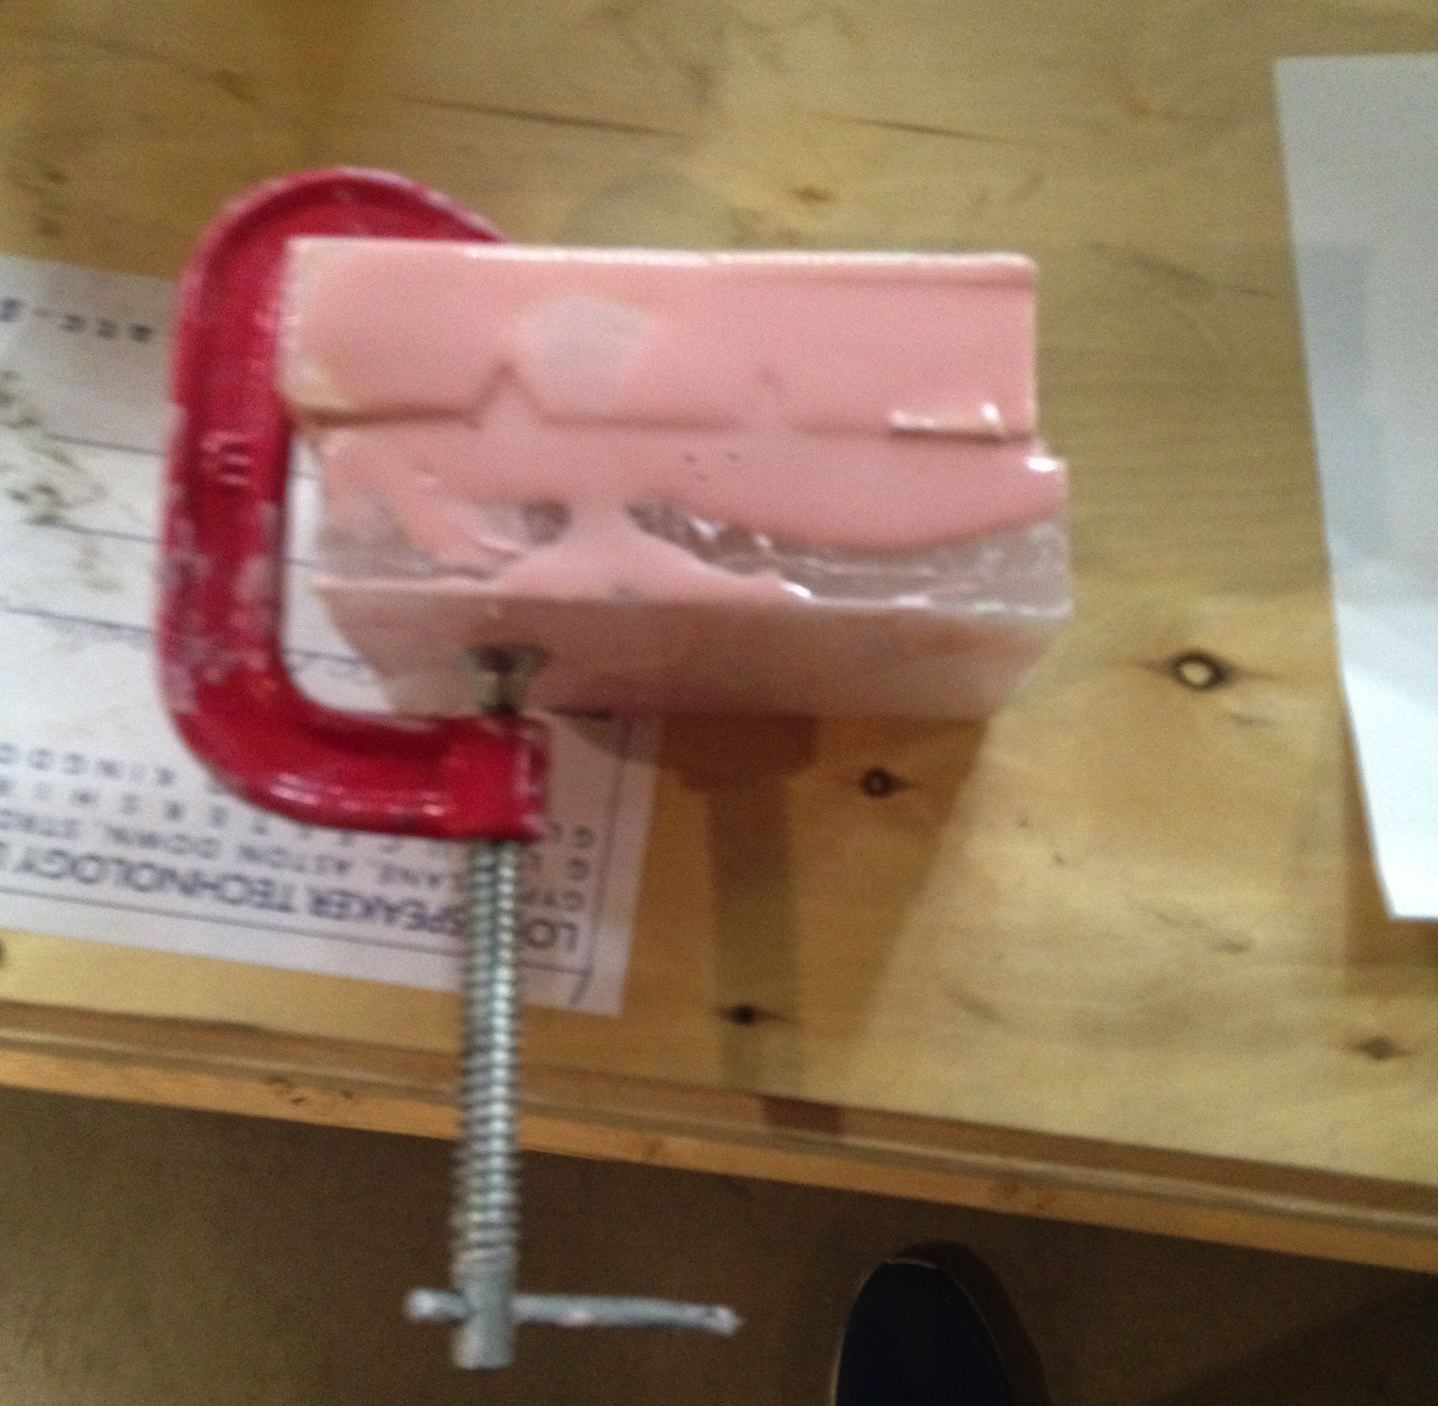
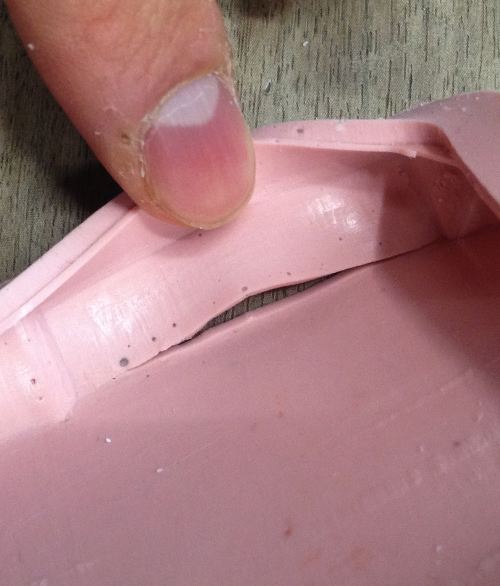
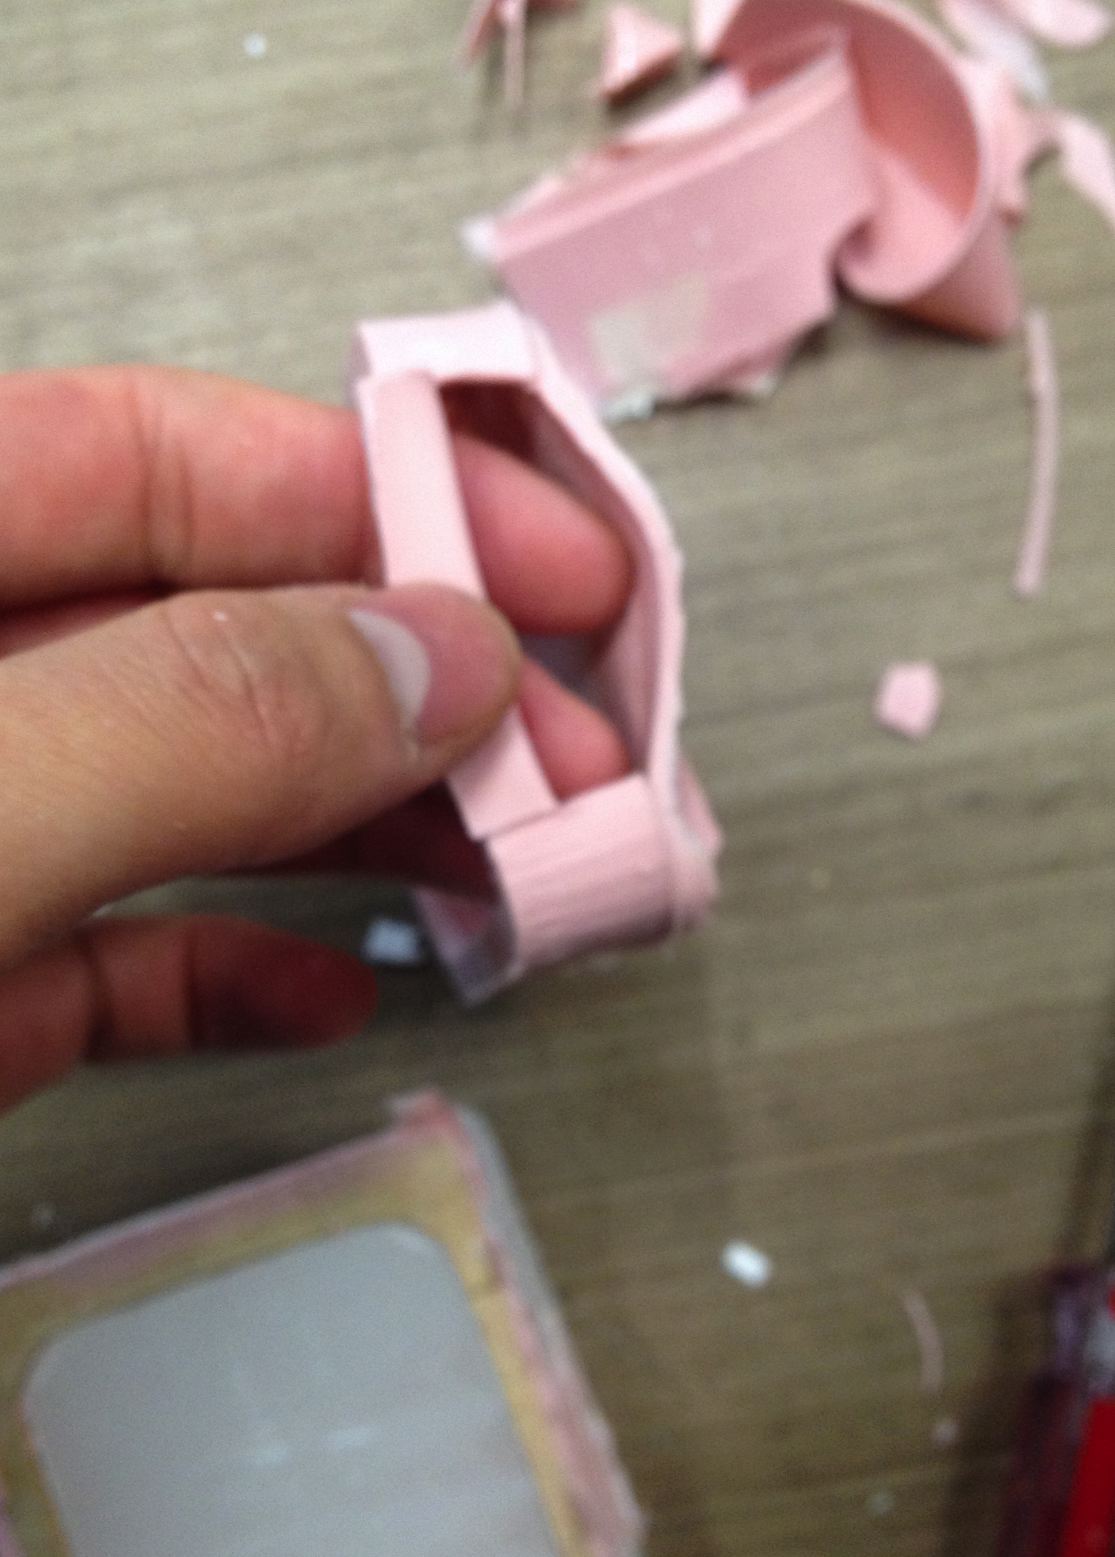
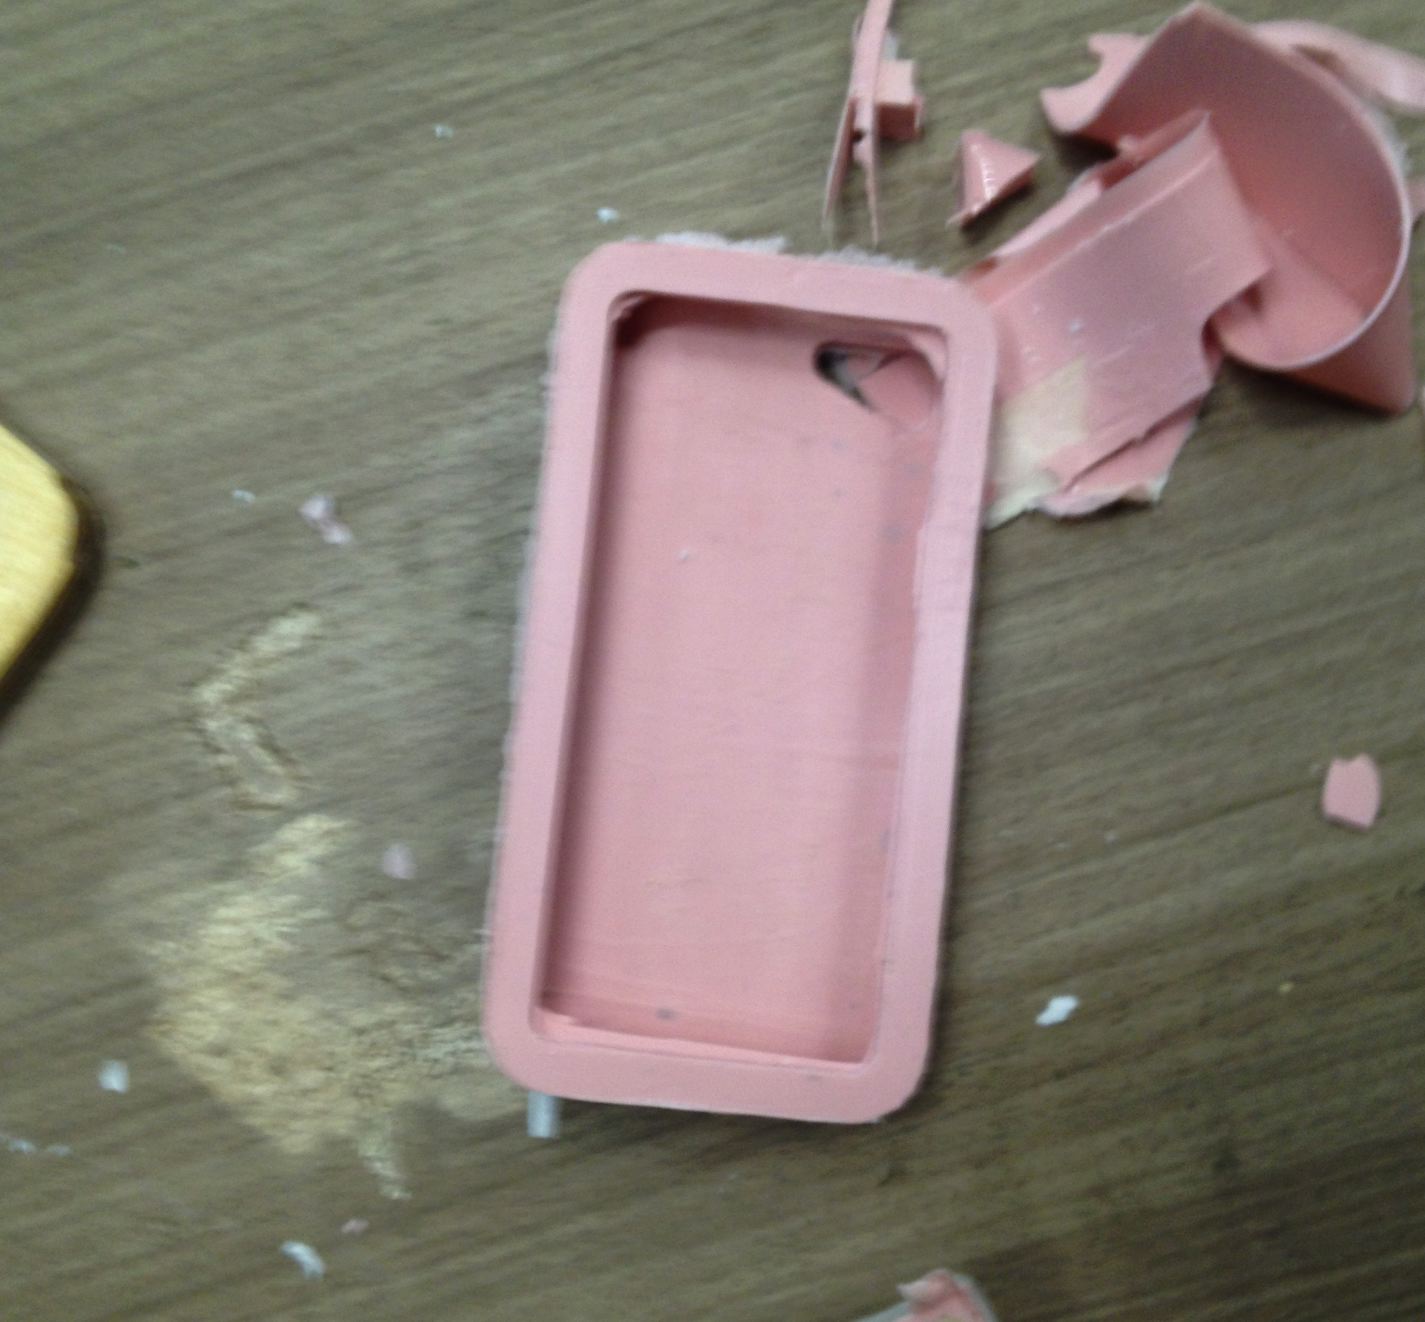
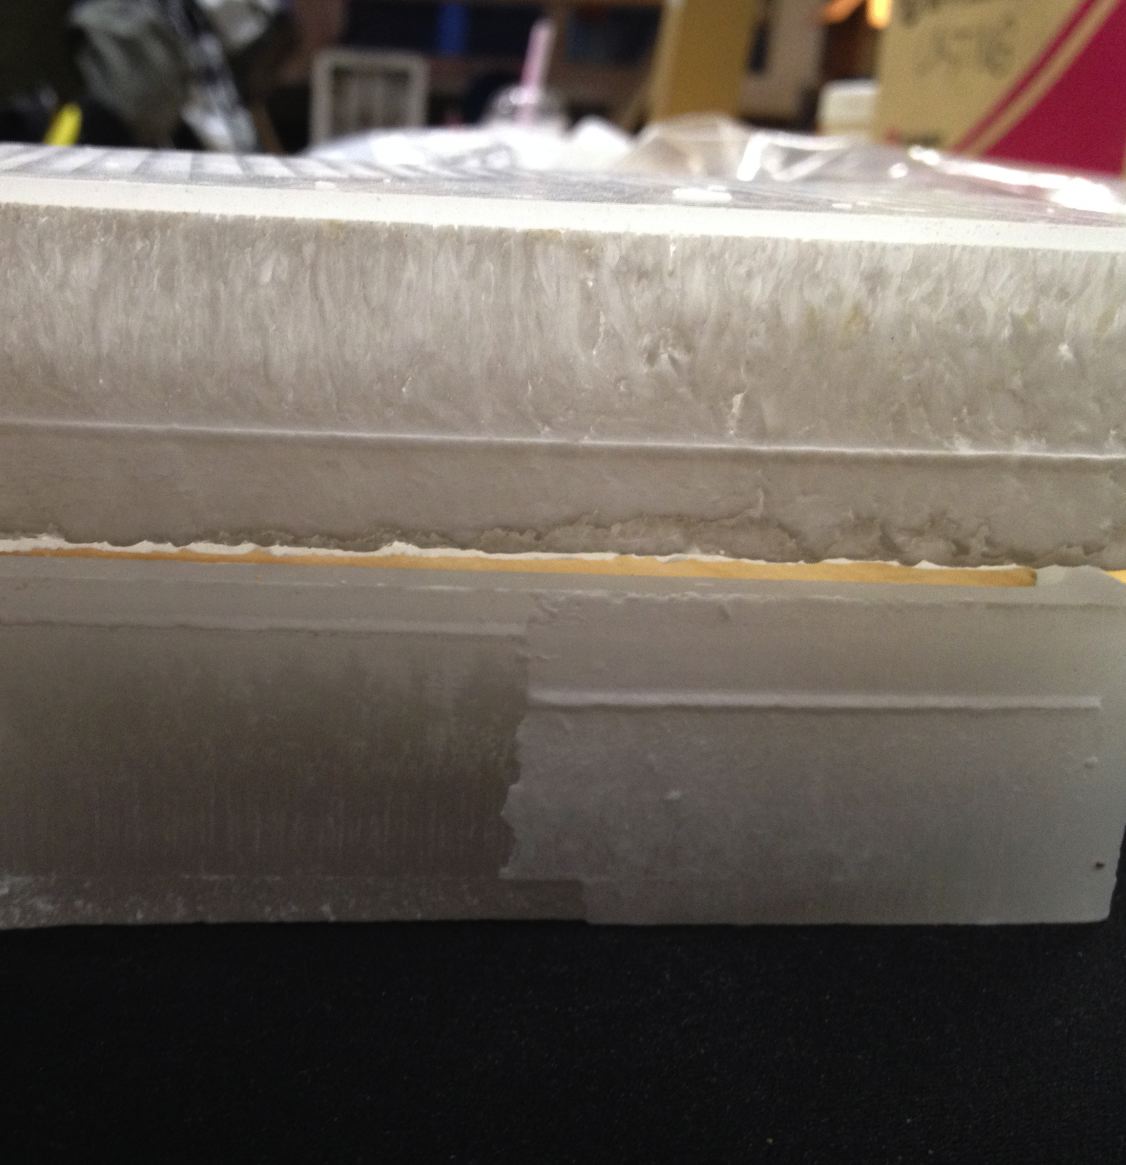
G. After 24 hours.... I cut the parts that it should be holed because there was very thin layer of silicon covers the hole.
1) I found I needed to make the wooden phone bit smaller because the part it should be thick was too thin that it broke when I tried to open the mold.
2) Also the pyramid were small to resist the weight of the phone that it could not hold the phone angled.