1. Vimeo Links : One, Two
2. Assignments : Make something big
3. Tryouts
A. For this week I wanted to make the clothes hanger and the table.
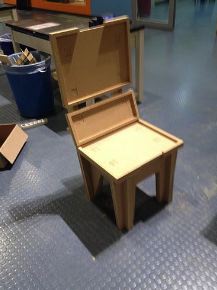
I have made a chair by the CNC before so the experiece was helpful to the assignment.
B. I designed the file by the Autocad as below.

C. Before starting the assignment, safety is the first to remember.
1) Eye Protection: wear the Goggle
2) Ear Protection: wear the ear protector
3) Ingestion Protection : wear mask
4) No Gloves : preventing from sucking into the revolving mill
5) No Tie: preventing from sucking into the revolving mill
6) No open toe sandals: preventing any injury from the chips or tools on the floor
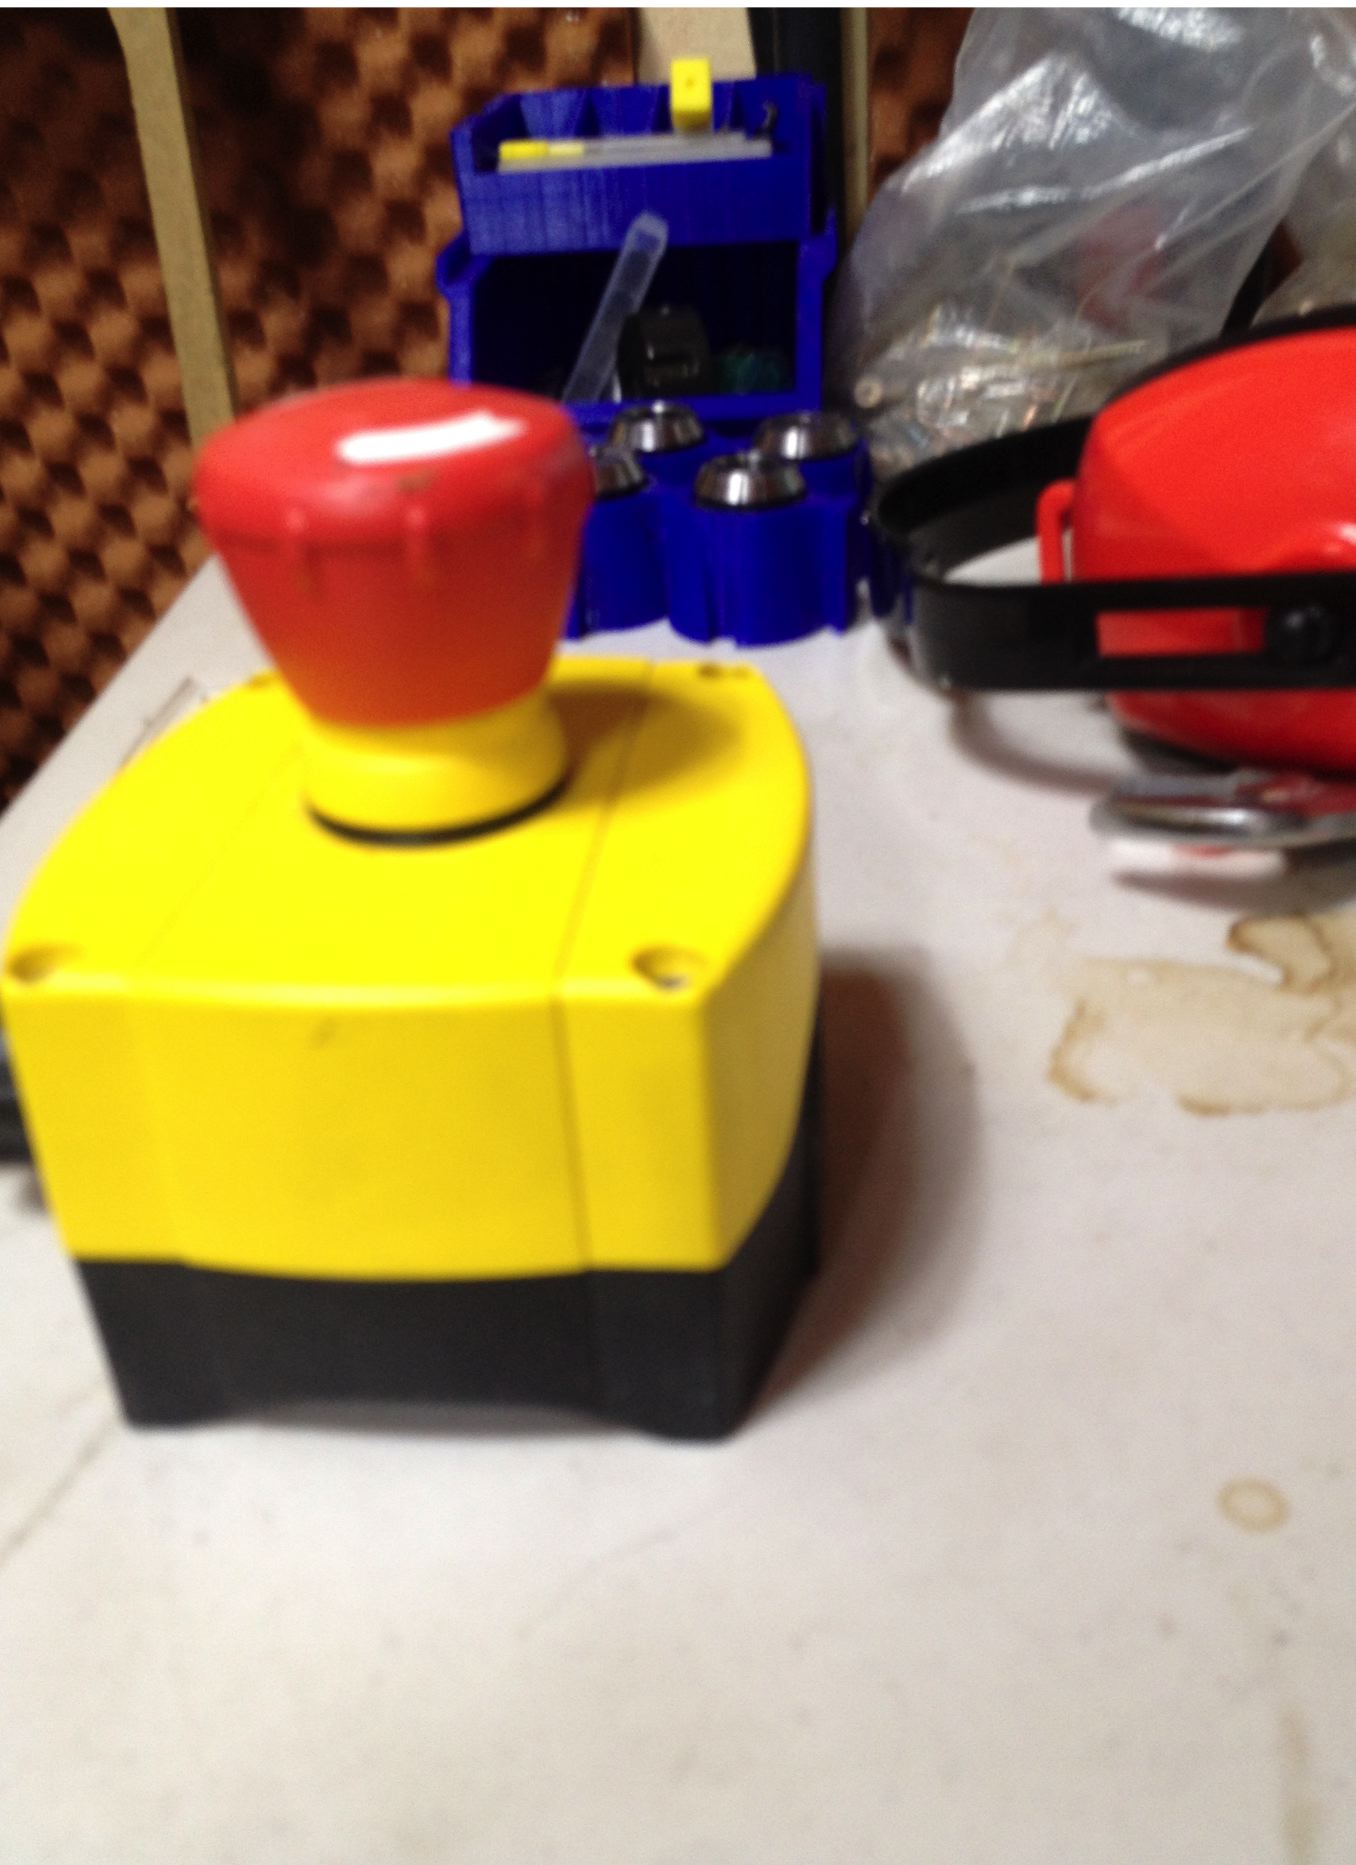
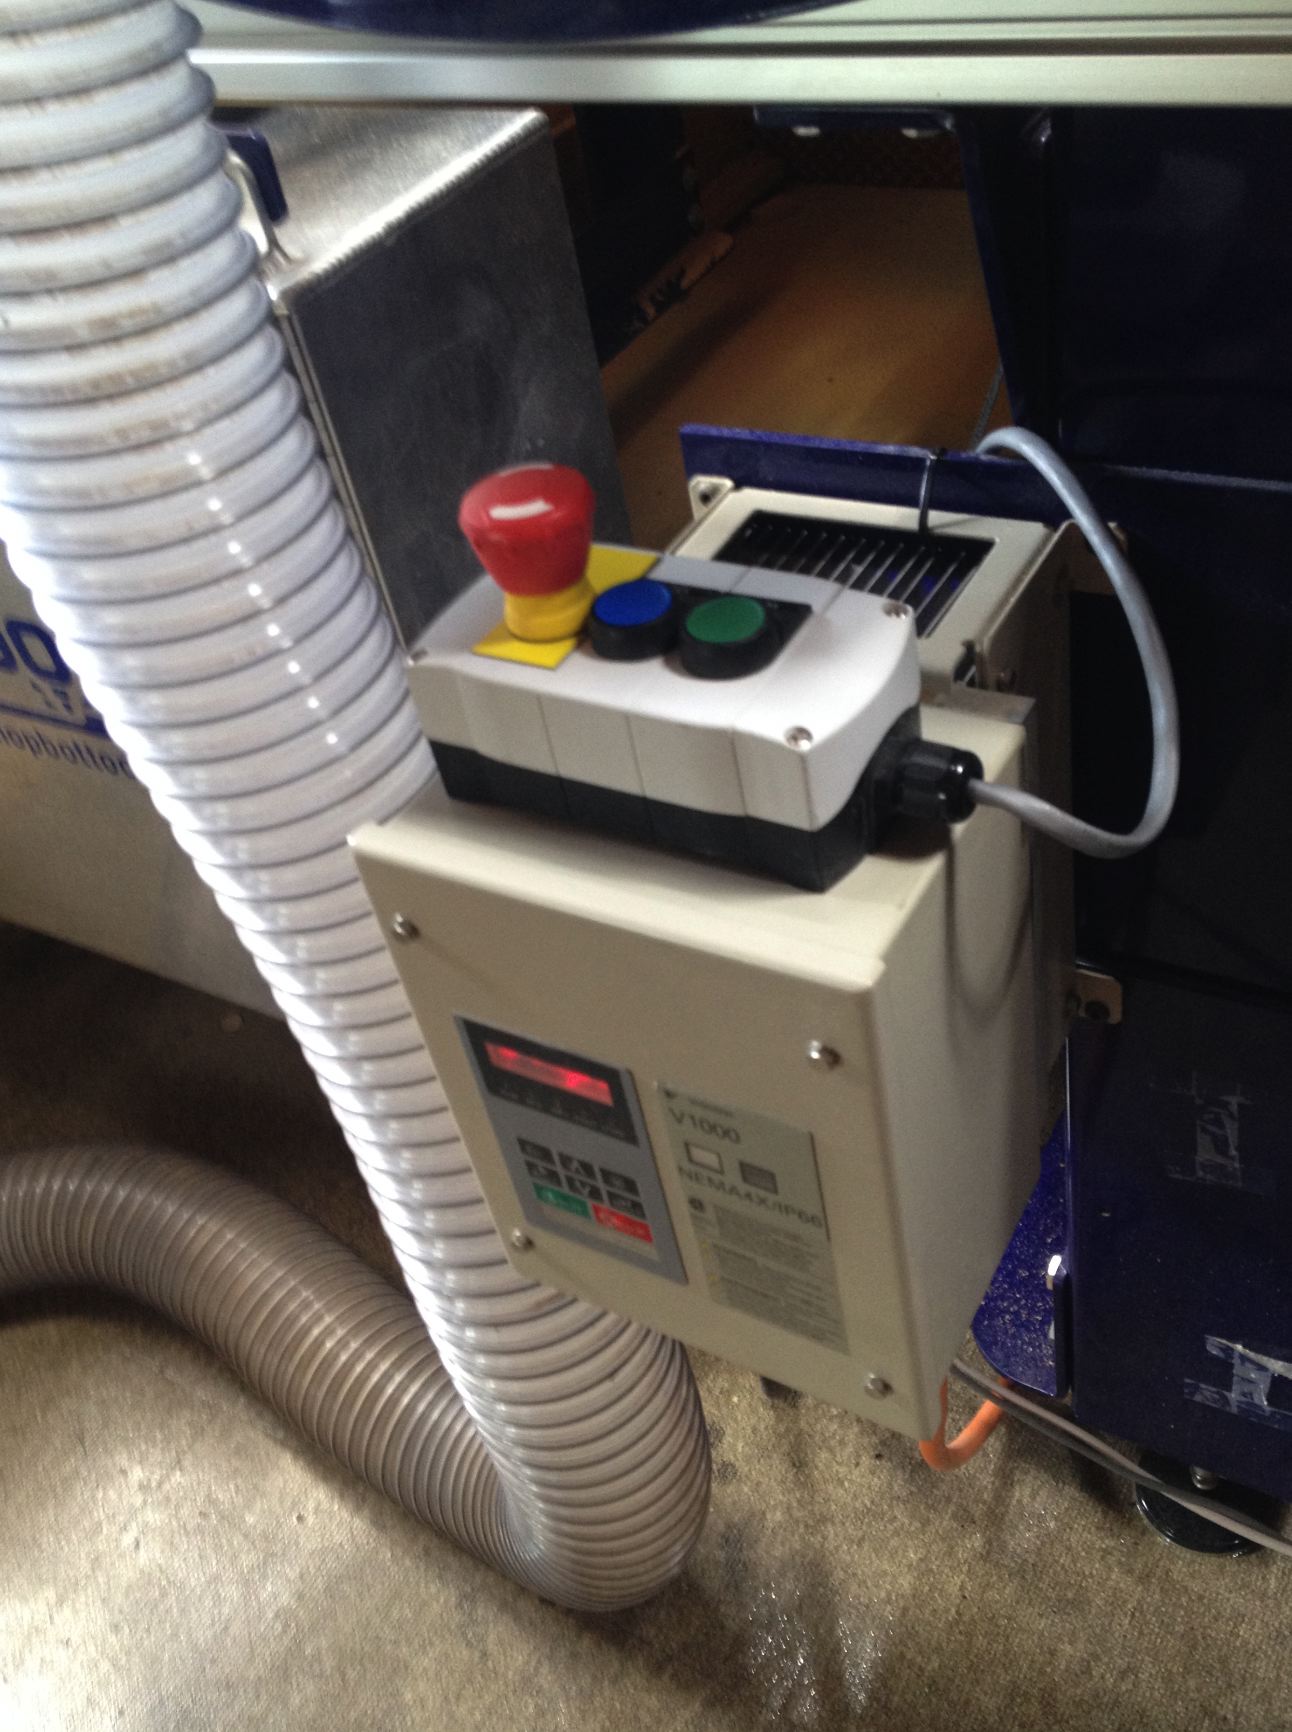
7) Know wear the emergency stop button is.

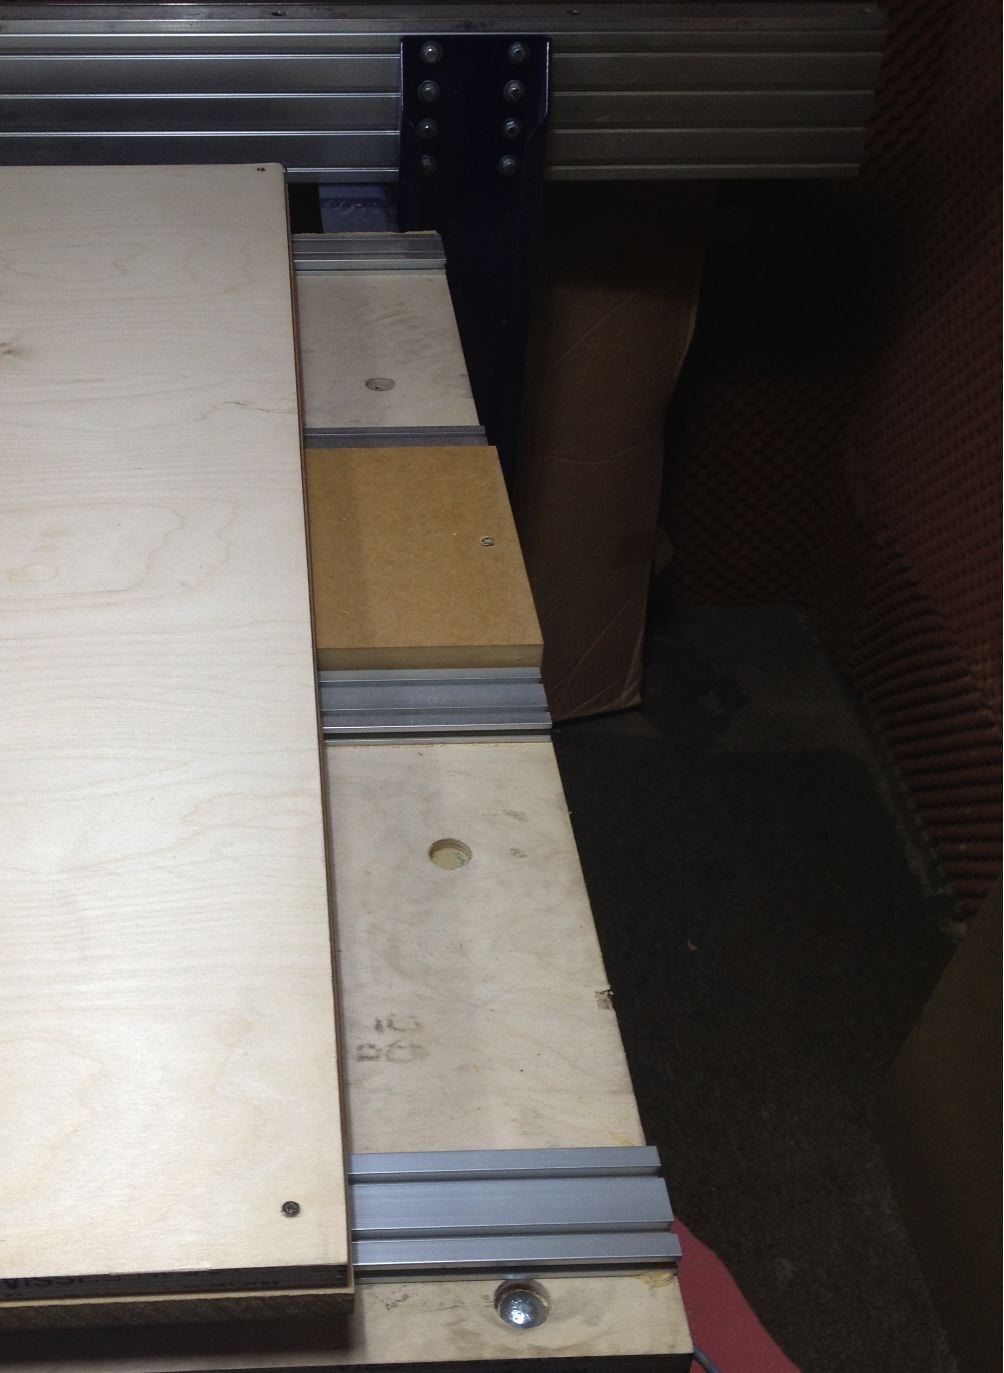
D. I placed the plyboard. I used the 18mm thickness.
For the fixture, the screws were placed at the board.
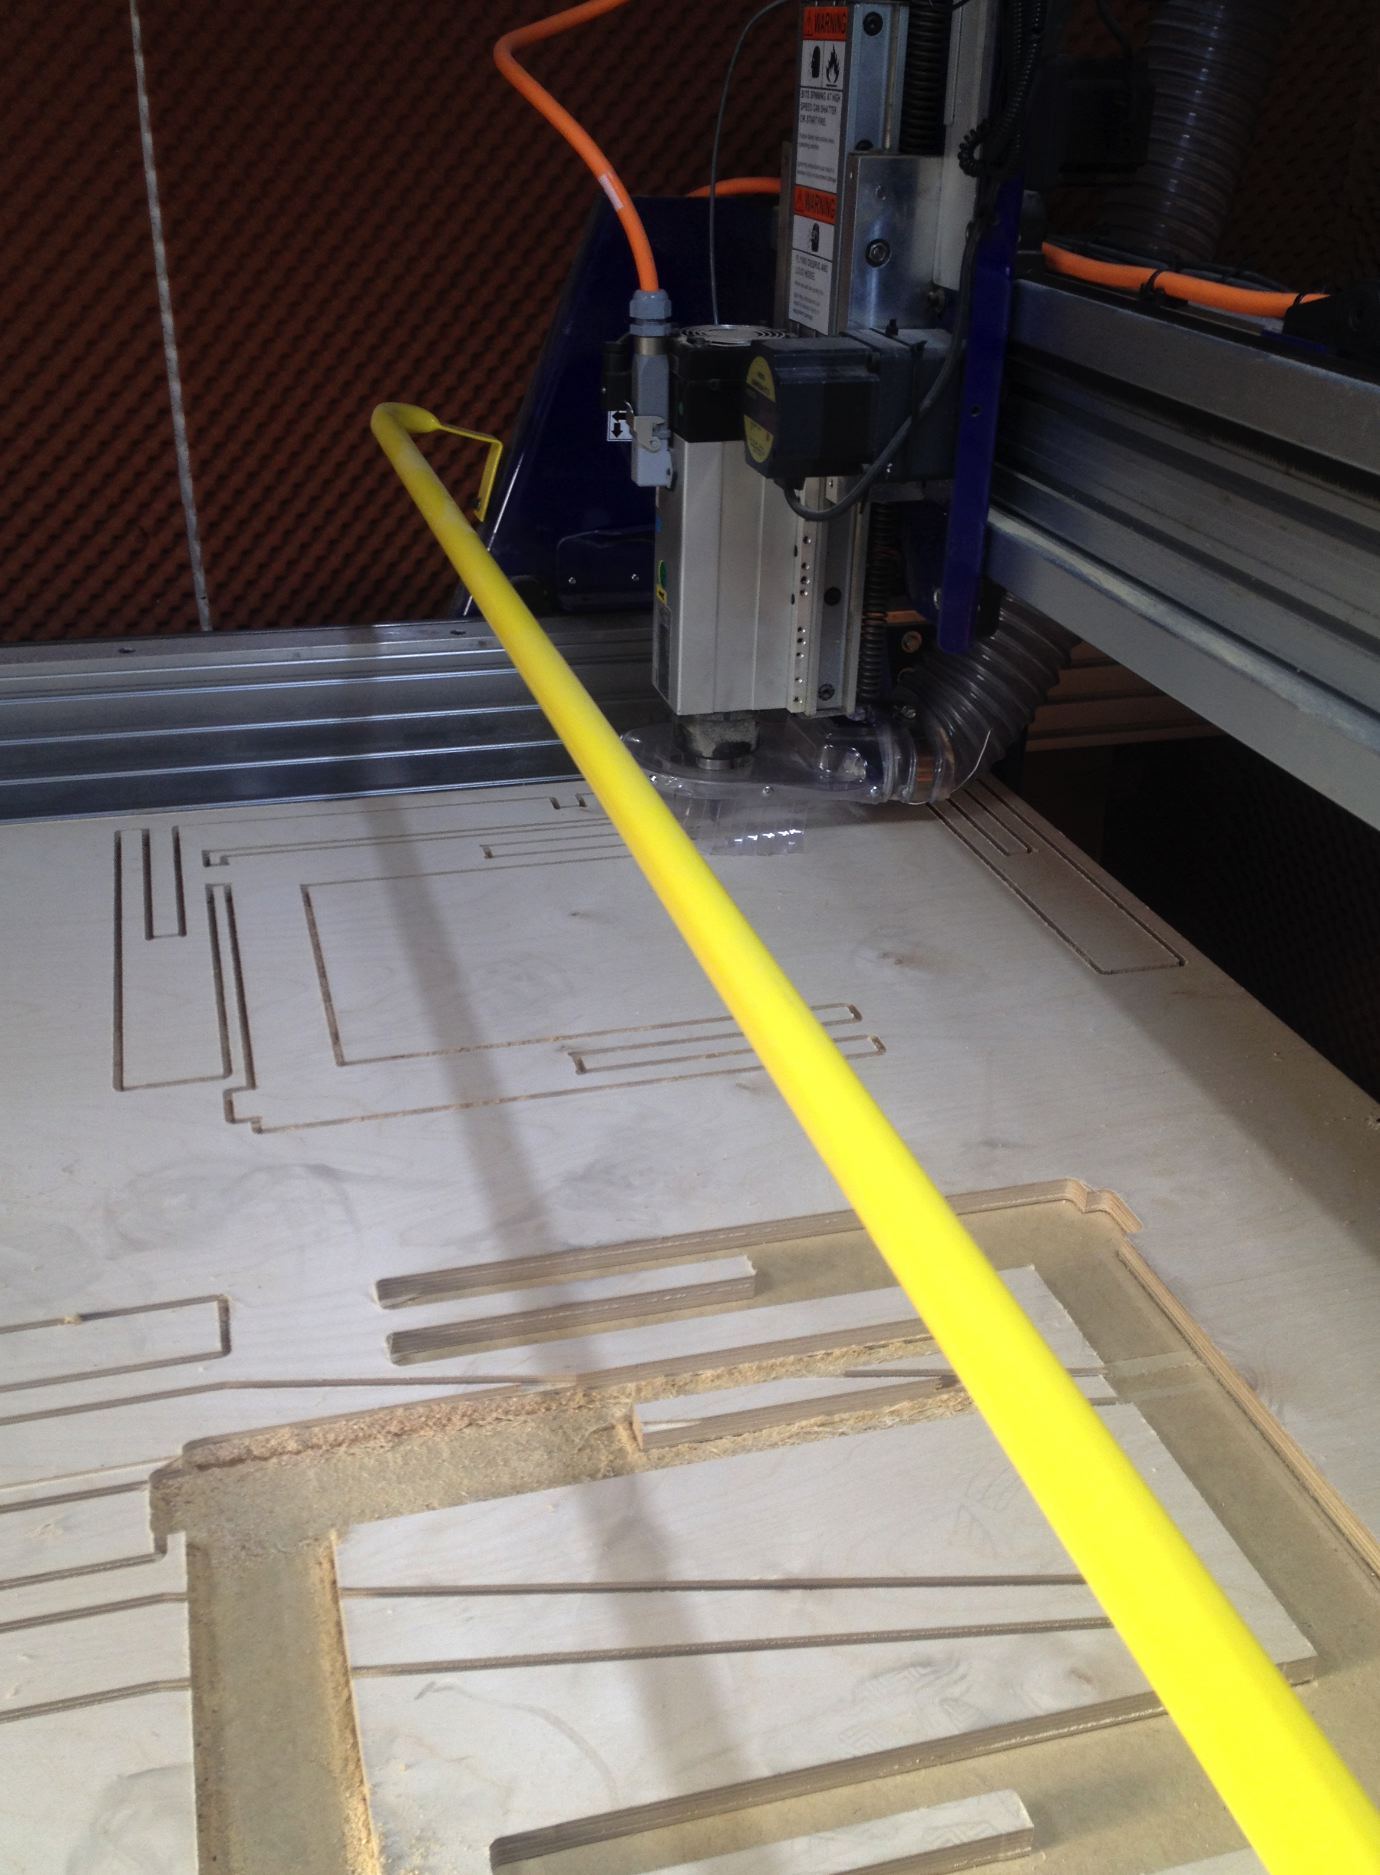
E. After fixing the board to the surface, I upload the DXF file to the shopbot Vcarve Pro.
There are two shopbot-related softwares: Shopbot controller and VcarvePro.
1) Shopbot controller controls the movements of the CNC machine.
In general, zeroing X, Y, Z and controlling and stopping the machine are the major function.
2) The Vcarve Pro allows the user to plan the steps of the work.
As a result, the user need to insert the right numbers and select right function, tools to make well-functioning code.
3) For this project I used the following data.
- Feed rate : 100inch/min
- Mill : 6mm (1 flute and 2 flutes)
- RPM : 12000
- Step-over: 3mm
- Cut-Depth : 6mm
F. I plugged in the numbers above and the cutting was successful.
I zeroed the XYZ with the automatic function by the controller.
For the X and Y, the machine knew where the limits are. So there was no problem.
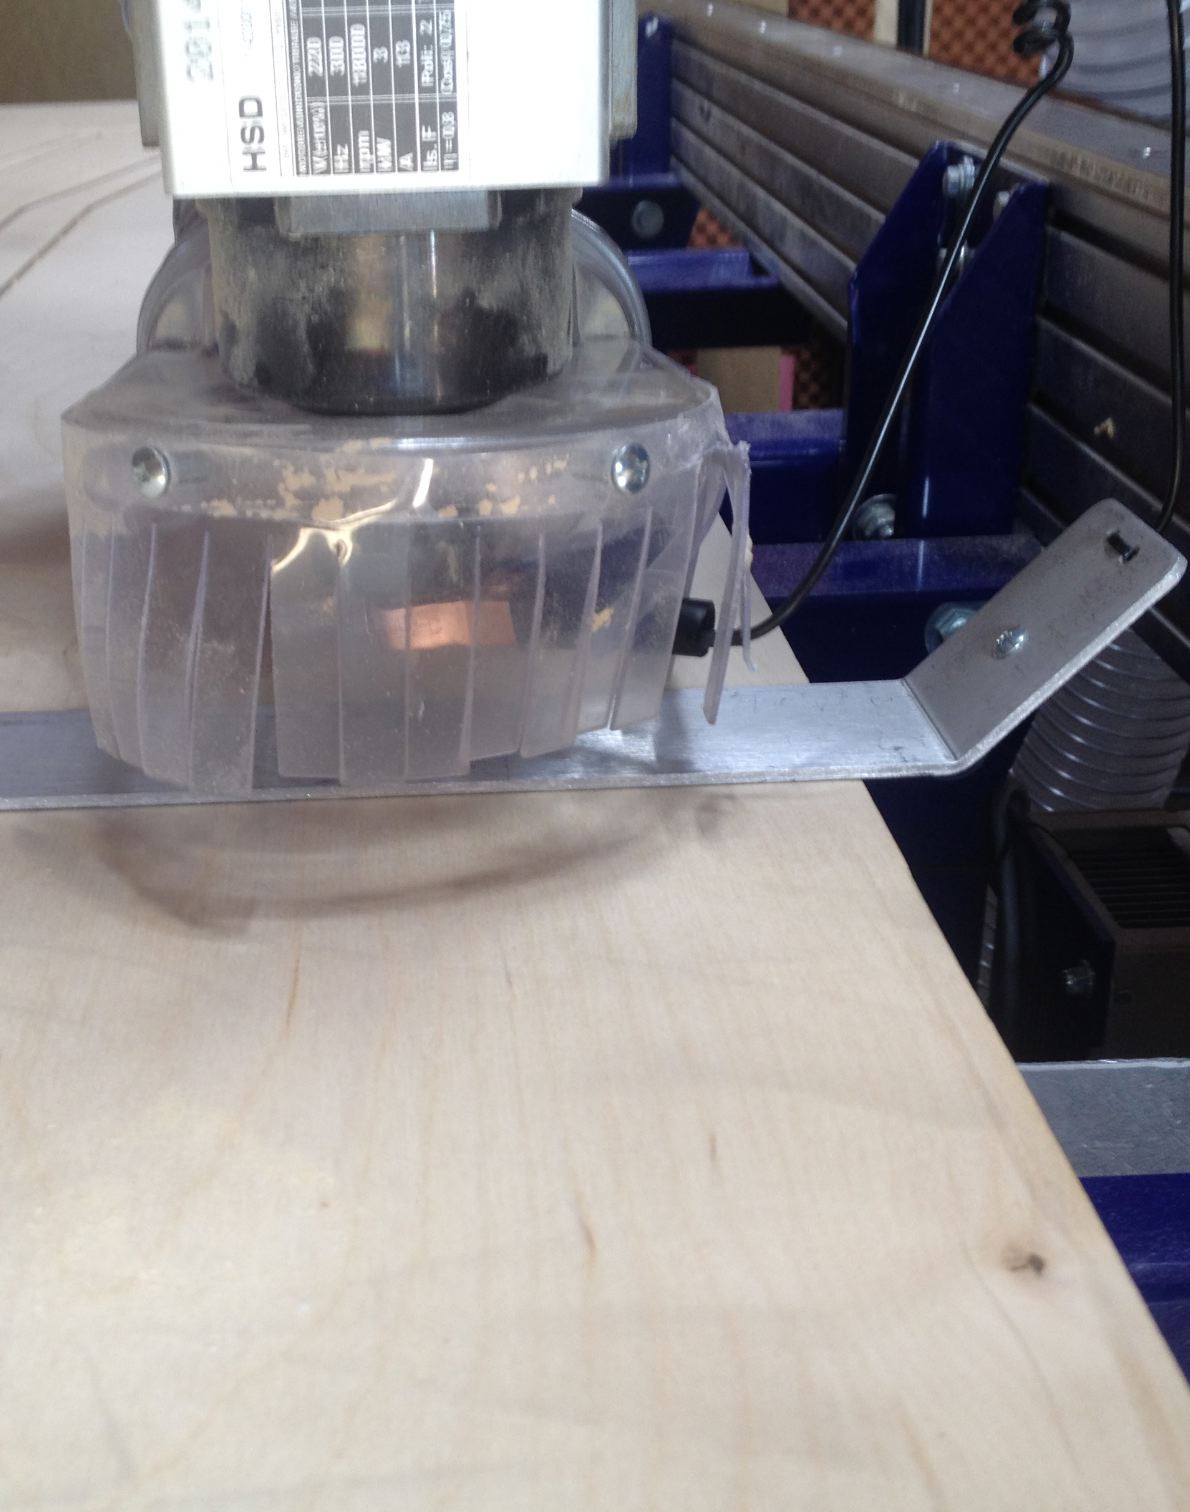
For the Z, I needed to place the metal plate on the surface of the board and the clip on the mill.
They electronically checked the limit of the Z.
Also the metal plate saved the surface of the wood.
G. The cutting was successful for the first piece.
UNTIL the problem arises....
The shopbot started shaking while it is travelling.
So I stopped the work and Eduardo and I started fixing it.
H. During the exmaination we tried grounding plastic ventilation pipe and etc.
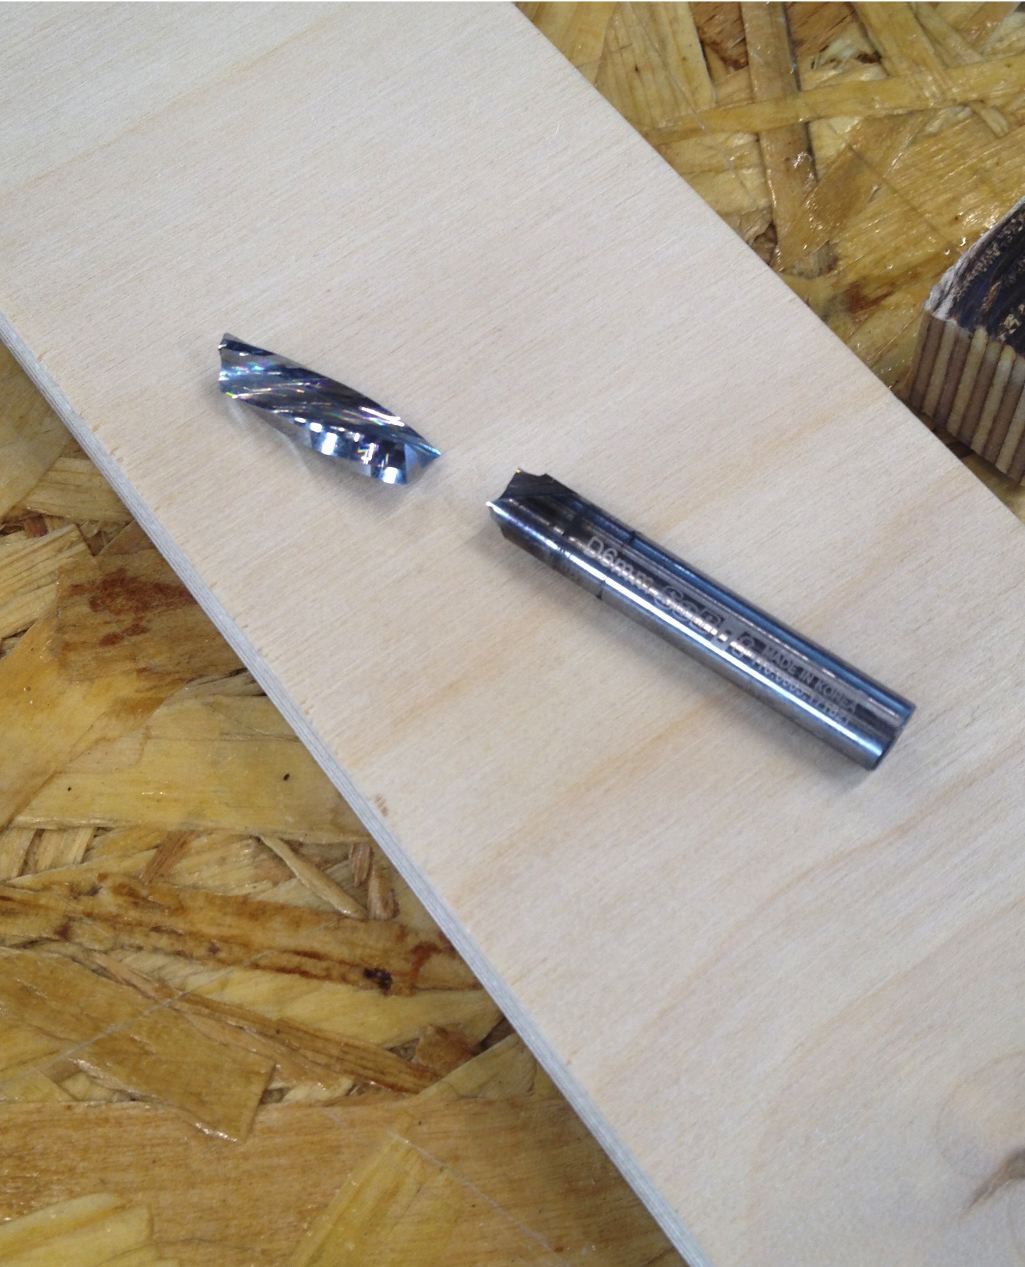
During the try and error we accidentaly broke the mill and we bought the new mill.
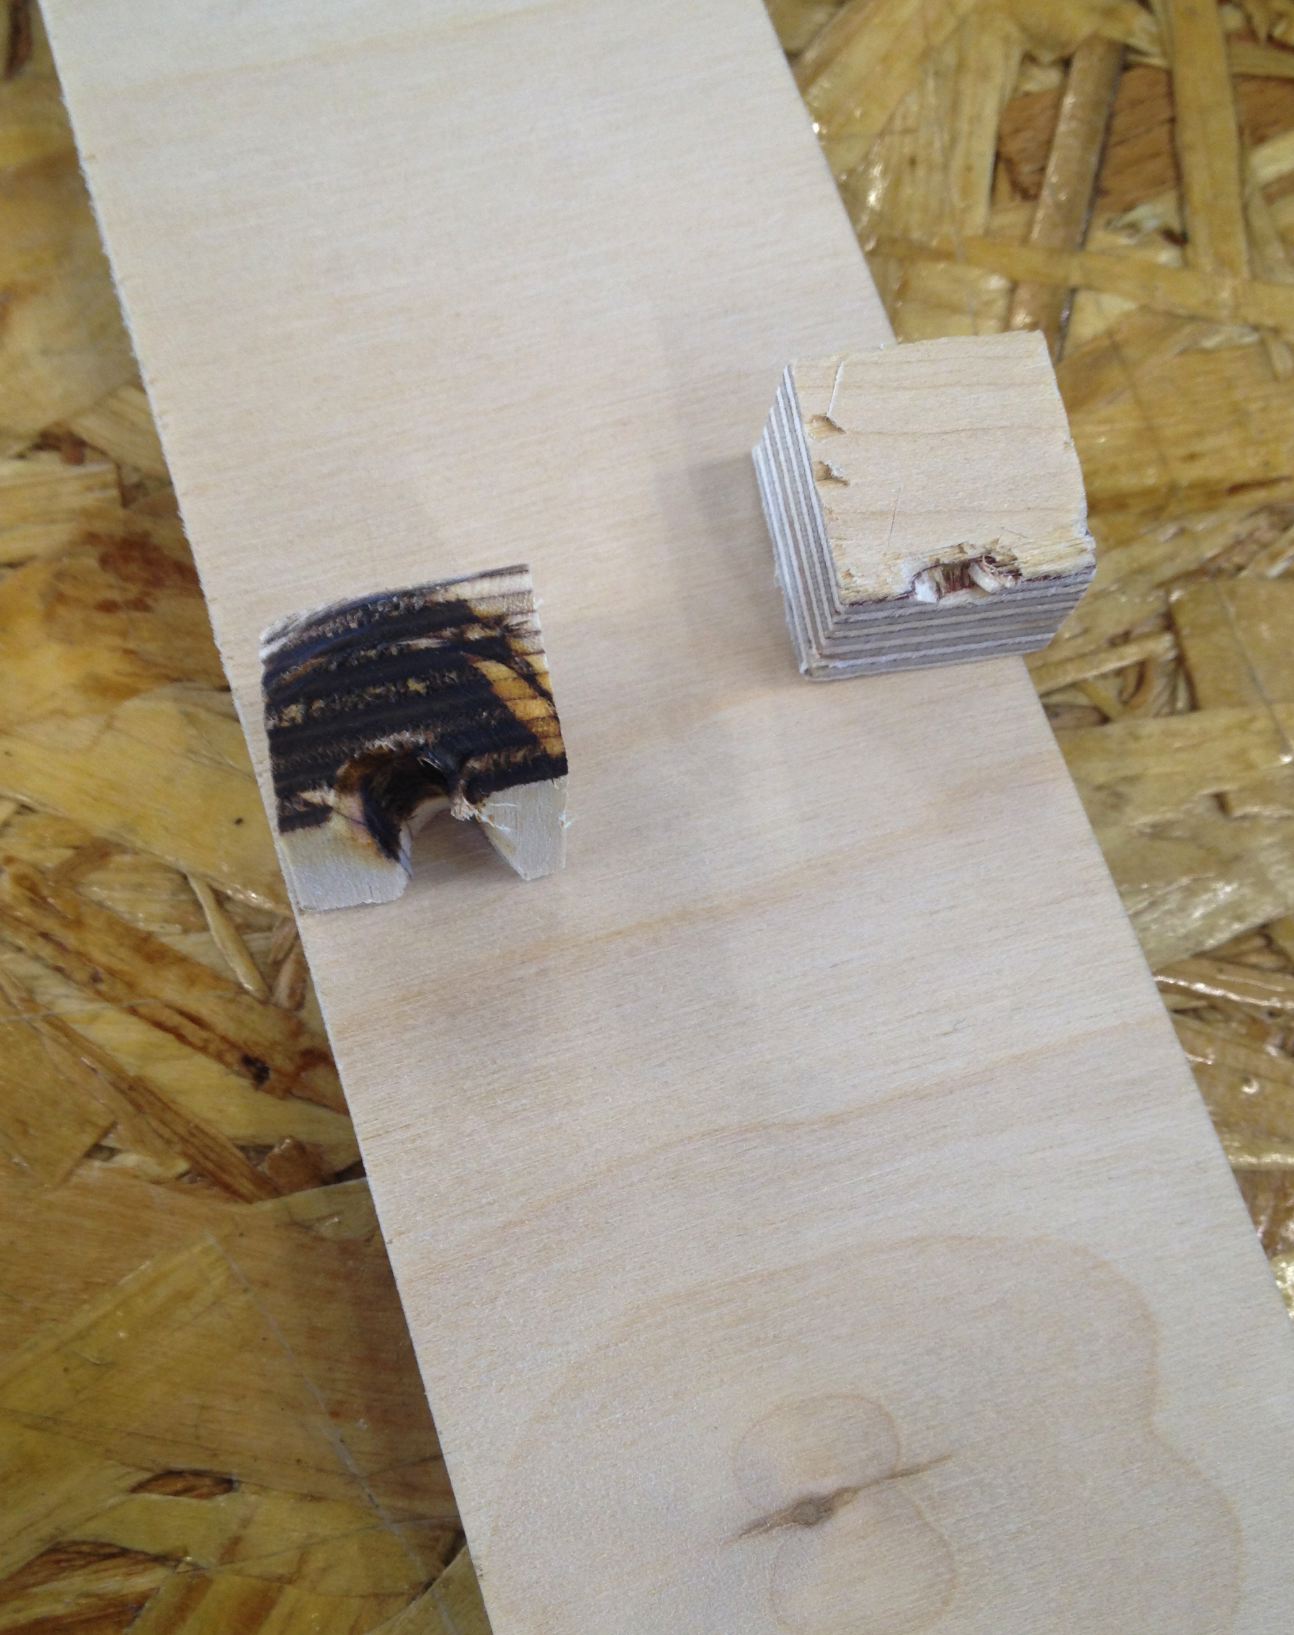
The new mill was for the metal which resulted more pressure and it started burning the wood.
So I poured some water during the work.
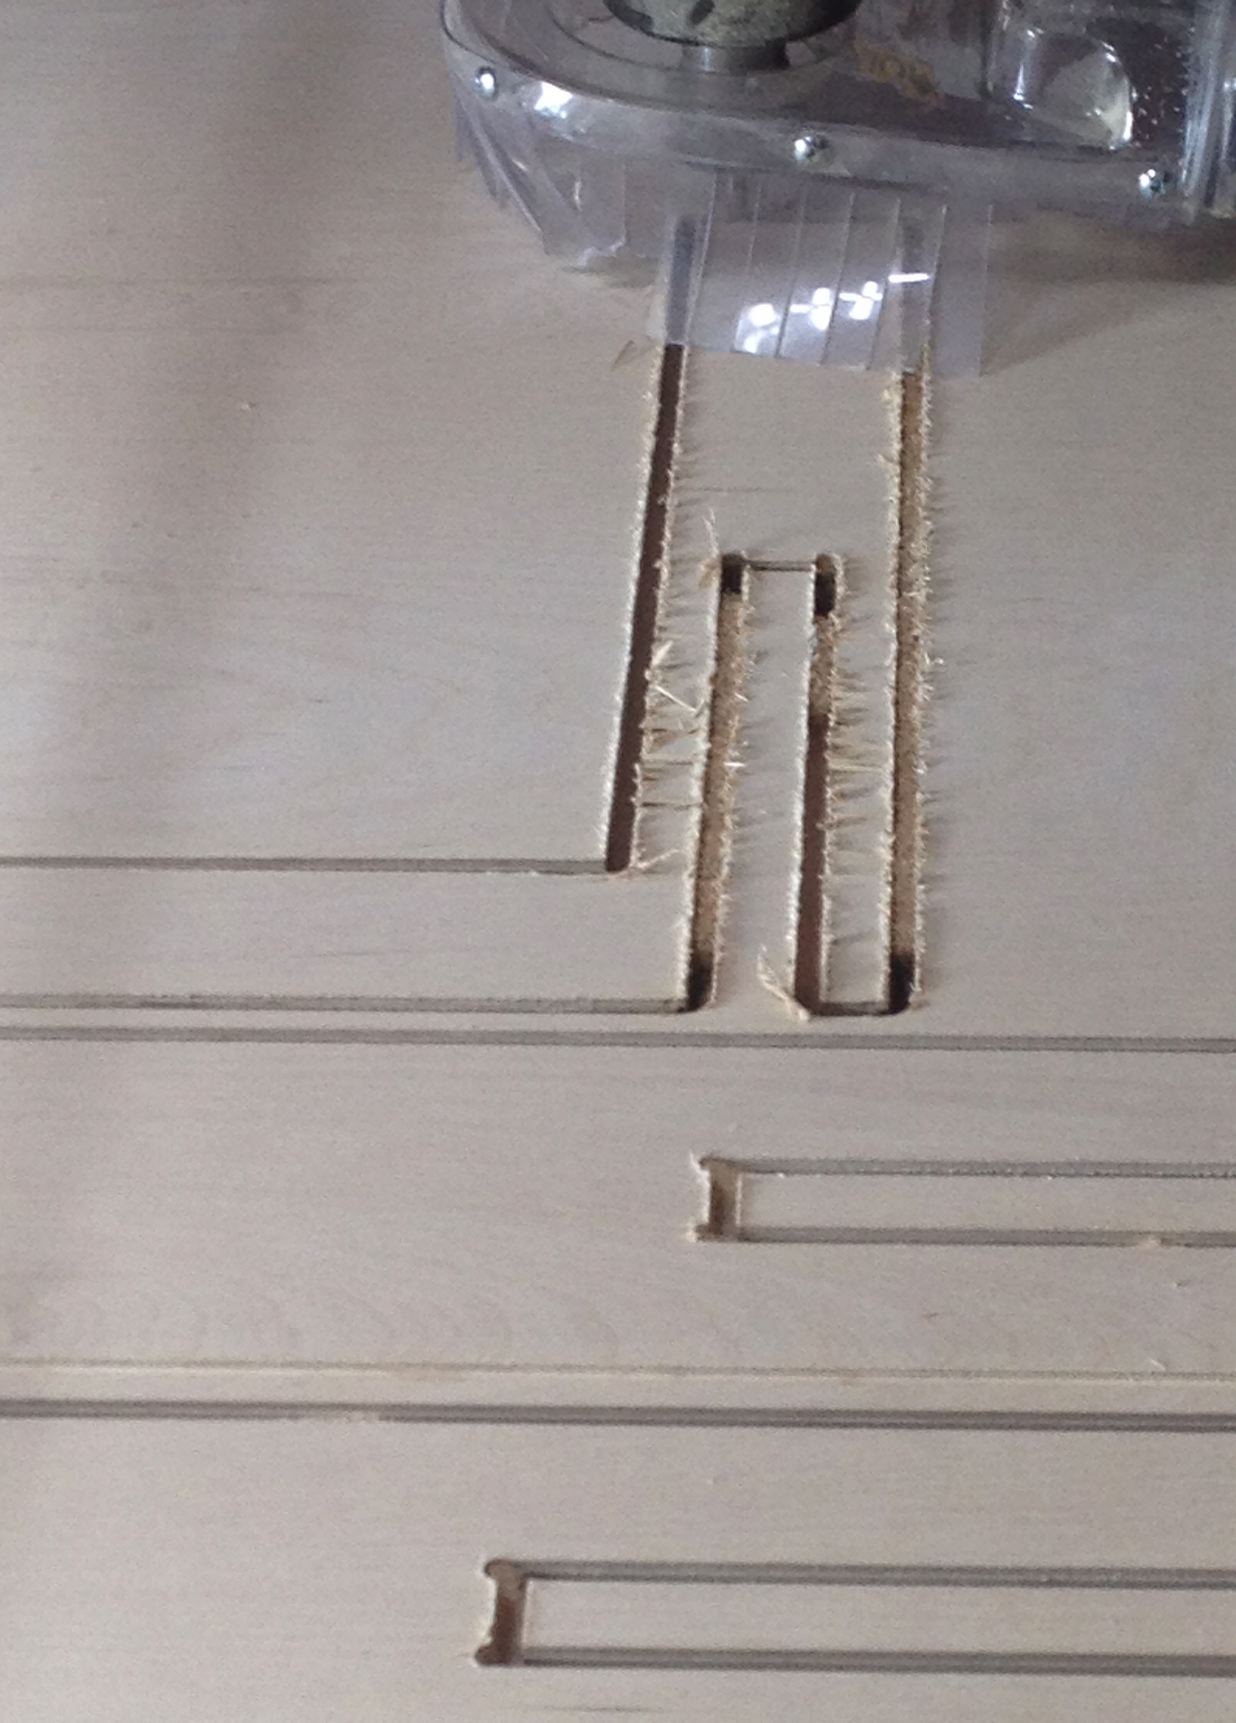
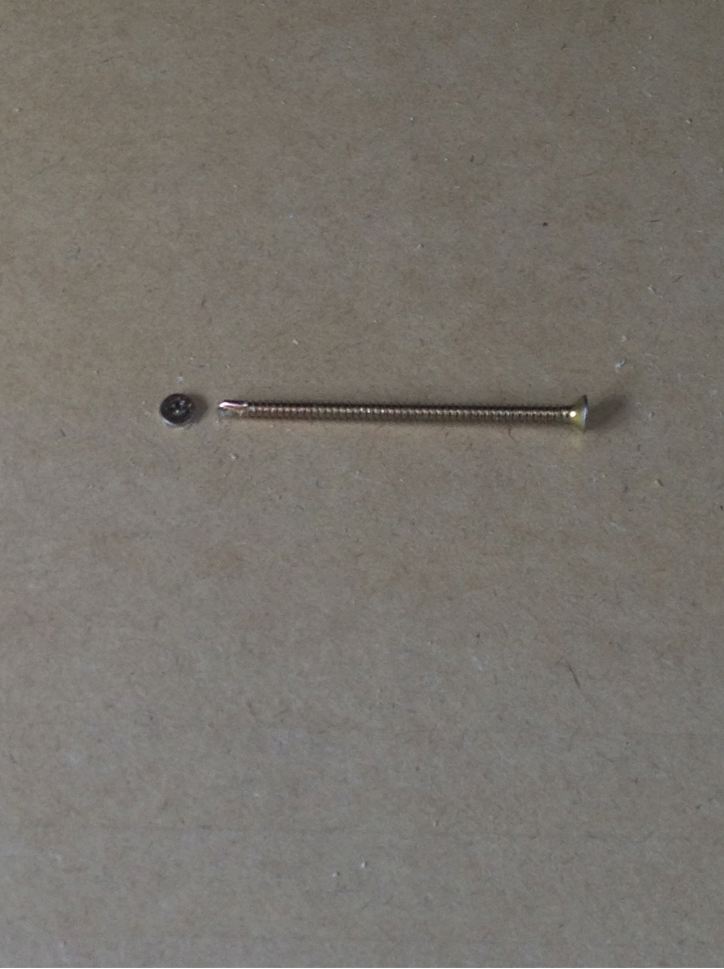
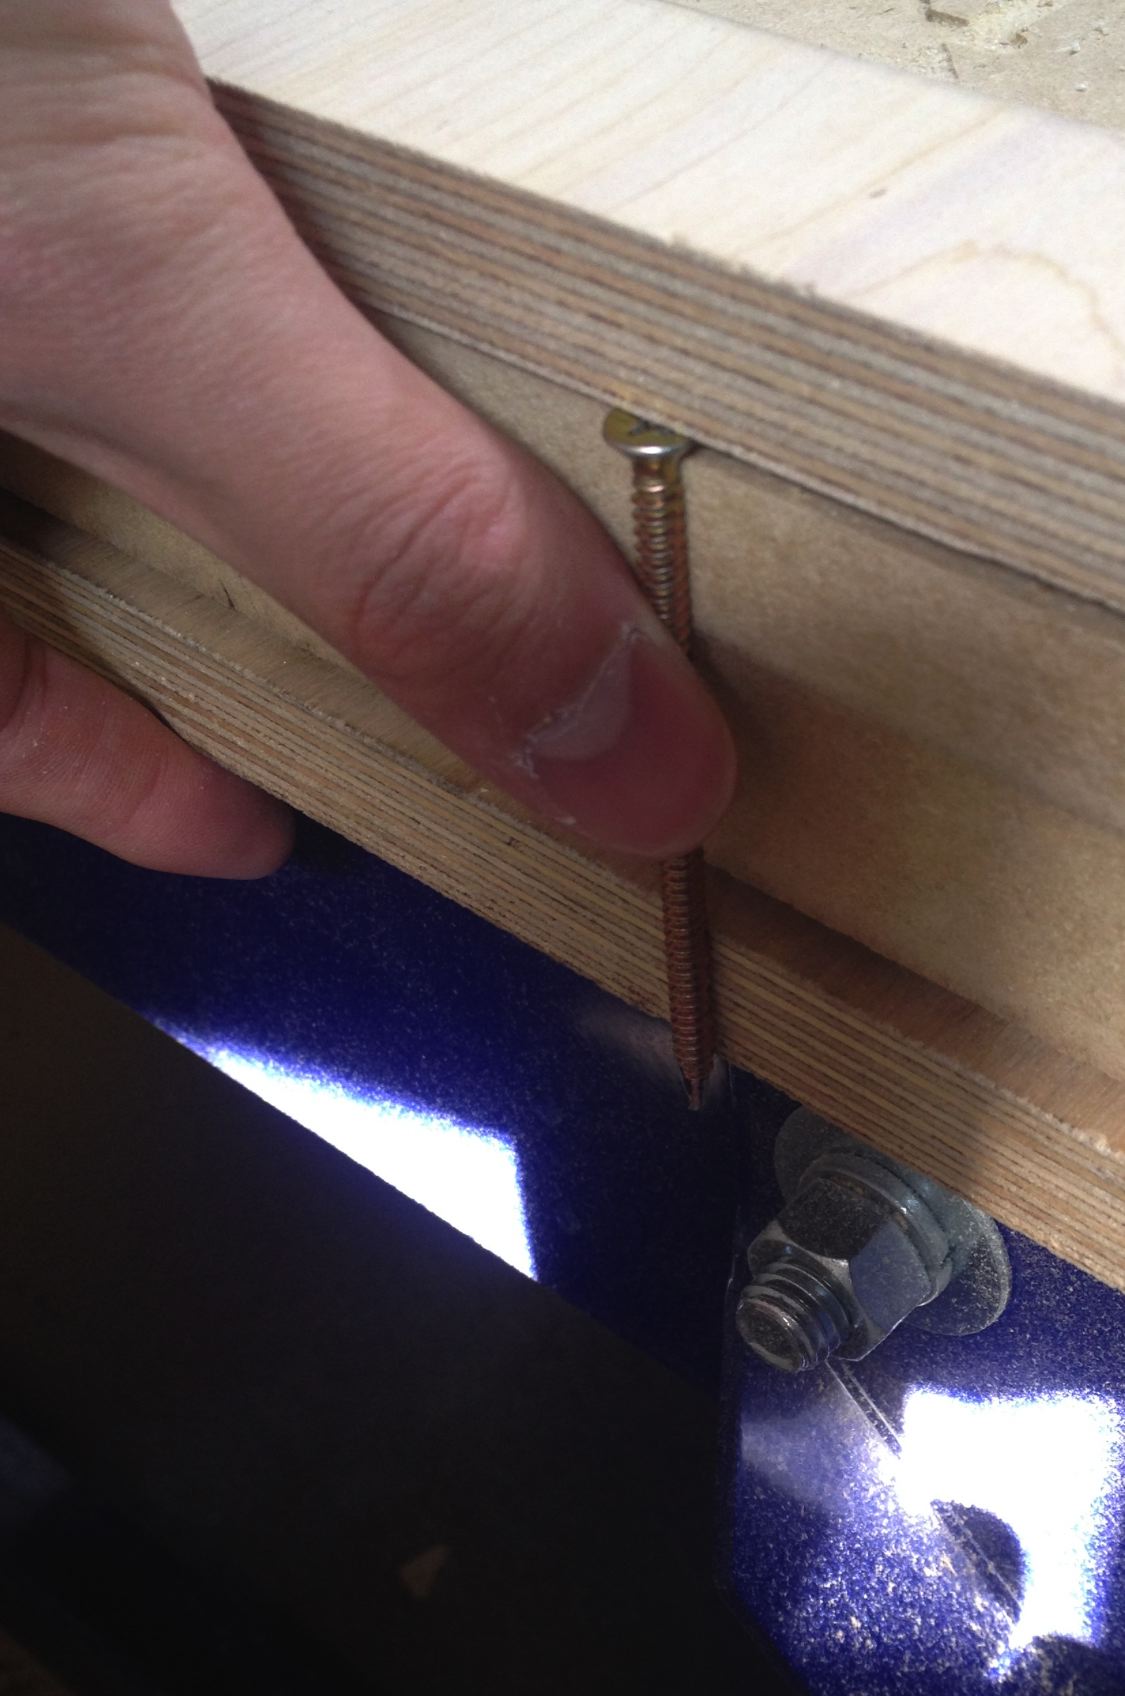
I. And here comes another problem that the board was shifted during the work.
You can see the length of the screw which was short. So replaced with the longer screws to get it down deep.
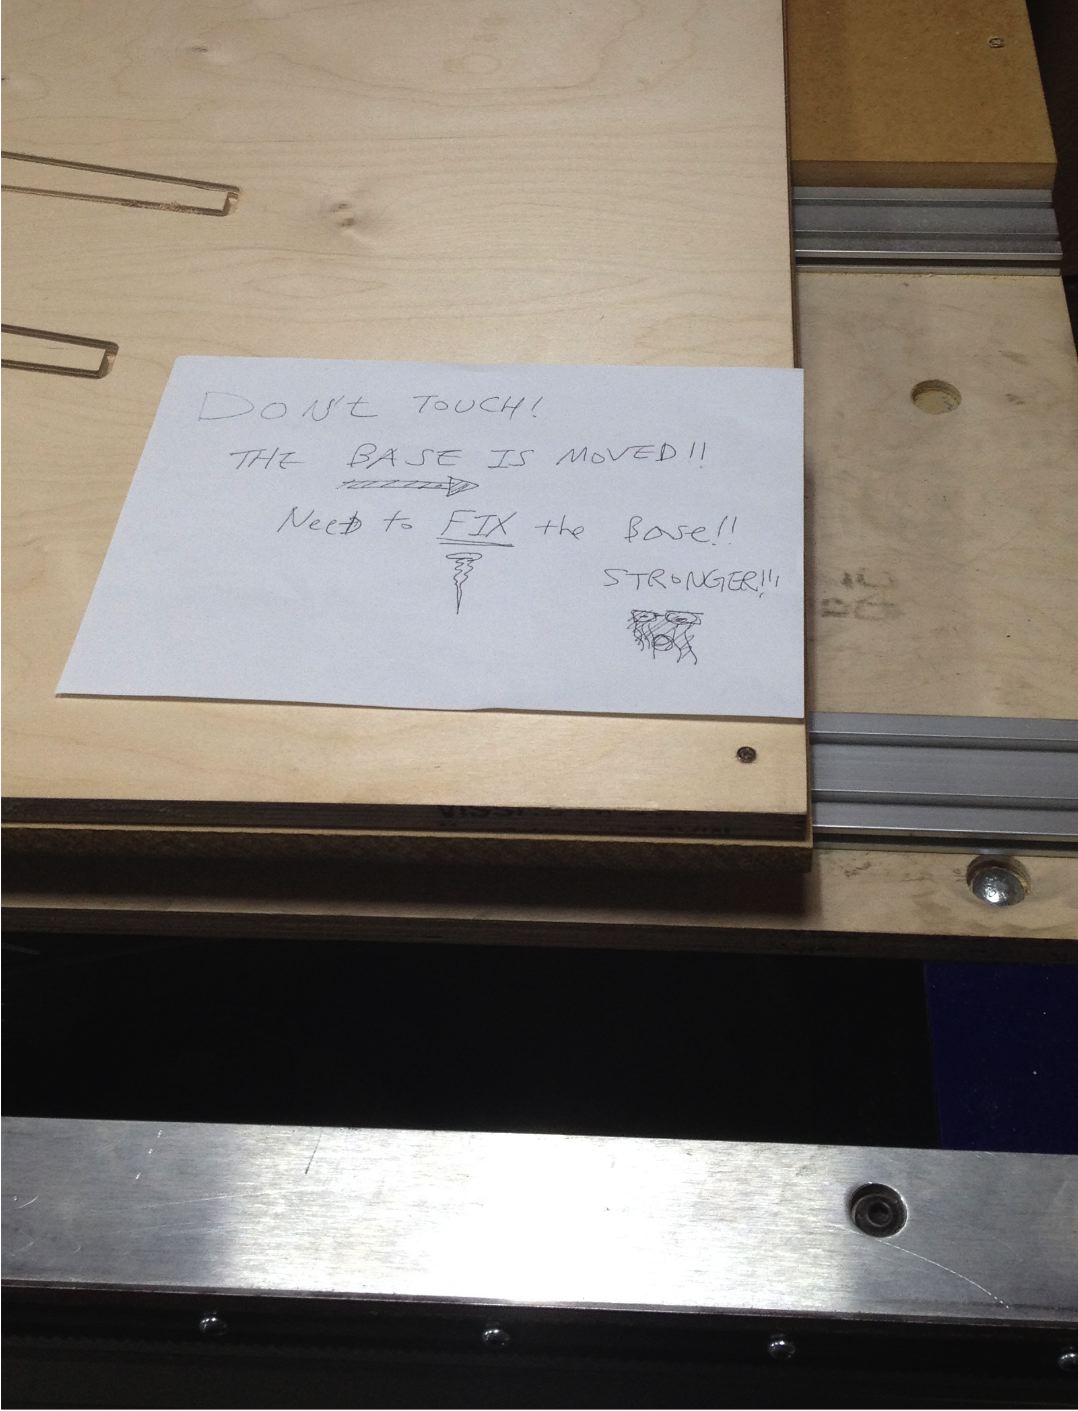
J. Finally, the shopbot driver is replaced with the older version that made shopot movement stable.
Also 1 flute mill was in that the cutting was settled left clean cut. No more fire.
Since the board has shfted, the zero of the XY was changed.
I decided to give up making the hanger but concentrate only on the table because I wanted limit the amount of the board to 1 sheet.
So I just cut out the parts of the table on the partially-cut hanger parts.
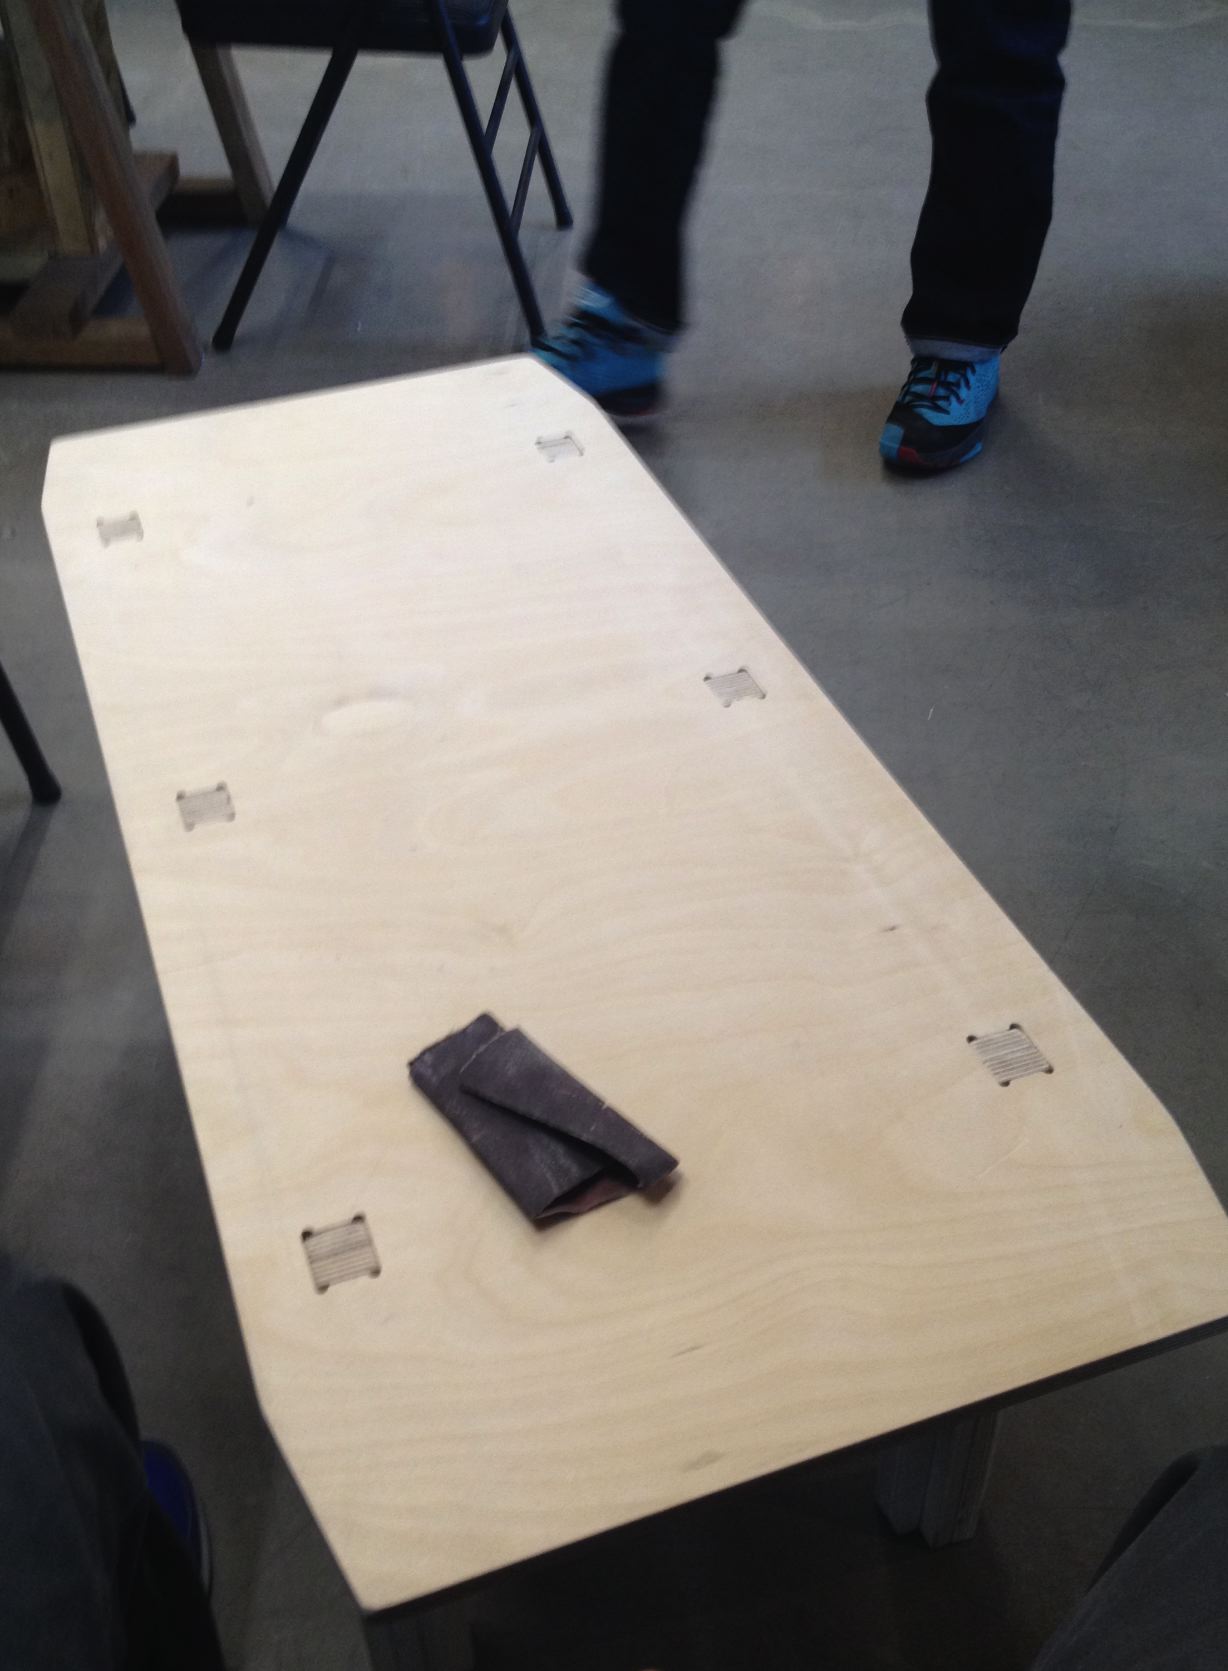
K. So here is the legs of the table assembeled.
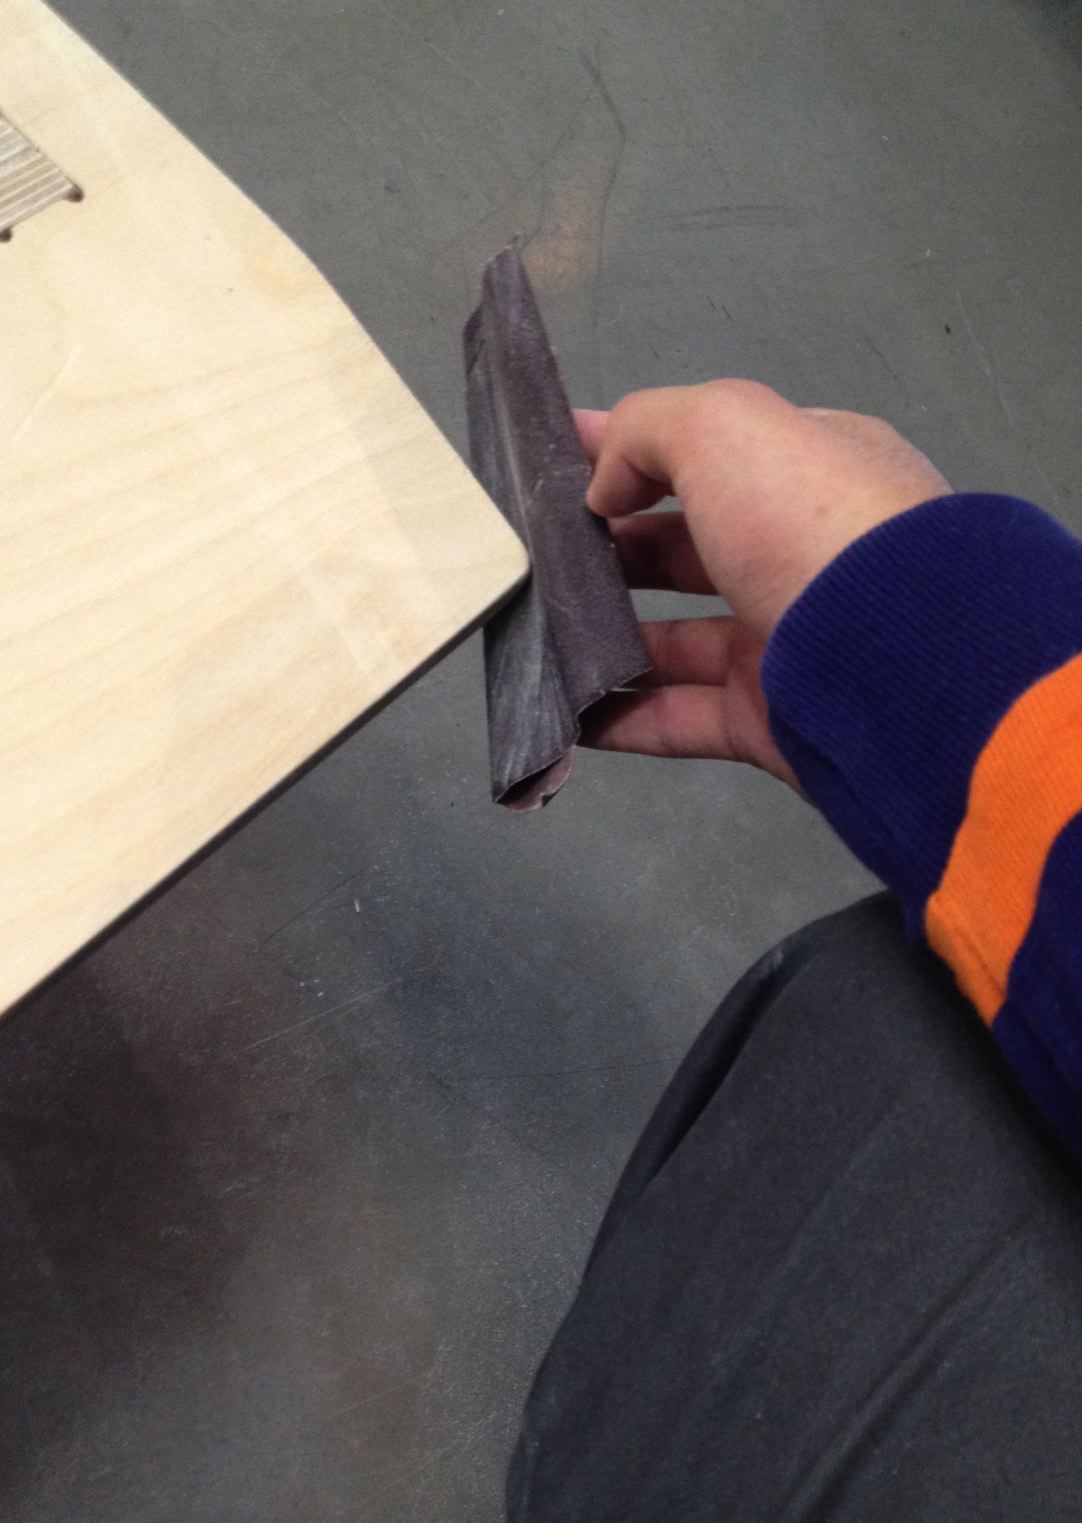
However the legs were not fitted to the top of the table becauseof tolerance. I needed to sand the press fit joints.

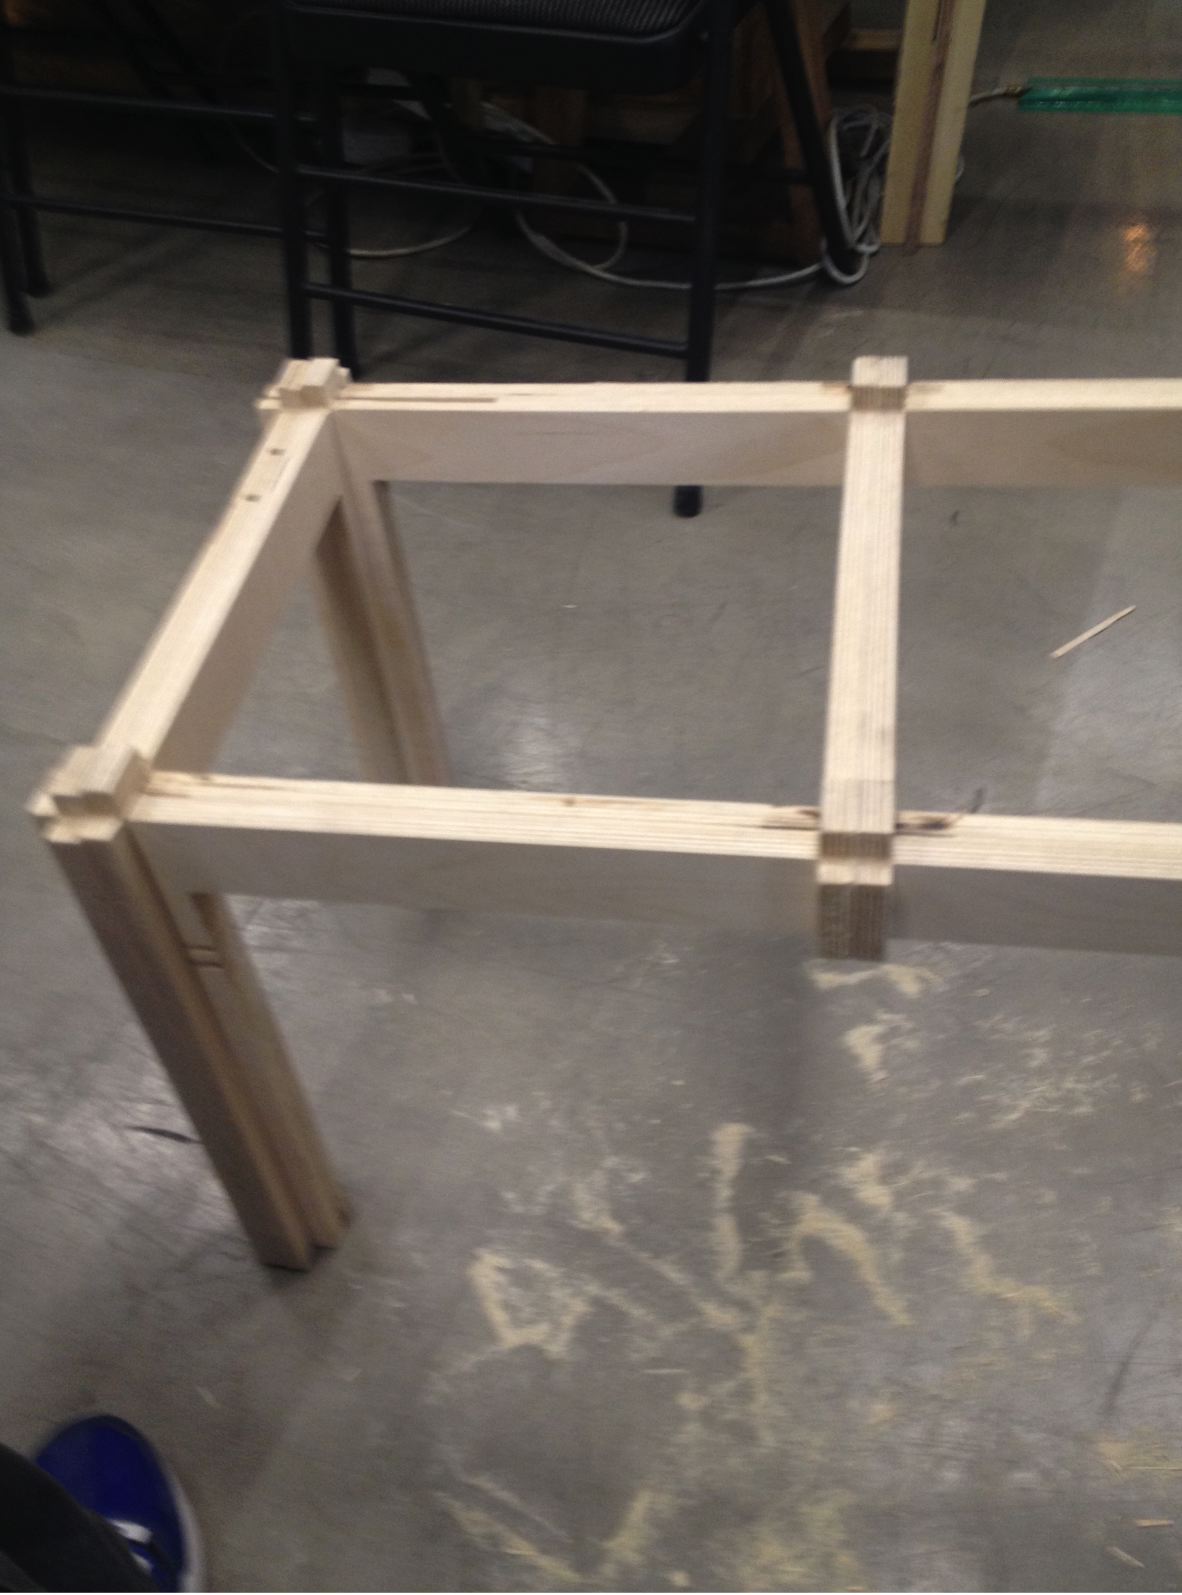
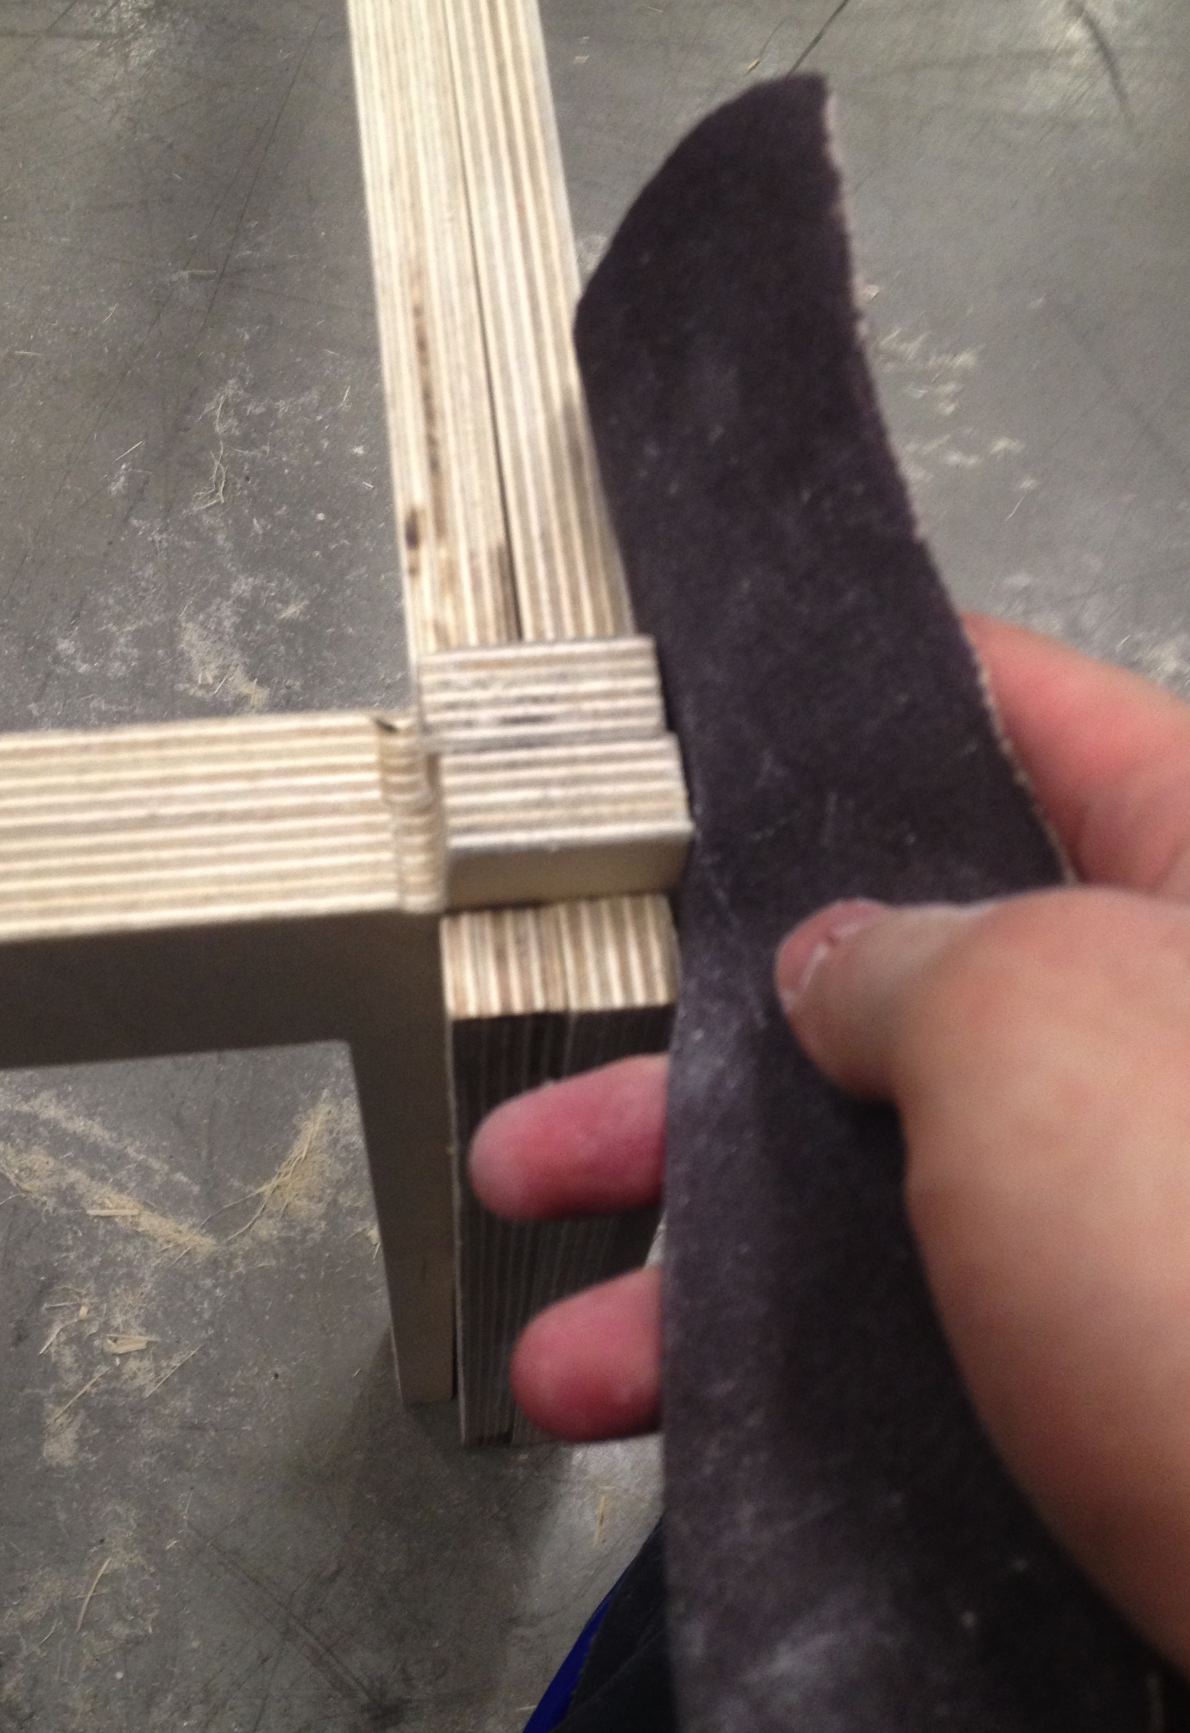
L. However, fitting six press fit to the top of the table was difficult because each joint were moving as one fits.
So I made it reverse way. I disassemble the leg and fitted the pressfit to the top first and assembled the leg.

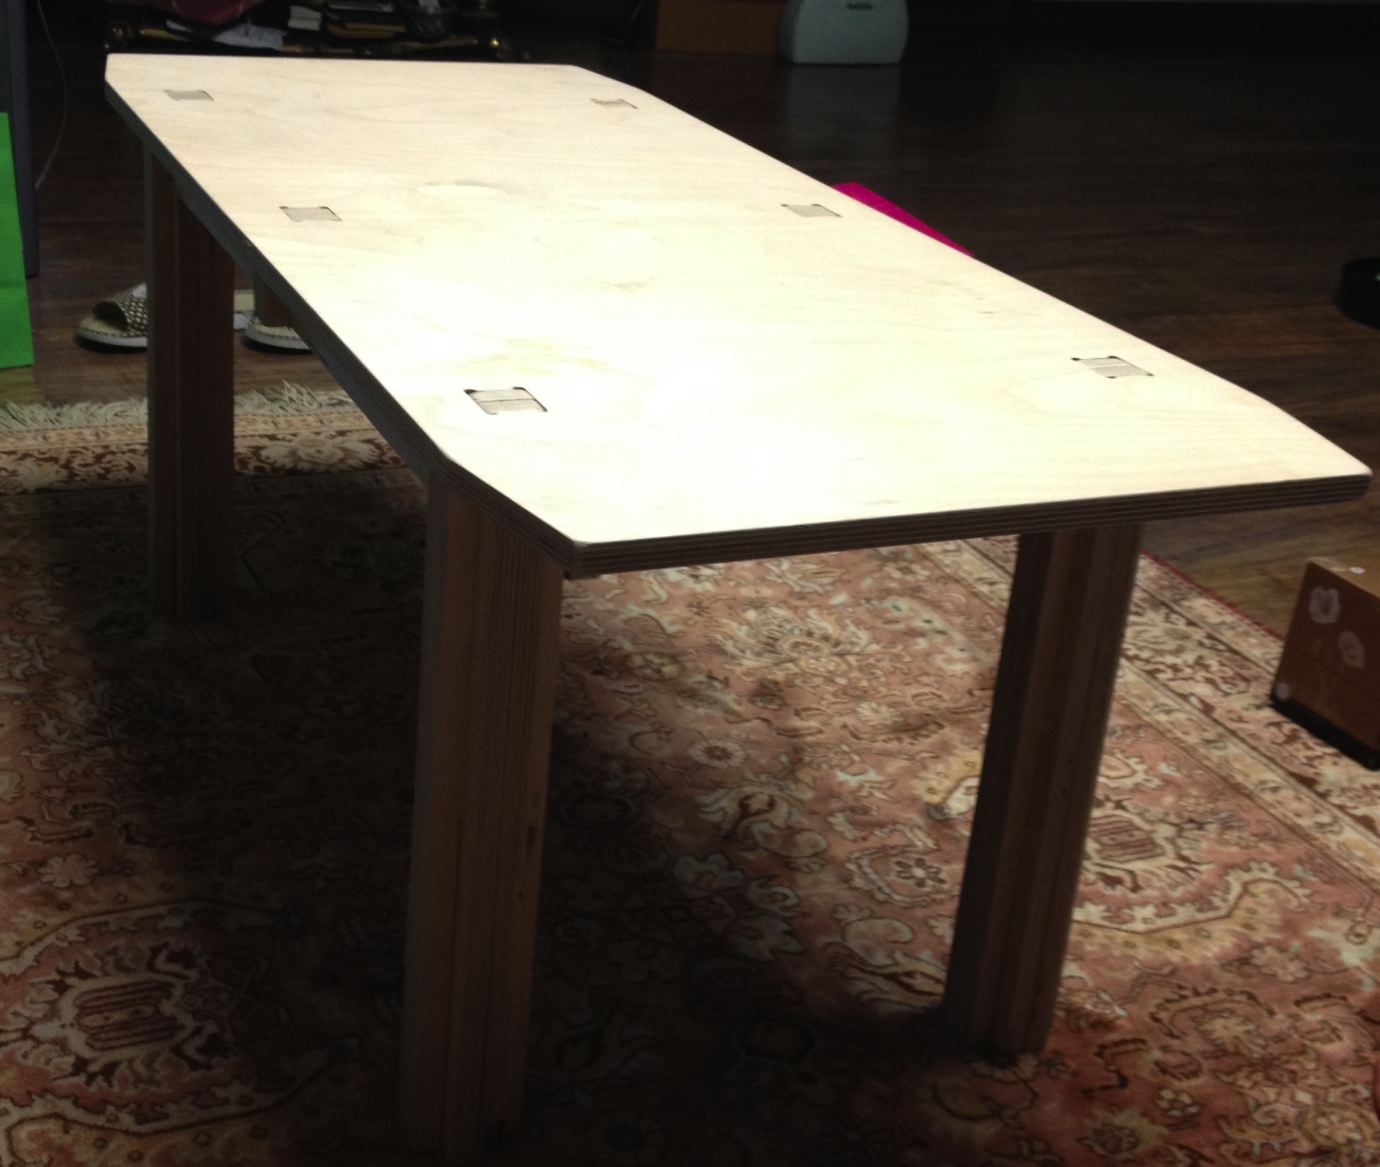
M. As a result the final finishing was done at the edge of the table and it is done.