For this week's assignment, I decided to mold a digital elevation model/terrain of the "Apollo Zone" of the Moon. After doing extensive research looking for the DEM files and about how to convert the DEM files to STL/ printable format, I found that Global Mapper was my best option. I then realized the all the files are too big (over 2.5 gbts) or poor in quality/ need lots of mesh repair and reconstruction.
I then found the model in Thingiverse in a printable format which was perfect for the job. I will learn more about how to terrain mapping and DEMs after the course when I have more time..
The Thingieverse model is a bit too detailed for the size of the wax mold I'm using. Some holes and extrusions were too small for the Modela milling tool and the overall model lost alot of detail when I scaled it down. So I had to go over the model, erase the tiny extrusions and fill the holes that could confuse the machine.
Fixing the model took longer than expected. I realized that the mesh needed to be repaired in order to be sufficient to be converted to a printable format.
So I used mesh repair in Rhino to identify the errors. And finally, I succeeded to convert the file to stl and then followed these steps:
Steps:
1) Open the file with Rhino 3D and position the model to fit in the wax block. Make sure the internal walls are sloped to avoid problems while milling.
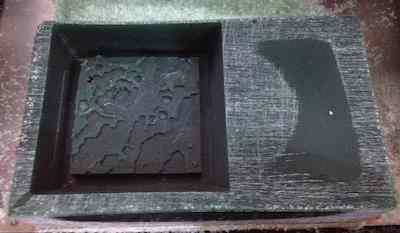
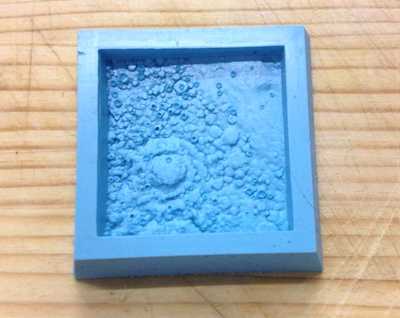
2) Make the wax block you want to mill on. In my case I used a laser-cut acrylic mold. Melted the wax on an electric stove then followed this tutorial which has good tips on casting wax.
3) Open the design using fab modules and send it to the Roland Modela for the first/rough finish.
4) Change the shank and send the file to the Modela for a fine finish without moving the wax mold.
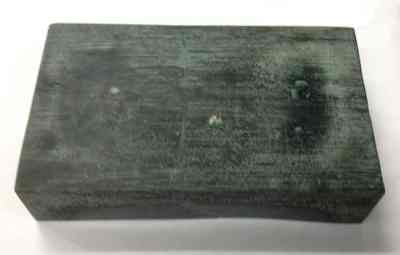
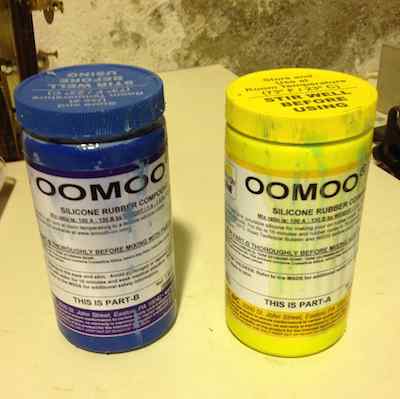
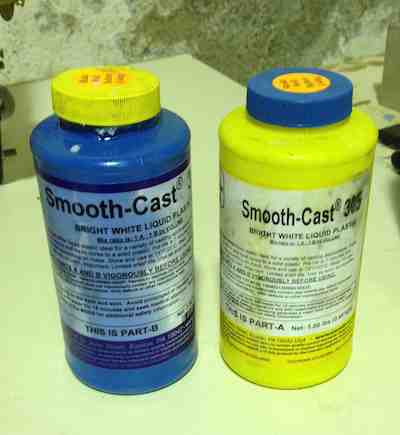
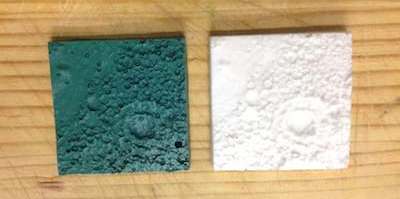
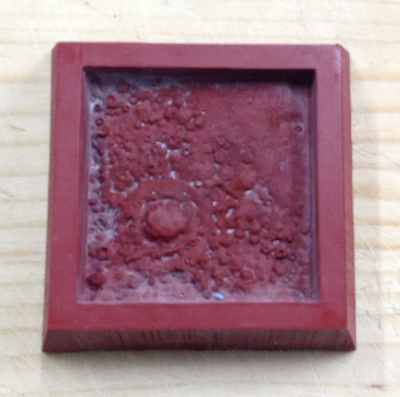
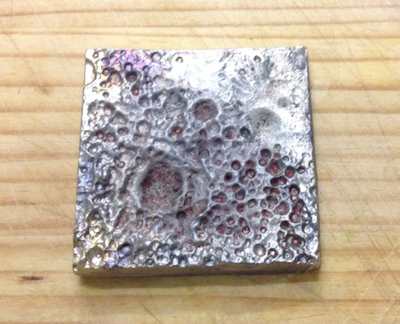
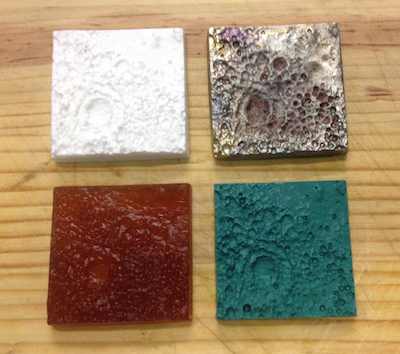
5) Cast with Plastic, Rubber, Metal.
What I've Learned:
- The 3D model had some issues that has to be fixed. Some holes were too small for the molling tool, which affected the detail of the milled wax.
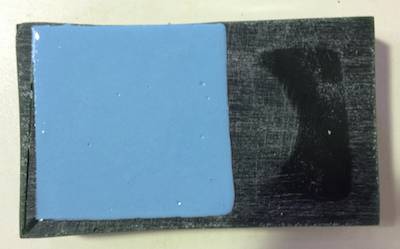
- Make sure to be precise when mixing the cast. The first time I casted with plastic I did not apply the correct measurements (too little Part B) which resulted in a weaker, bendabe cast.
- Rubber wasn't the right material for the job. The results came out bad, you can barely see the detail. Maybe if color pigment was applied the results would be better.
- Overall, I'm not very satisfied with the results of this project. It might be a good idea to increase the scale of the overall model.
Click here to download the STL Files.