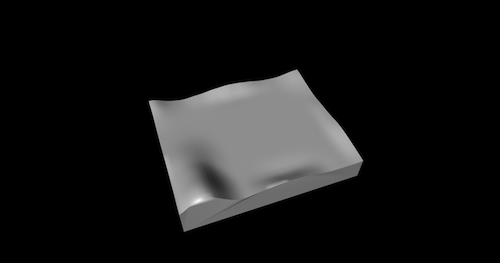
For this weeks assignment, I designed a mold with a curvy surface. It doesn't have a particular function.. The aim is to experiment with composites since I have no experience in it.
Materials Needed:
1) Breather
2) Burlap Sheets (Yute)
3) Peelply
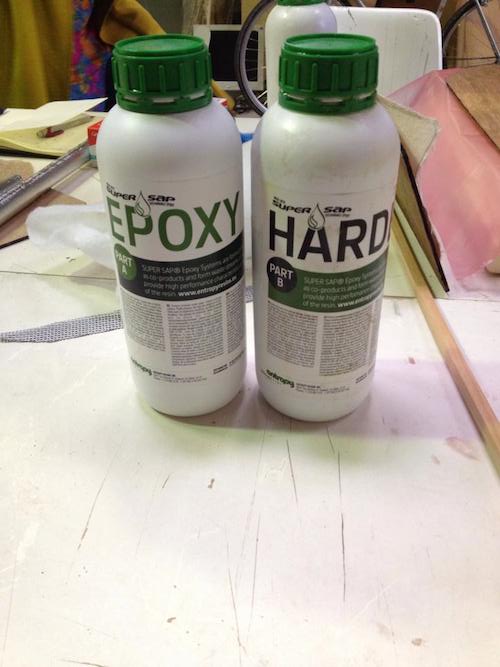
4) Epoxy resin
5) Hardener
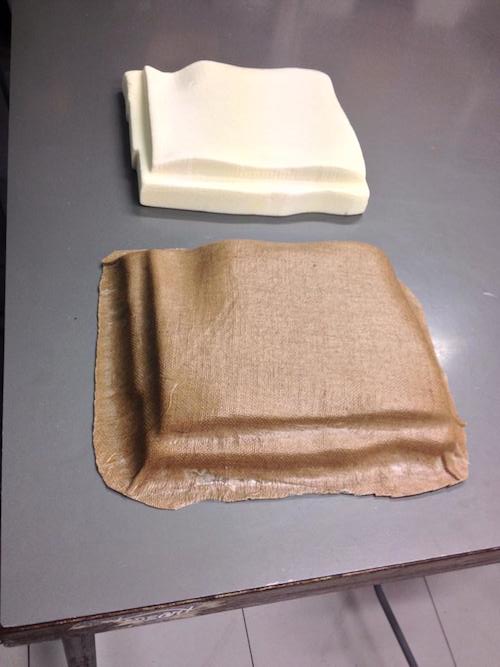
6) Foam
Steps:
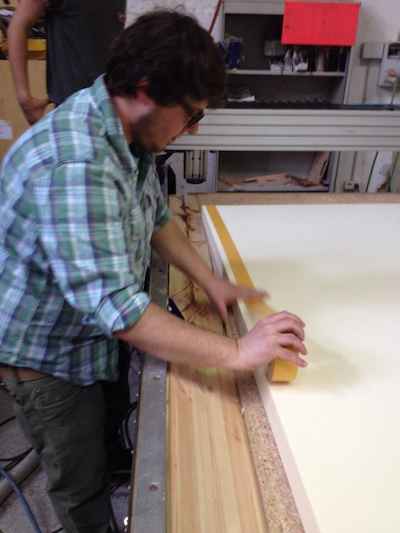
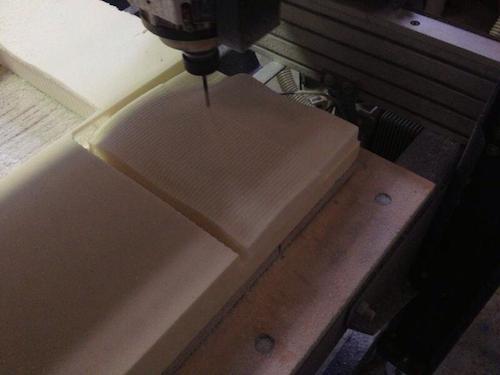
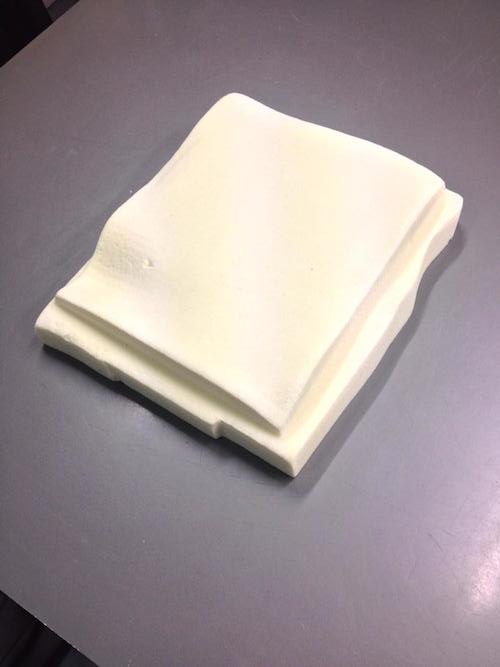
- Place the foam on the ShopBot, using double-sided tape to prohibit movement. Mill the mold.
- Cut the layers of material (peelply, breather, burlap) into the desired shape.
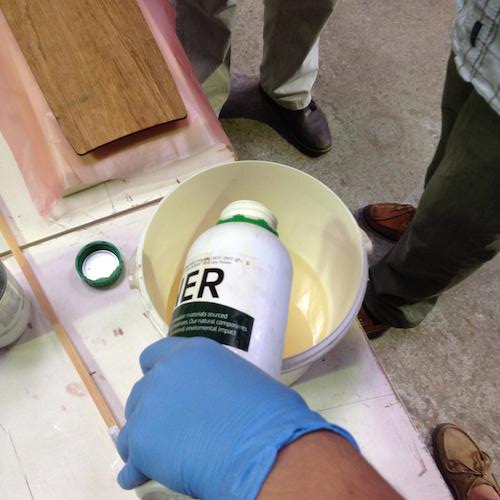
- Mixing ratio is 2 parts epoxy, 1 part hardner.
- Composite materials consist of several layers. In this case the sequence of layers is:
1- The Mold
2- Peelply
3- 2 layers of Burlap
4- A layer of peelply (with no holes)
5- Breather.
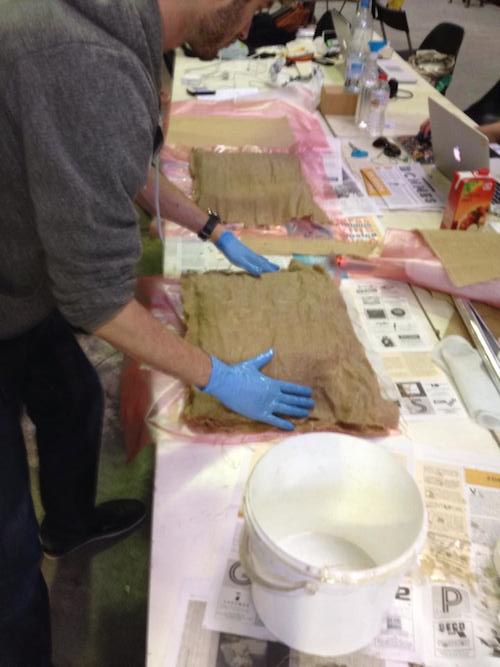
- Dip the layers of burlap in the mixture. Make sure you squeeze out/ drain the excess of resin before applying the layer onto the previous one (to keep the resin from leaking through the pleeply layer and protect the machine. Cover all sides of the material, making sure there isn't any exposed parts that could potentially stick to the machine.
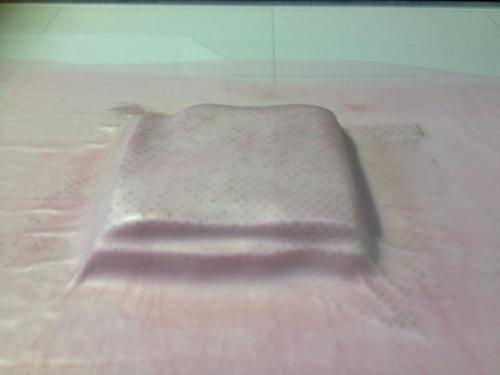
- Vaccum bagging which takes approximately 6 hours.
What I've Learned:
- I cut the burlap sheets way bigger than needed, so I had to cut/shape the excess burlap to size after it fully dried out. Always cut the materials fit the mold and not more. Doing so saves materials and helps to protect the machine from any leaking resin. Make sure the burlap is covered with peelply and breather from all sides.
- Accumulation of resin were spotted on one of the corners of the model due to adding too much resin to a burlap layer. Make sure you drain the burlap by squeezing out as much resin as possible.
- Make sure to use golves. Resin is a toxic material. Remove your watch, bracelet etc. before you start fabricating.
- It would be a good idea to add more curves to the design. In my case, I wanted to test the material's fuctionality before designing/ fabricating something more complex.
Click here to download Rhino Files.
Click here to download the STL Files.