Software: Rhino
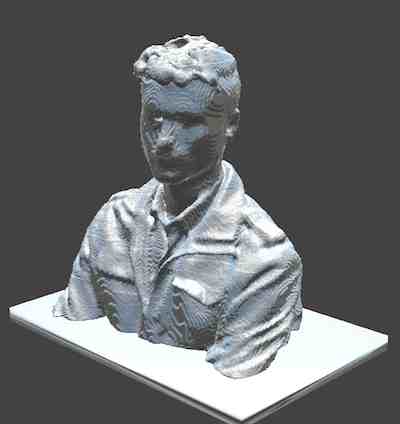
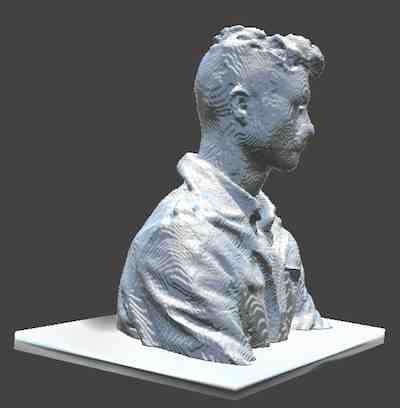
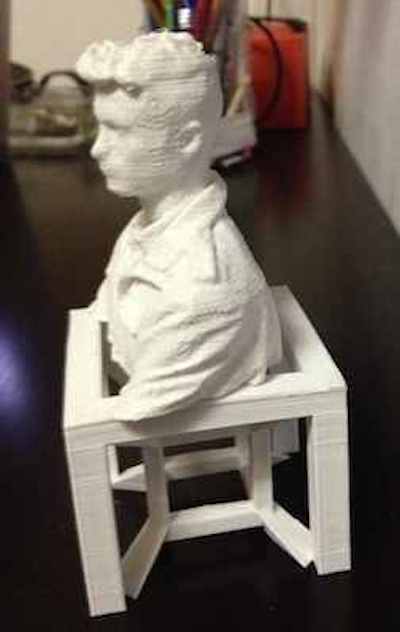
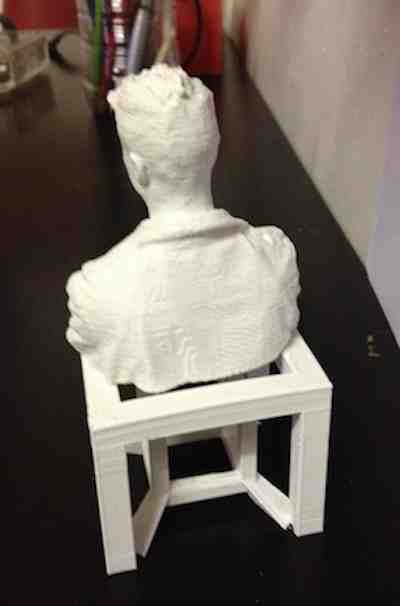
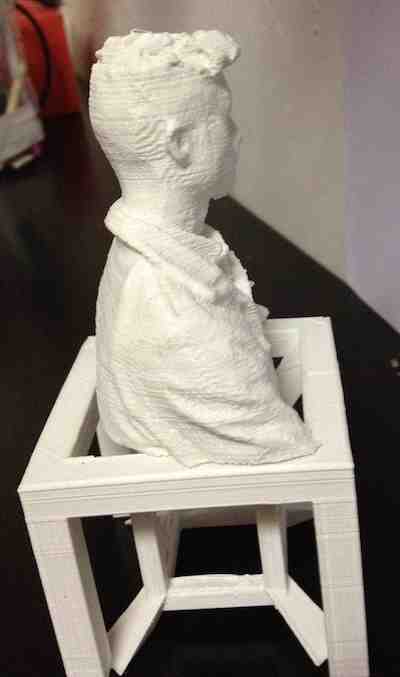
I decided to scan my body using Microsoft Kinect and the software Skanect. The results came out much better than expected.
Straight foreward process:
1) Connect the Kinect to the computer using USB.
2) Start Skanect. The software then searches for a sensor, once it finds it, you're ready to start scanning.
3) While scanning, make sure you theres enough light and to cover all angles of the scanned volume. Rotating around the object, approx. 30 seconds per rotation, starting from the bottom all the way to the top. The object has to be still at all times.
5) Reconstruct the mesh to get more detailed results and higher definition using Fusion Reconstruction. 6) make the mesh watertight. 6) You might have to export the file to a different mesh repair softare to fill the holes and delete uderesired parts.
6) Export the model as STL. Open in Makerware, and start printing.
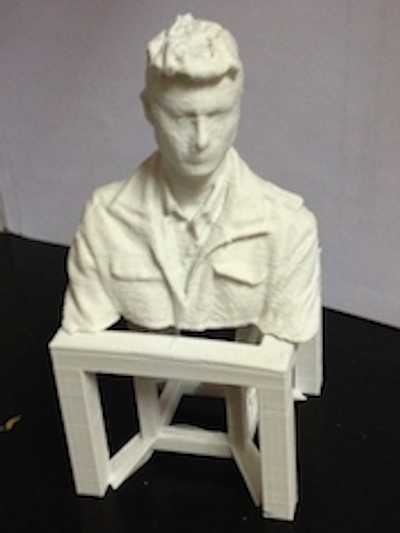
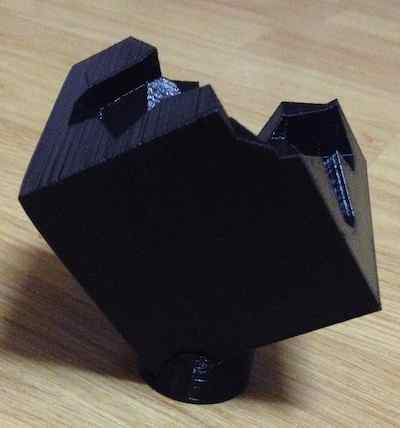
In my case a friend of mine scanned my uppder body. The results came out better than expected, with few mesh errors. I experimented with Mesh Mixer, MeshLab, Rhino and Netfabb Basic to fix the mesh.
Printing the model using the Makerbot was'nt an easy job; The extruder nozzle got blocked several times in the middle of the job and I had problems with my raft not sticking to the build platform.
I then solved the problem by using the replicator with a platform hot enough to stick to the material (110C).
I also played around with Autodesk 123D Catch to scan an object that I printed on the Makerbot. The results were great! But processing the file took too long.
3D Printing:
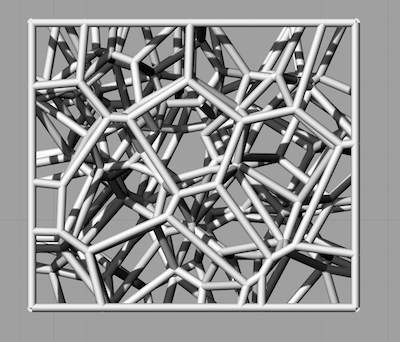
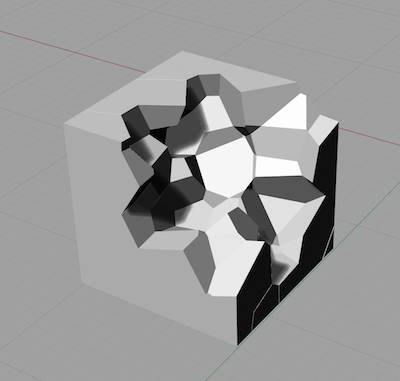
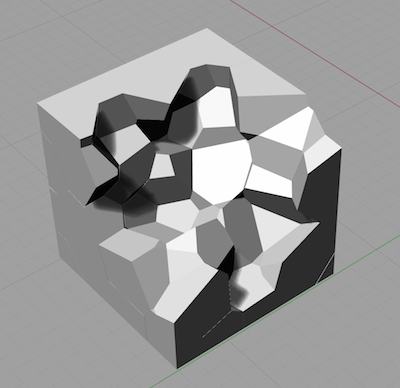
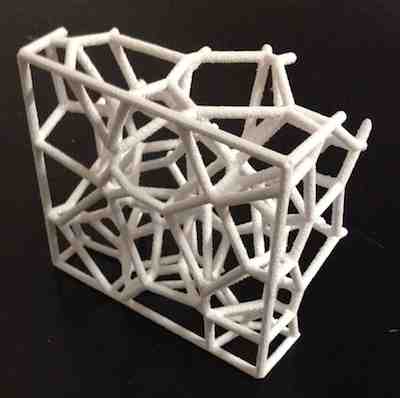
Software: Rhino + Grasshopper, Makerware, Zprint
Hardware: Zcorp Printer, Makerbot
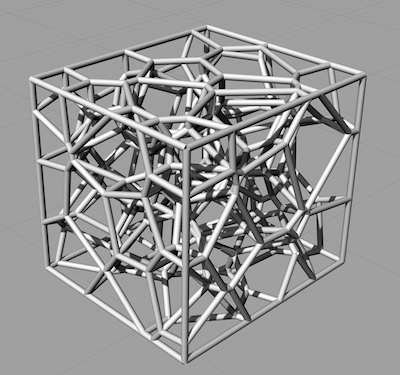
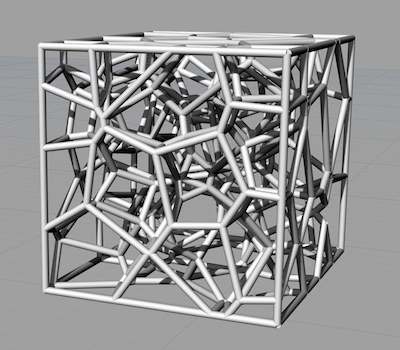
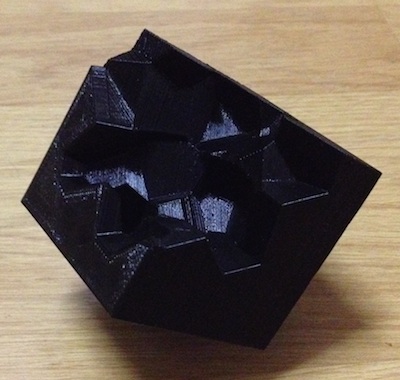
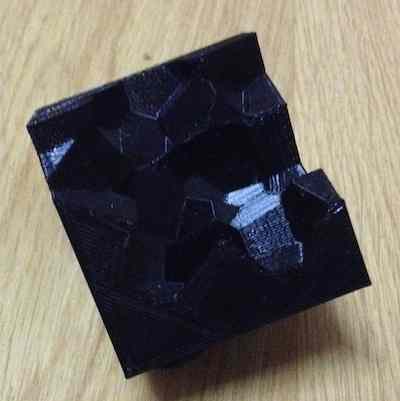
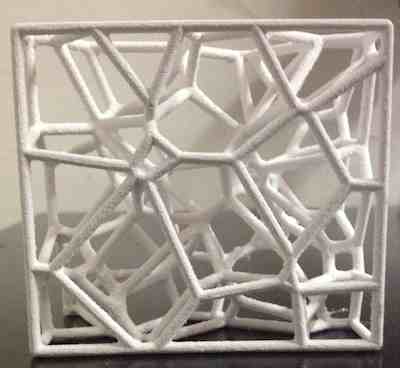
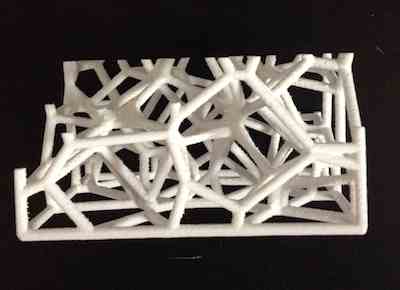
I designed the first model using Rhino Grasshopper. I struggled with exporting the file as stl due to problems with mesh. The Zcorp printed was stopped multiple times during the job and so the model was split into three sections. I couldn't print another one due to time constraints but I will print it later on sometime before the end of the program.
Click here to download the STL Files.
Click here to download the STL Files.
Click here to download Rhino Files.